English – 34
Fig 38
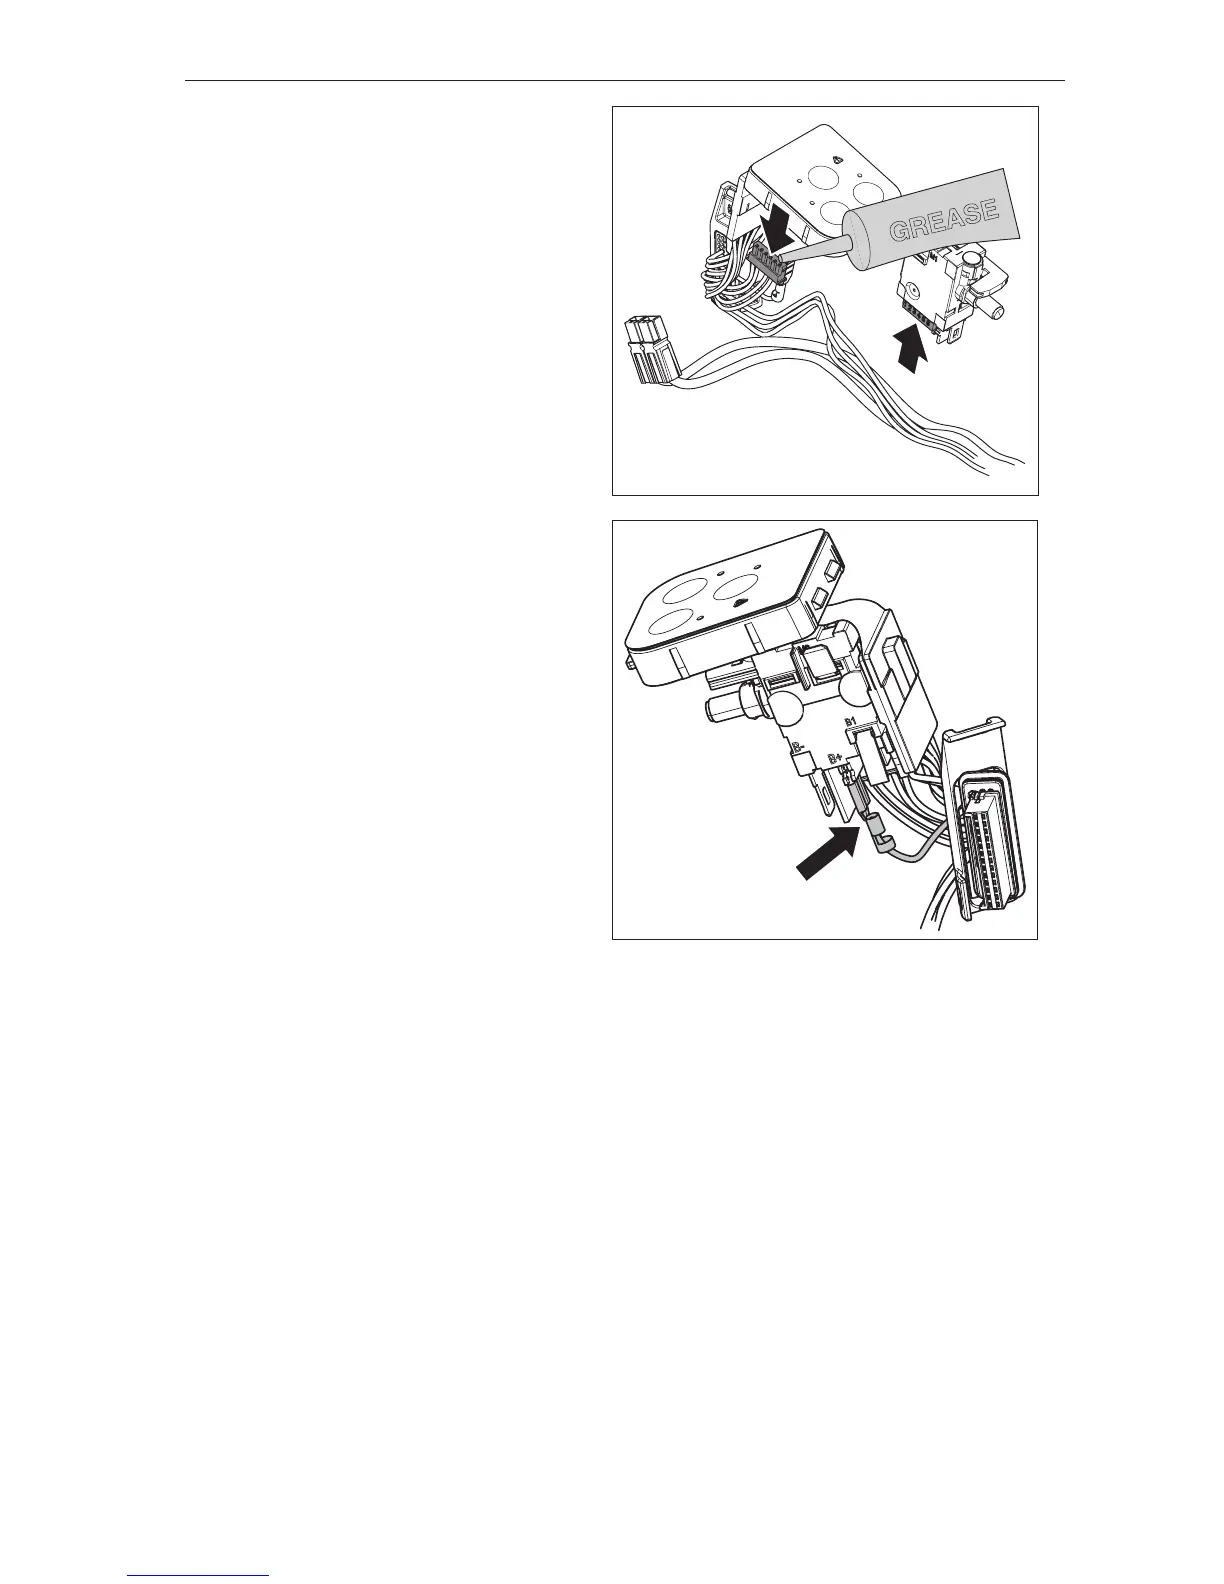
7.13 Assembling the main switch
1
Lubricate the connector (B) with water resistant
grease and connect it to the main switch. Also
lubricate the outside of the connector after assem-
bling to ensure it is watertight.
See gure 38
2
Connect the contact (A) to the main switch.
See gure 39
3
Assemble the main cables in the chassis.
See Chapter 7.9.
Fig 39
A
B
7.14 Repairing damaged threads
If the plastic threads in the chassis are damaged,
drill out the hole with a 4.5 mm drill bit.
Then replace the original screw with screw:
503 21 74-16 - IHSCT MT5x16.
Repair instructions