30 – English
3
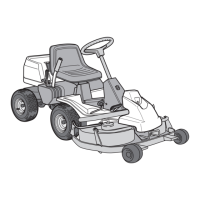
• Attach a washer and circlip onto the swing axle
(1).
• Firmly secure the wires' holder plates (2), as well
as the gear and brake wires (3 and 4).
• Connect the belt onto the pulley and tightly screw
the tensioning wheel arm (5) onto the rear frame.
• Attach the clutch wire (6) and the tensioning
wheel spring (7).
4
After installation of the swing axle, lubricate the
lubricating area above the swing axle housing with
molybdenum disulphide grease. Also check that the
wires and controls are correctly adjusted justerade
(see “Checking and adjusting steering wires”).
Finally, attach the transmission/gear box cover.
Removal/installation of gear box
Rider 11/11 Bio
• Block-up the machine in front of the rear frame
and dismantle the rear wheels.
• Remove the cover from over the gear box.
1
2
• Lower the garage jack and pull out the gear box.
• Installation of the gear box is carried out in the
reverse removing gear box order
• After installation, check that the clutch, brake
and gear wires are correctly adjusted (see
“Checking and adjusting brake wire”, “Checking
and adjusting gear control” and “Checking and
adjusting freewheel clutch”).
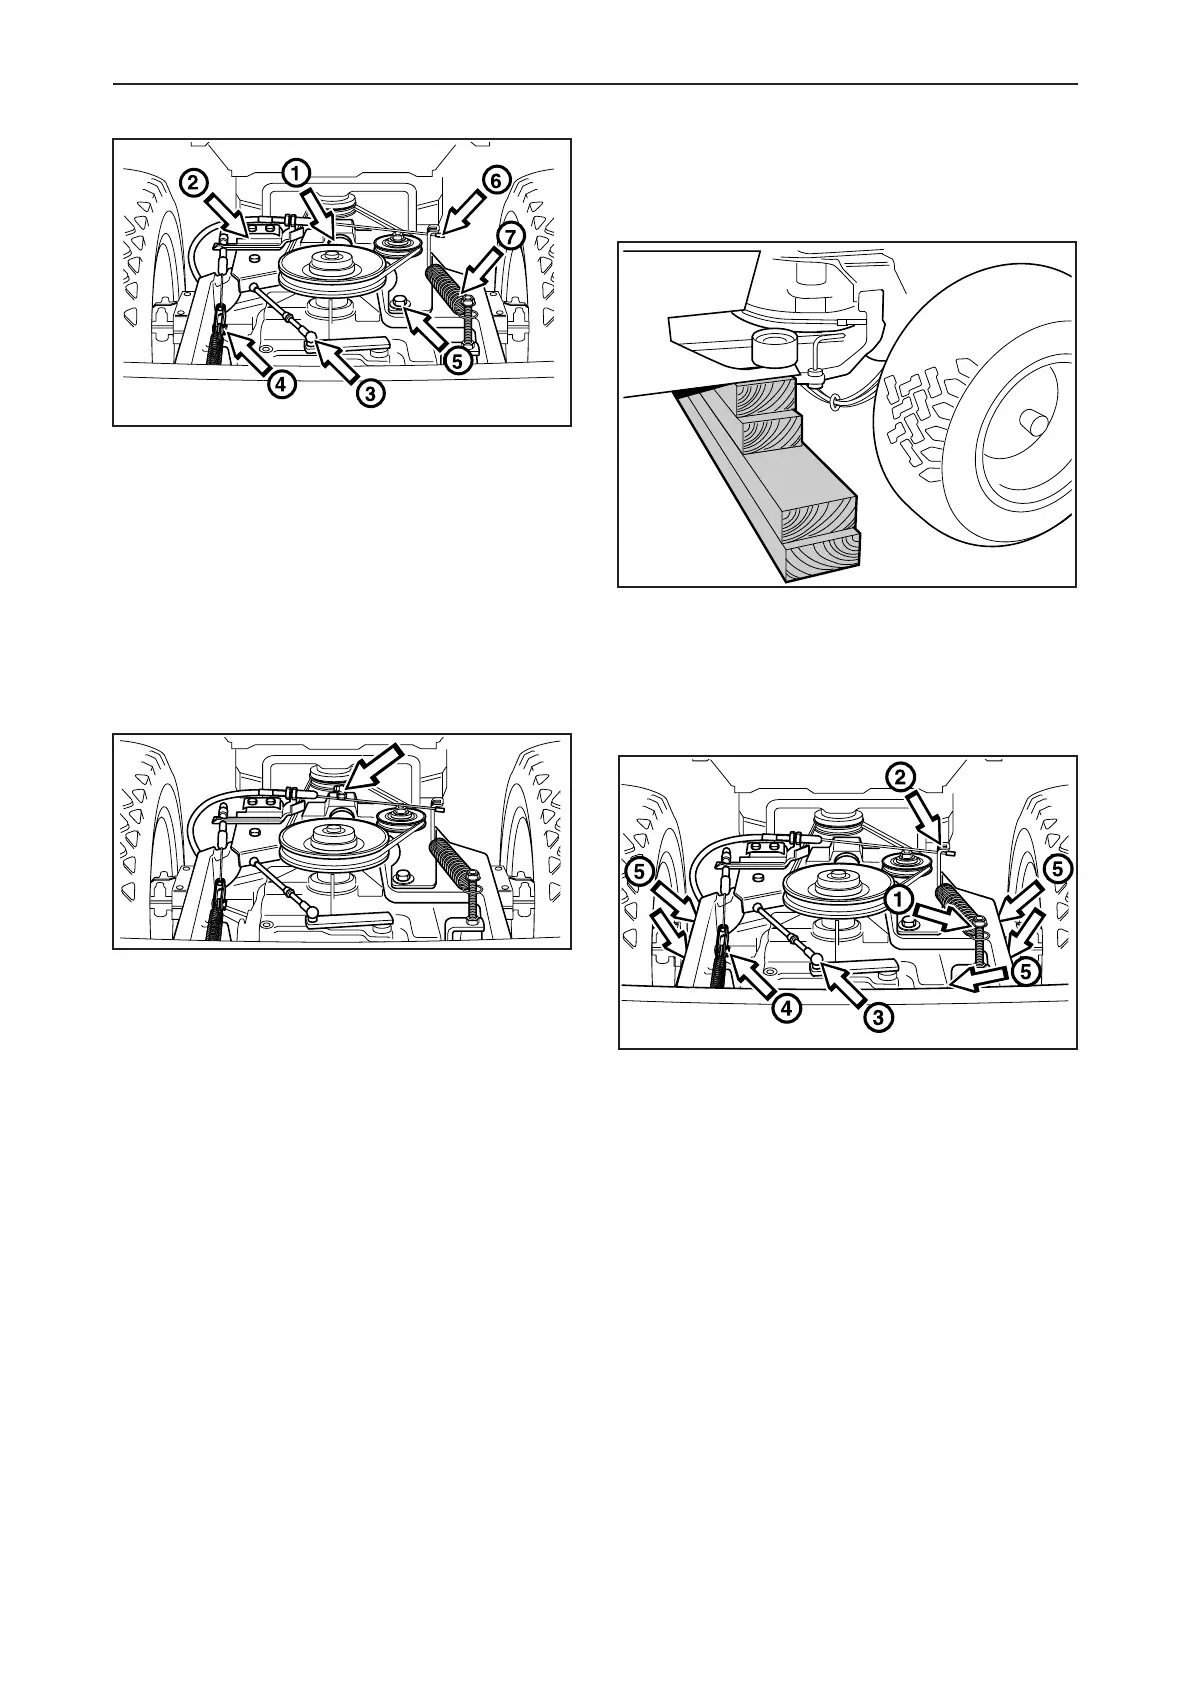
• Release the tensioning wheel spring (1).
• Unfasten the clutch wire (2), and detach the belt
from the gear box pulley.
• Detach the gear and brake wires (3 and 4).
• Insert a garage jack under the gear box and
unscrew the gear box's five holder screws (5).
3
Reparation instructions
 Loading...