19
Safe-Net III Operation (Cont'd)
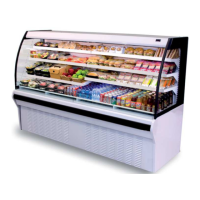
TEMPERATURE ADJUSTMENT
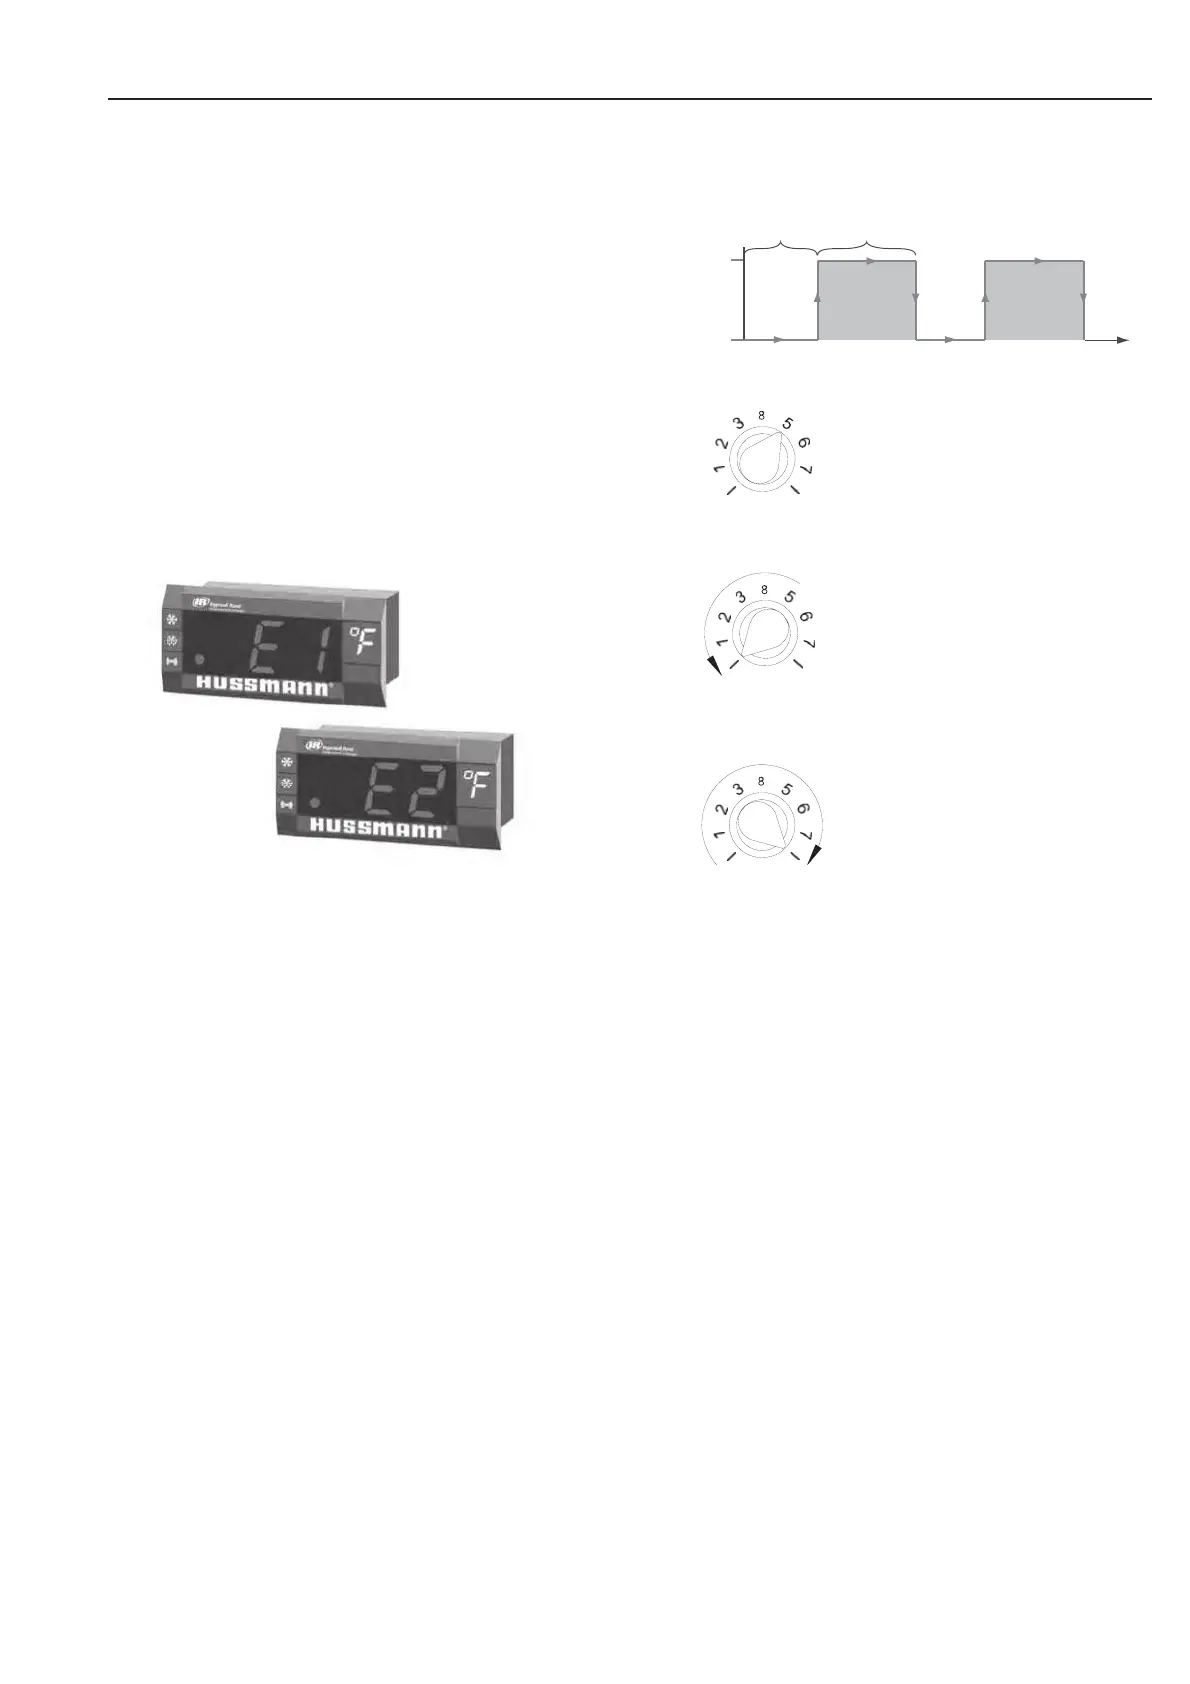
Rotate the adjustment knob counter clockwise for a
warmer setpoint or clockwise for a colder setpoint.
• While the temperature is being adjusted, the optional
display shows the setpoint (cut out value). A few
seconds after the temperature is set, the display
reverts to showing the sensed temperature in the
merchandiser.
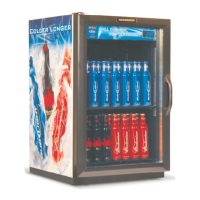
ALARMS AND CODES
FLASHING TEMPERATURE OR SENSOR ALARM LED,
E1 OR E2
If the Temperature or Sensor Alarm LED (red) on the
controller and display is fl ashing, a temperature sensor
has failed. The display shows E1 if the case sensor has
failed or E2 if the evaporator sensor has failed.
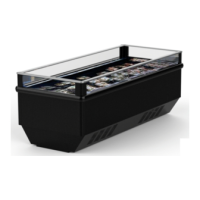
If the merchandiser sensor fails, refrigeration will run
continuously. Turn off, or repeat a duty cycle of a few
minutes on and a few minutes off.
DEFROST TERMINATION SWITCH
Merchandisers may use a defrost termination switch,
instead of an evaporator sensor to terminate a defrost
cycle. The defrost termination switch is temperature
activated and senses the completion of defrost.
 Loading...