HydraMaster Corporation
Page 3-6: Operating Instructions
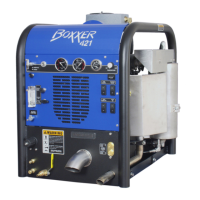
Boxxer 421
Adjustment After Installation:
Machines that are equipped with a diverter valve may need adjustment after the
machine has been installed.
Prior to running the machine, perform the following steps:
1. Locate the actuator connected to the diverter valve arm which is located
between the blower and engine exhaust heat exchanger.
2. The actuator shaft is connected to the diverter valve arm. Pull the actuator shaft
forward and listen to hear if the poppet seals against the seat in the diverter
valve. Push the actuator shaft back and listen to see if the poppet seals against
the seat in the diverter valve.
If the poppet seats in both directions, the diverter actuator is in proper
adjustment.
If the poppet does not seat in one or both directions the valve is out of
adjustment. Perform the following steps to adjust the diverter actuator
shaft.
3. The end of the actuator shaft is threaded into the diverter arm and is
secured into position with a backup nut. This nut must be loosened to
allow adjustment.
4. Loosen the actuator backup nut. This will allow you to rotate the
actuator shaft clockwise or counterclockwise. Rotate the actuator shaft
one half turn at a time. Then pull the actuator shaft forward and back.
Listen to hear if the poppet seals in the seat of the diverter valve. Repeat
this step until the diverter poppet seals in both directions.
5. Apply red Loctite on the thread of the actuator shaft. Retighten the
backup nut.
6. Recheck the adjustment. Move the actuator shaft forward and back.
Listen to hear if the diverter poppet seals in both directions.
The diverter is now properly adjusted.