P/N 42-9450 8/08 Copyright 2008 Hydrotherm
Page 27 KN INSTALLATION AND OPERATION INSTRUCTIONS
Control setup (continued)
8
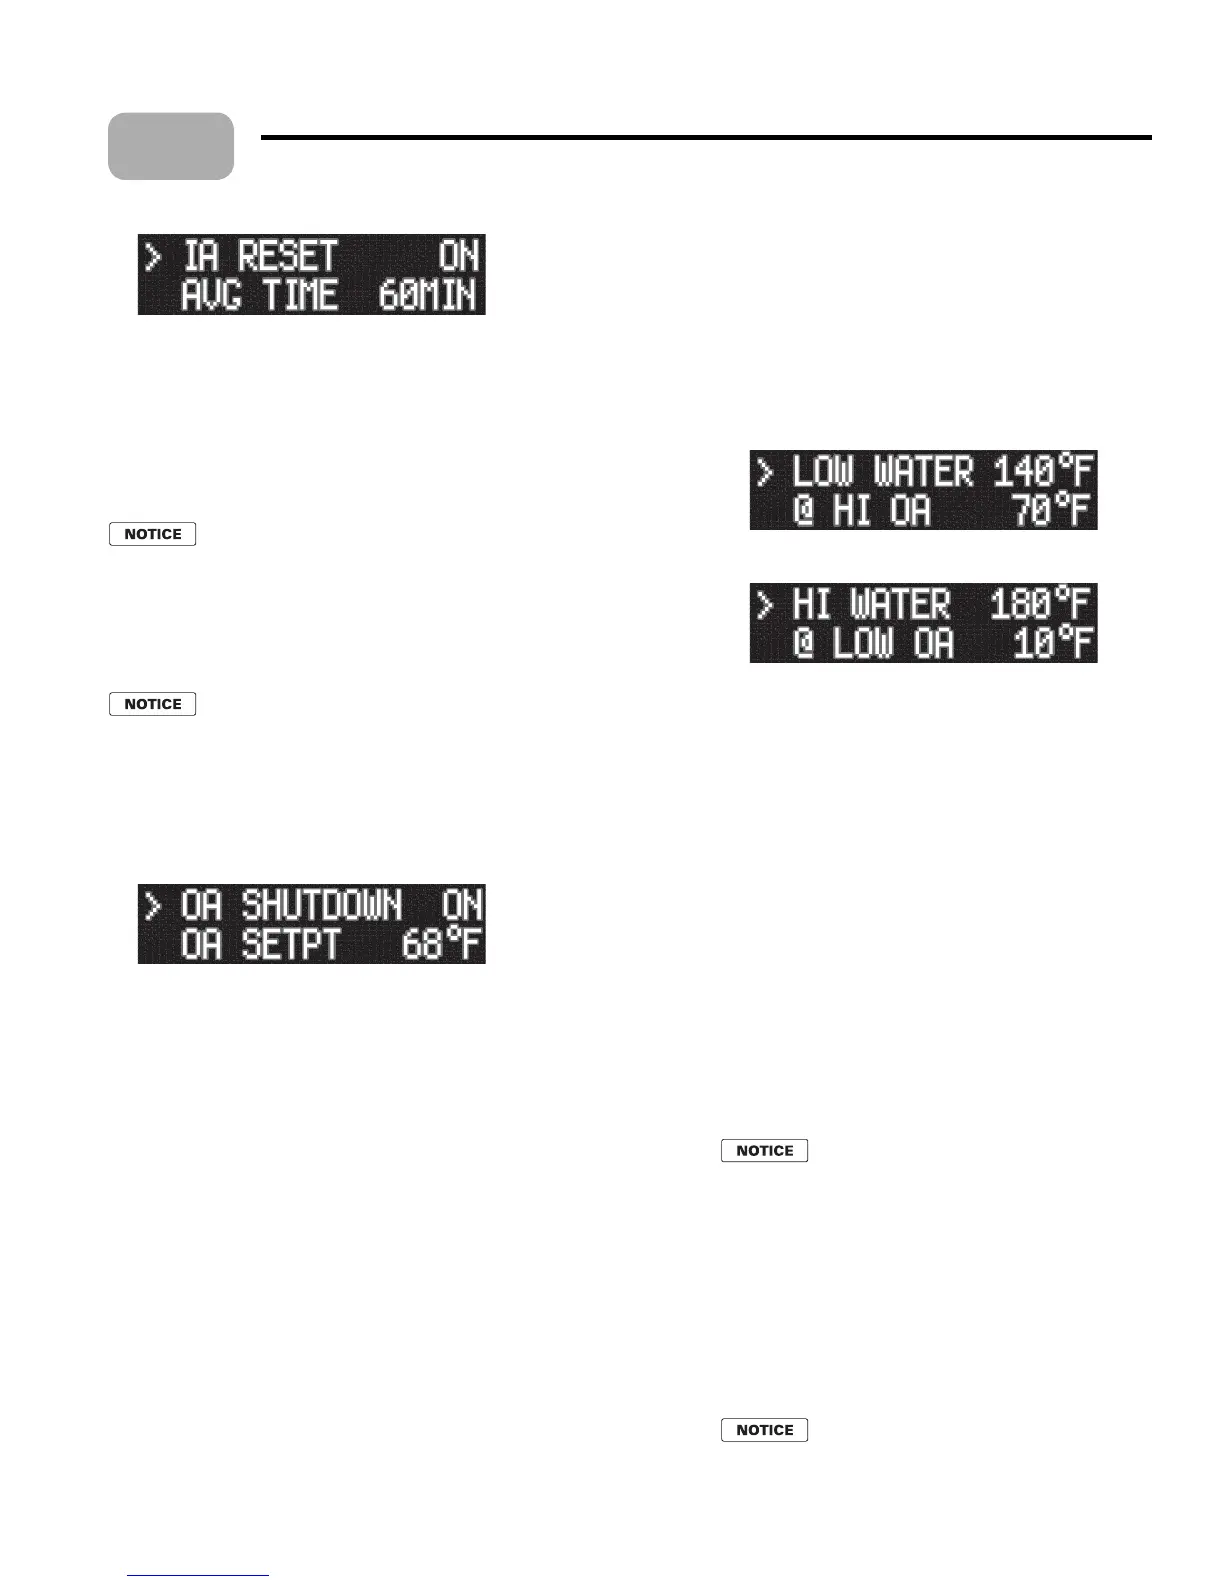
5. e factory default se ing is ON, or IAR enabled. If the boiler is wired for IAR,
then leave the se ing at ON.
6. To change the se ing to o , press SELECT with the cursor pointing at IA RESET.
7. Press either arrow key and the value will change to OFF.
8. Press SELECT to save and BACK to return to the main menus (INDOOR RESET
again).
Return to main menus
When you have nished with IAR, return to the main menus by using
the BACK key.
OUTDOOR AIR, when used
General
Skip this procedure if there is no outdoor sensor present.
When possible, use Indoor Air Reset instead of outdoor reset. IAR provides much
be er feedback on system needs.
OUTDOOR AIR menu
Use the arrow keys until the cursor points at OUTDOOR AIR. en press
SELECT.
e display will show the beginning of the OUTDOOR AIR menus:
3. OUTDOOR AIR menus are:
OA SHUTDOWN (shuts the boiler down when outside temperature is above
OA SETPT).
OA SETPOINT (outside temperature at which no heat is needed used to
shut down boiler above this temperature).
OA RESET (enables or disables outdoor reset function).
SET OA SETPTS (when outdoor reset is enabled, this leads to setpoint
selections).
Outdoor shutdown
Enable or disable outdoor shutdown by pressing the SELECT bu on with the
cursor on OA SHUTDOWN.
Use the arrow keys to change from ON to OFF.
Press SELECT to save, then BACK to return.
en arrow key to OA SETPT to set the desired outdoor air shutdown temperature.
Press SELECT and the cursor will move to the temperature.
Use the arrow keys to change the se ing.
Press SELECT, then BACK to accept and return.
Outdoor reset, when desired
To set outdoor reset operation, use the arrow keys until the cursor points at OA
RESET.
•
1.
2.
•
•
•
•
1.
2.
3.
4.
5.
6.
7.
1.
e default se ing is ON.
To change the se ing, press SELECT and use the arrow
keys to change from ON to OFF.
Press SELECT, then BACK.
If outdoor reset is enabled, set the reset temperatures as
follows:
Use the arrow keys until the cursor points at SET OA
SETPTS.
Press SELECT and the display will show:
8. Don’t use the arrow keys yet, but if you use the DOWN
arrow twice, the display will show:
9. With the cursor on the se ing you want to change, press
the SELECT key, then use the arrow keys to change the
temperature as you did for SETPOINTS.
10. LOW WATER (@ HI OA) Set for the supply water
temperature desired when the outside air is at the
temperature when no heat is needed (HI OA). is should
generally be set equal to room temperature, or 70°F unless
the application calls for another se ing.
11. HI OA Set this to the outside temperature at which no
heat is needed, usually 68°F or lower.
12. HI WATER (@LO OA) is is the required supply water
temperature at design heating conditions; i.e. when outside
air temperature is at ODT, the outdoor design temperature,
or maximum heating conditions. is temperature would
typically be 180° for nned-tube baseboard systems.
13. LO OA is is the ODT, or design outdoor temperature
for maximum heating requirements from the system.
14. Use the arrow keys to navigate to each of the above. en
adjust as required.
Return to main menus
When you have nished with outdoor reset,
return to the main menus by using the BACK
key.
Set the system clock
Use the arrow keys in the main menus to navigate to SYSTEM
CLOCK
. Use the procedures used for SETPOINTS and
other adjustments to select and modify TIME, DAY OF
WEEK
, MONTH, DAY and YEAR.
Because the events log gives time of occurrence, it is best for
the system clock to be correct.
After completing setup, press the BACK
key until the display returns to STANDBY.
Then turn o power and the boiler on/o
switch. Reconnect HEAT DEMAND and
DHW DEMAND wires.
2.
3.
4.
5.
6.
7.
•
•
 Loading...