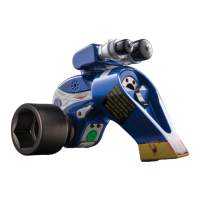
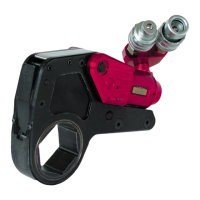
6.7.1 Tightening a bolted flange connection
Procedure
1. Start the pump unit and set the
torque.
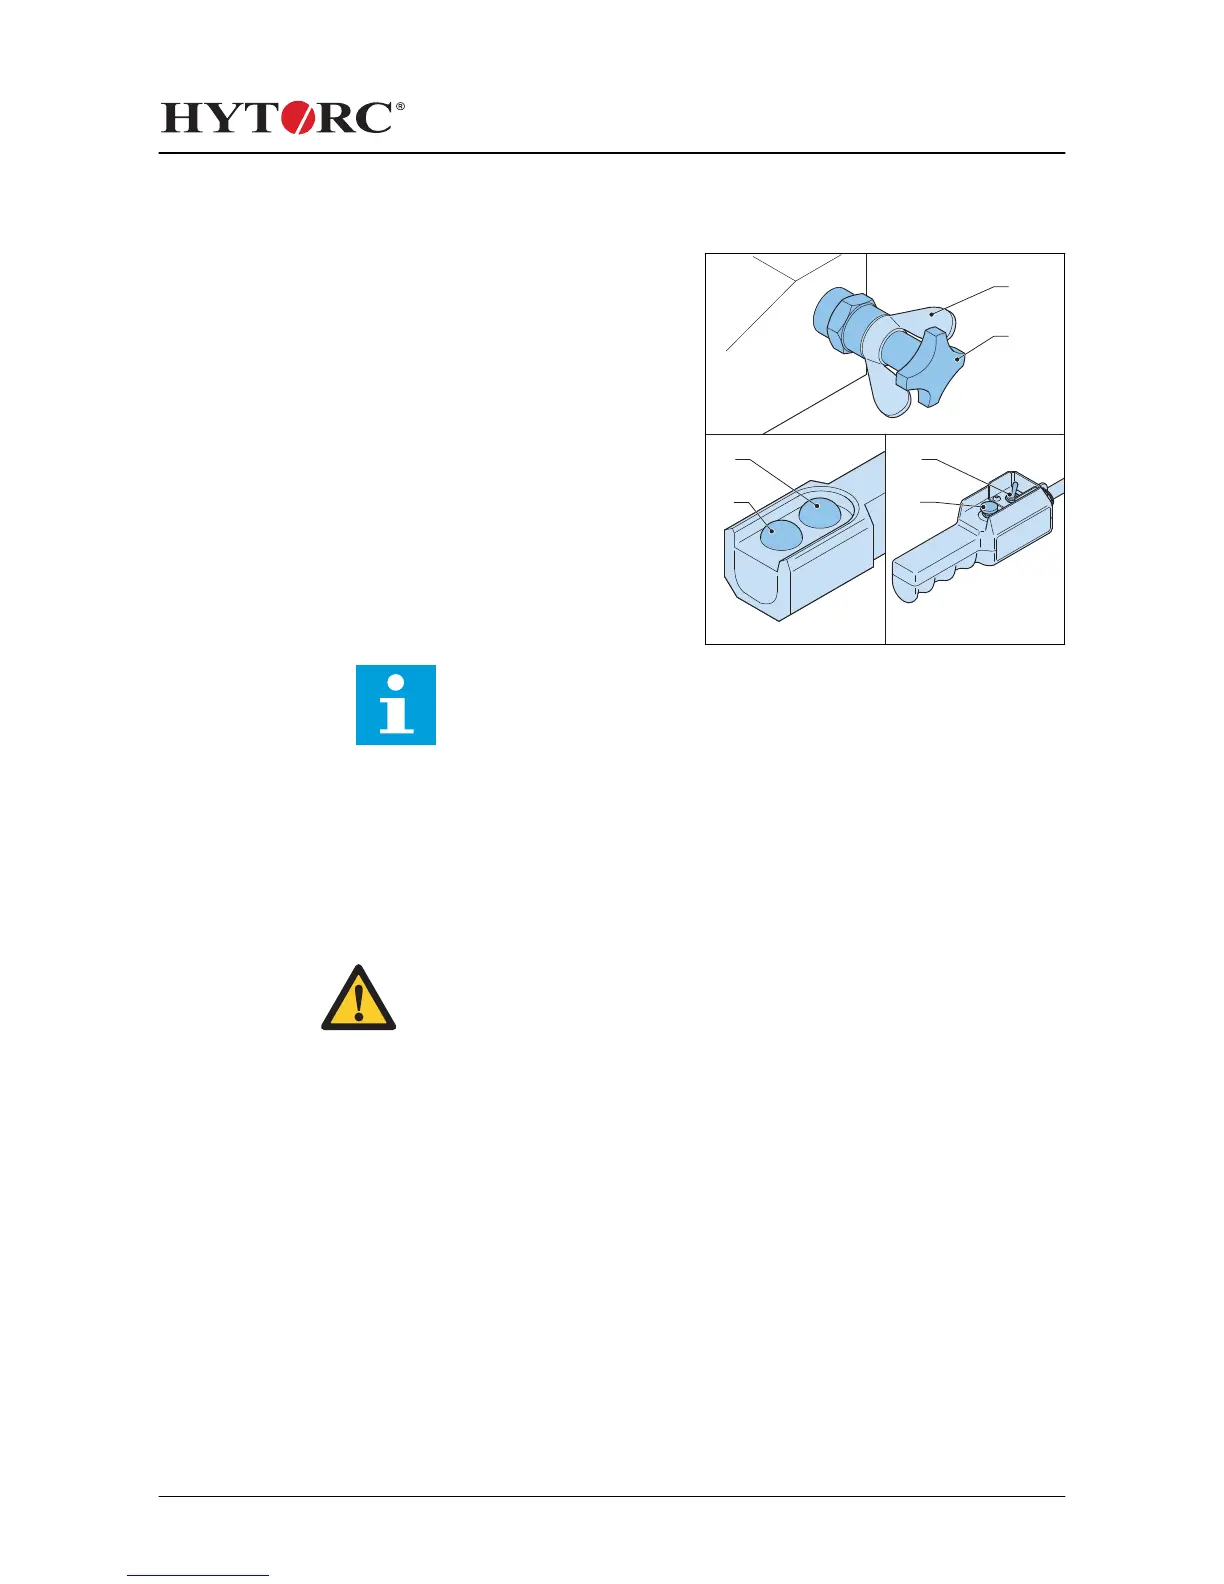
2. Place the tool onto the nut or the
bolt head correctly. Refer to the
marking "TIGHTEN" on the tool.
3. Press and hold the start button (B)
on the remote control until the
square drive no longer turns.
The piston in the tool is in the fully
extended position. An audible click
will sound. The pressure gauge
increases to the set value.
Note: If the pressure gauge increases to the set value, this does not
indicate that the required torque is applied to the nut or the bolt. It only
indicates that the piston in the tool cannot turn the socket further until the
tool automatically resets itself.
4. Release the start button (B) on the remote control.
The piston in the tool moves to the fully retracted position. An audible click will
sound.
5. Repeat steps 3 and 4 until the nut or the bolt no longer turns.
The nut or the bolt has been tightened with a torque accuracy of ±3%.
6.7.2 Loosening a bolted flange connection
Caution:
• Always set the pressure as low as possible to loosen the nut or the bolt.
• If you must constantly use a high pressure to loosen the nut or the bolt,
use a heavier HYTORC tool. Contact your local HYTORC representative
for more information.