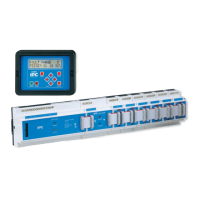
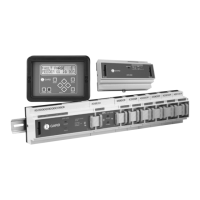
I-GARD DSP-OHMNI Instruction Manual
14
When the desired priority for a given I/D number has been selected, press ENTER. You will then be
prompted with the screen of Figure 6.6
PUSH FM BUTTON
AND THEN ENTER
Figure 6.6 Feeder Module Set-up
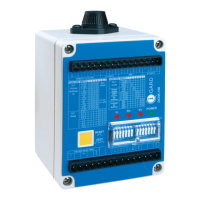
At this point select the DSP-FM module that is to have the I/D that was set-up, and press the TEST button
on that module. The red FAULT light will turn on to indicate the received I/D signal.
Press ENTER to complete the process. The DSP-DM will display either of the following messages
depending on whether or not the setup was successful.
FM ACCEPTED
CONTINUE ®
a) Feeder Module Successful
FM NOT ACCEPTED
CONTINUE ®
b) Set-up Not Successful
Figure 6.7
Press u to exit the screen and the DSP-DM will allow the user to set-up more Feeder Modules with screen
10 a) and b)
FM ACCEPTED
ANOTHER? Y/N
a) DSP-DM allows further Feeder Module set-up
FM NOT ACCEPTED
ANOTHER? Y/N
b) If previous set-up had not been successful
Figure 6.8