11- INSTRUCTIONS FOR THE DISASSEMBLY / ASSEMBLY OF THE CLUTCH
ATTENTION:
The following operations can be performed by a skilled mechanic under the
conditions to have available the dedicated tools shown on the text, otherwise it
is necessary to apply to an Authorized Service Center.
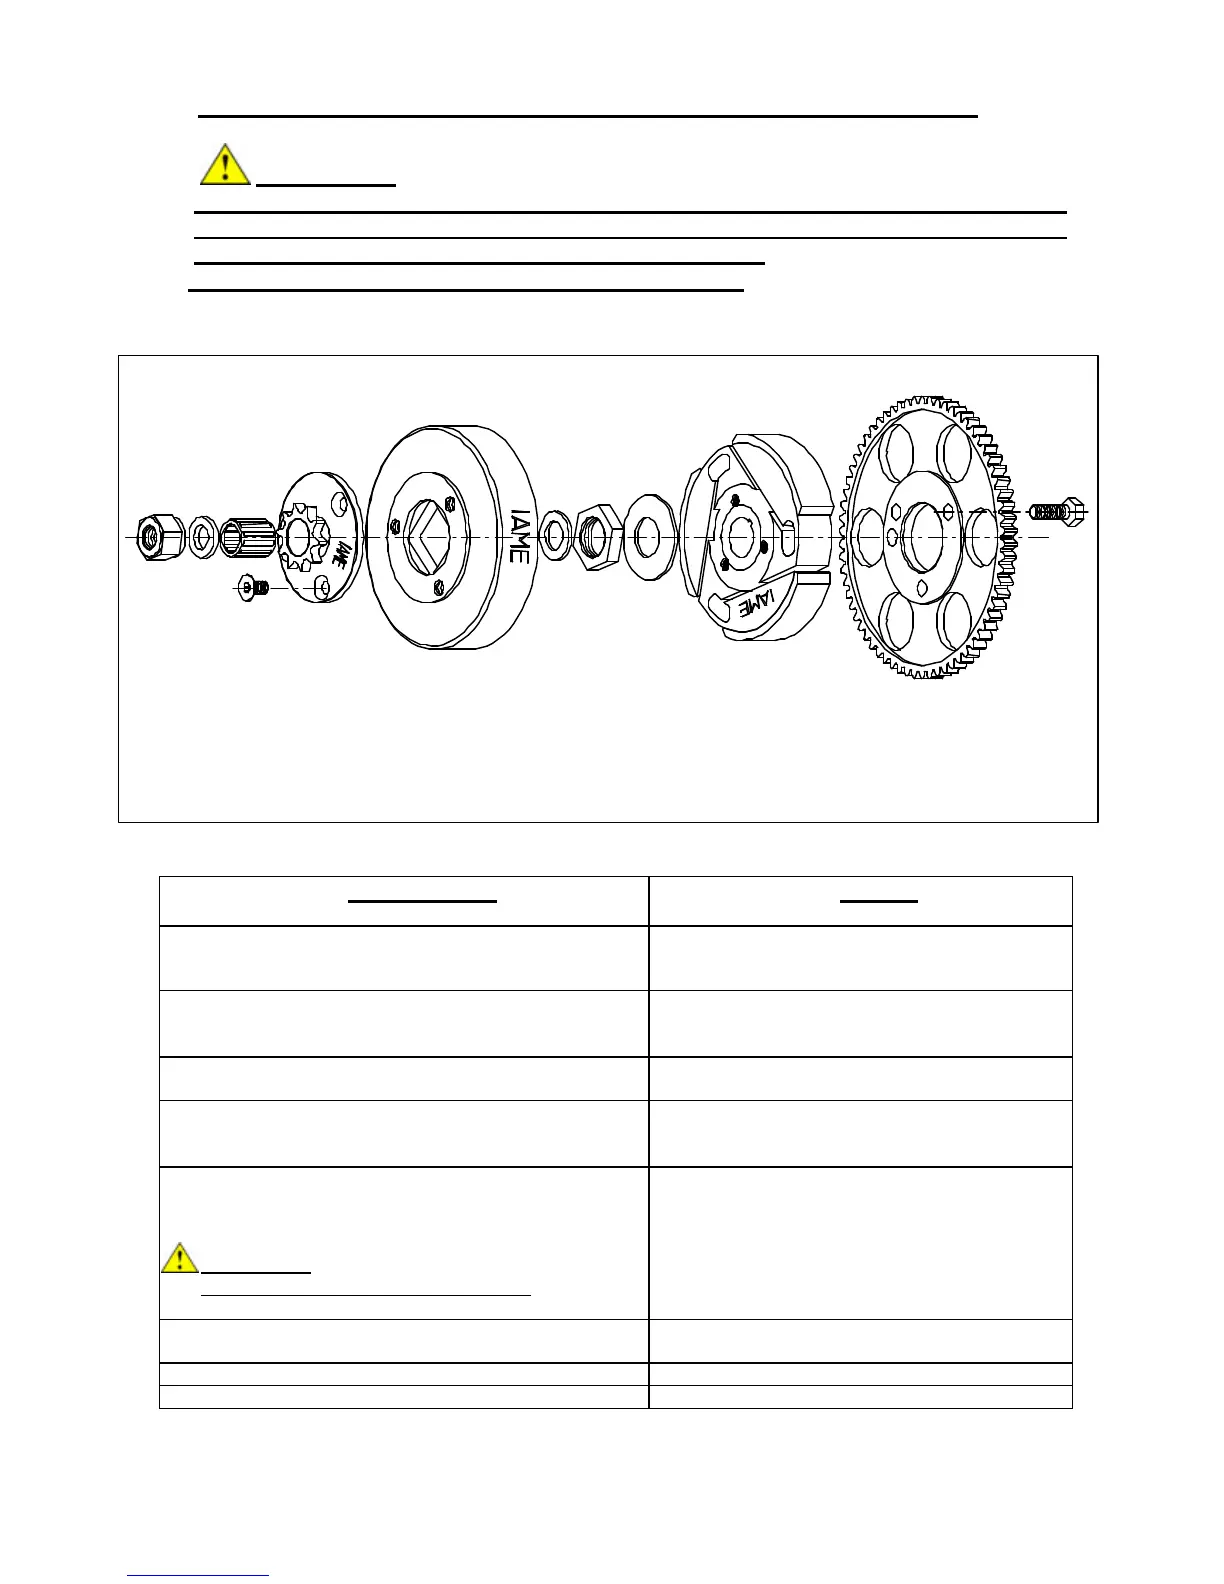
Refer to the following drawing during the operations.
OPERATIONS
TOOLS
Clutch disassembly
1. Remove the clutch cover (3 screws M6).
?? Allen wrench 5mm – T type
2.
to prevent crankshaft from turning.
?? Piston fitting : P.N. 10271
3. Remove nut (1 nut M10).
?? 12 Point wrench - 17 mm
4. Remove the external washer, the drum with roller
bearing, the internal washer.
5. Remove the special tool from the head and using the
clutch wrench, remove the 16x1 nut and the cone
safety washer.
ATTENTION:
Turn clockwise as nut has left thread.
?? Clutch wrench : P.N. 10270
?? 24 mm socket.
6. Apply clutch puller on clutch and remove clutch with
19mm socket.
?? Clutch puller: P.N. B-55614-C
?? 19mm socket.
7. Remove key from shaft.
8. Remove the starter ring (3 screws M6) ?? 10 mm socket
2 External washer 6 Clutch drum 10 Clutch body
3 Roller cage 7 Internal washer 11 Starter ring
4 Screw 8 Locking nut 12 Screw
 Loading...