
C
Christine RiosAug 1, 2025
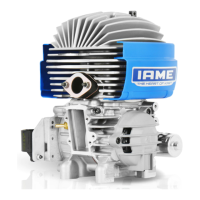
What to do if IAME Engine starter cranks but engine won't start?
- JJermaine ThompsonAug 2, 2025
If the starter cranks, but your IAME Engine won't start, several issues could be at play. It might be due to ignition failure, which would require a replacement. Check the H.T. coil connection for any issues, including grounding problems; replace the coil if necessary. Also, a wet or damaged spark plug can prevent the engine from starting, so replace it. Lastly, inspect the fuel feed system and its connections. Consider replacing the membranes and gaskets on the fuel pump.