3. Loosen the two rail-adjustment screws that are located on each of the outer slide rails. Extend the
rails to the maximum outward adjustment.
4. Adjust the outer slide-rail brackets to fit the depth of the rack cabinet. Then, attach the front of the
slide-rail brackets to fit the depth of the rack cabinet by using four screws from the miscellaneous
hardware kit. The screws should be finger-tight to allow adjustment of the rails.
Note: Ensure that the slide-rail brackets extend outside of the rack-cabinet mounting flanges. Do not
install screws in the middle holes on the front or rear of the slide-rail brackets. These holes will be
used to attach thumbscrews or optional console-switch mounting brackets, respectively, later in this
procedure.
5. Use the four screws from the miscellaneous hardware kit and finger-tight them from the rear of the
slide-rail brackets to the rack cabinet. Ensure that the slide-rail brackets extend outside of the
rack-cabinet mounting flanges.
6. Tighten the two rail-adjustment screws on each of the outer rails that you loosened in step 5
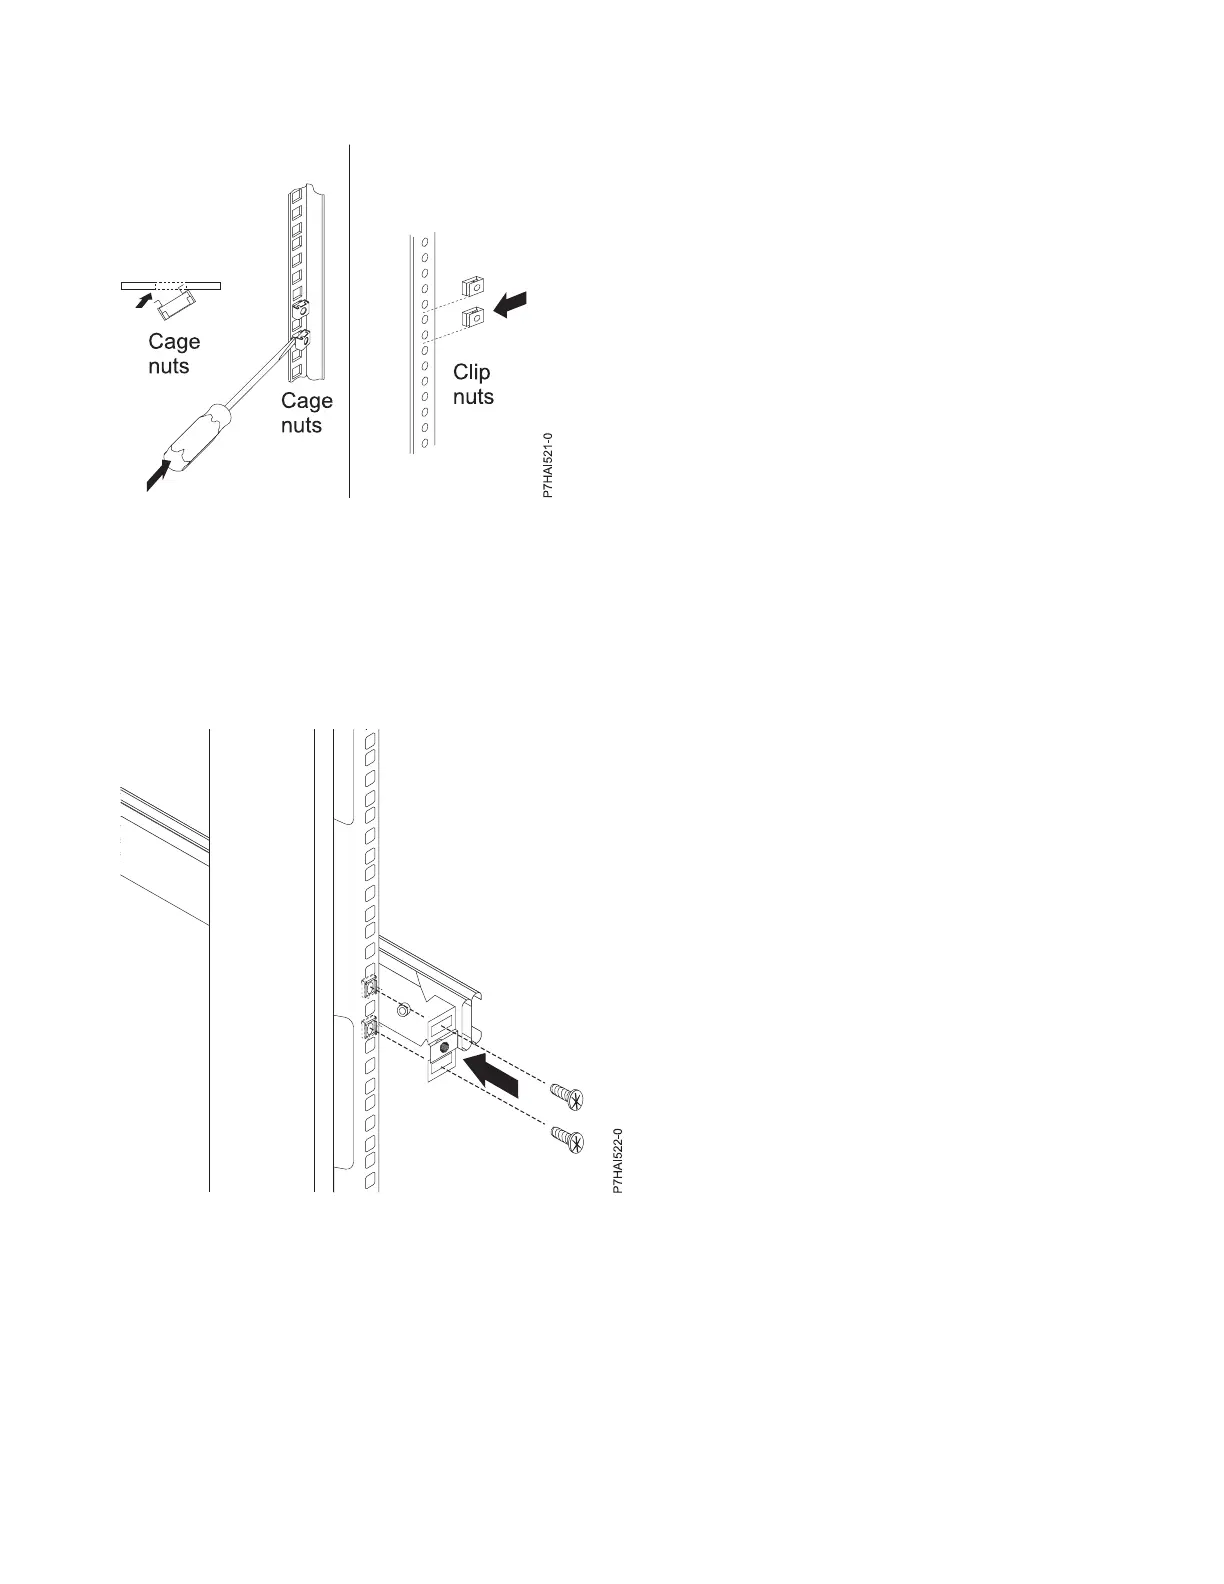
Figure 27. Installing the cage nuts
Figure 28. Adjusting the side-rail bracket
44 Power Systems: Installing and configuring the Hardware Management Console