Figures
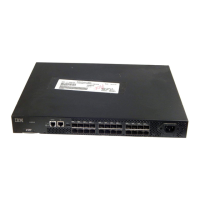
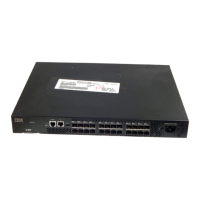
1. Port-side view ............ 2
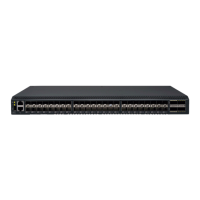
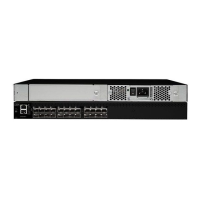
2. Nonport-side view with AC power supply and
fan assembly units .......... 3
3. Rack kit parts ............ 16
4. Attaching the front brackets ....... 17
5. Attaching the bracket extensions to the device 18
6. Positioning the device in the rack ..... 19
7. Attaching the rear brackets to the extensions 20
8. Attaching the rear brackets to the rack posts 21
9. Attaching the front brackets to the rear of the
device .............. 22
10. Attaching the bracket extensions to the device 23
11. Positioning the device in the rack ..... 24
12. Attaching the rear brackets to the extensions at
the front of the device ......... 25
13. Attaching the short or long rear brackets to the
extensions ............. 25
14. Attaching the rear brackets to the front rack
posts ............... 26
15. Rack kit parts ............ 27
16. Attaching the front brackets ....... 29
17. Attaching front brackets to a rack ..... 30
18. Attaching the rear brackets to a rack .... 31
19. Attaching the rear brackets to the device 32
20. Attaching the front brackets ....... 33
21. Attaching front brackets to a rack ..... 34
22. Attaching the rear brackets to a rack .... 35
23. Attaching the rear brackets to the device 36
24. Optical transceiver extraction tool ..... 45
25. Installing a 32-Gbps SFP+ transceiver into an
upper port ............. 47
26. Replacing a 32-Gbps SFP+ optical transceiver
in an upper port ........... 48
27. Installing a 32-Gbps QSFP transceiver in an
upper port ............. 49
28. Replacing a QSFP optical transceiver .... 50
29. SAN128B-6 port-side LEDs ....... 51
30. Nonport-side LEDs with AC power supplies 54
31. AC power supply assembly ....... 57
32. Removing an AC power supply and fan
assembly ............. 61
33. Inserting an AC power supply and fan
assembly ............. 62
34. Fan assembly ............ 65
35. Removing a fan assembly ........ 69
36. Inserting a fan assembly ........ 70
© Copyright IBM Corp. 2018 v

 Loading...