7. Press the Remote Supervisor Adapter II SlimLine firmly into the connector and
make sure that all tabs on both mounting brackets secure the adapter in place.
Attention: Incomplete insertion might cause damage to the server or the
adapter.
8. If an adapter is installed in expansion slot 1 on the riser-card assembly, remove
it.
9. Carefully align the riser-card assembly with the guides on the rear of the server
and with the riser-card connectors on the system board; then, press down on
the assembly. Make sure that the riser-card assembly is fully seated in the
riser-card connectors on the system board.
See
the documentation that comes with the Remote Supervisor Adapter II SlimLine
for information about installing the firmware and configuring the adapter. Create a
backup copy of the configuration so that if you have to replace the adapter in the
future, you can restore the configuration.
If you have other devices to install or remove, do so now. Otherwise, go to
“Completing the installation” on page 32.
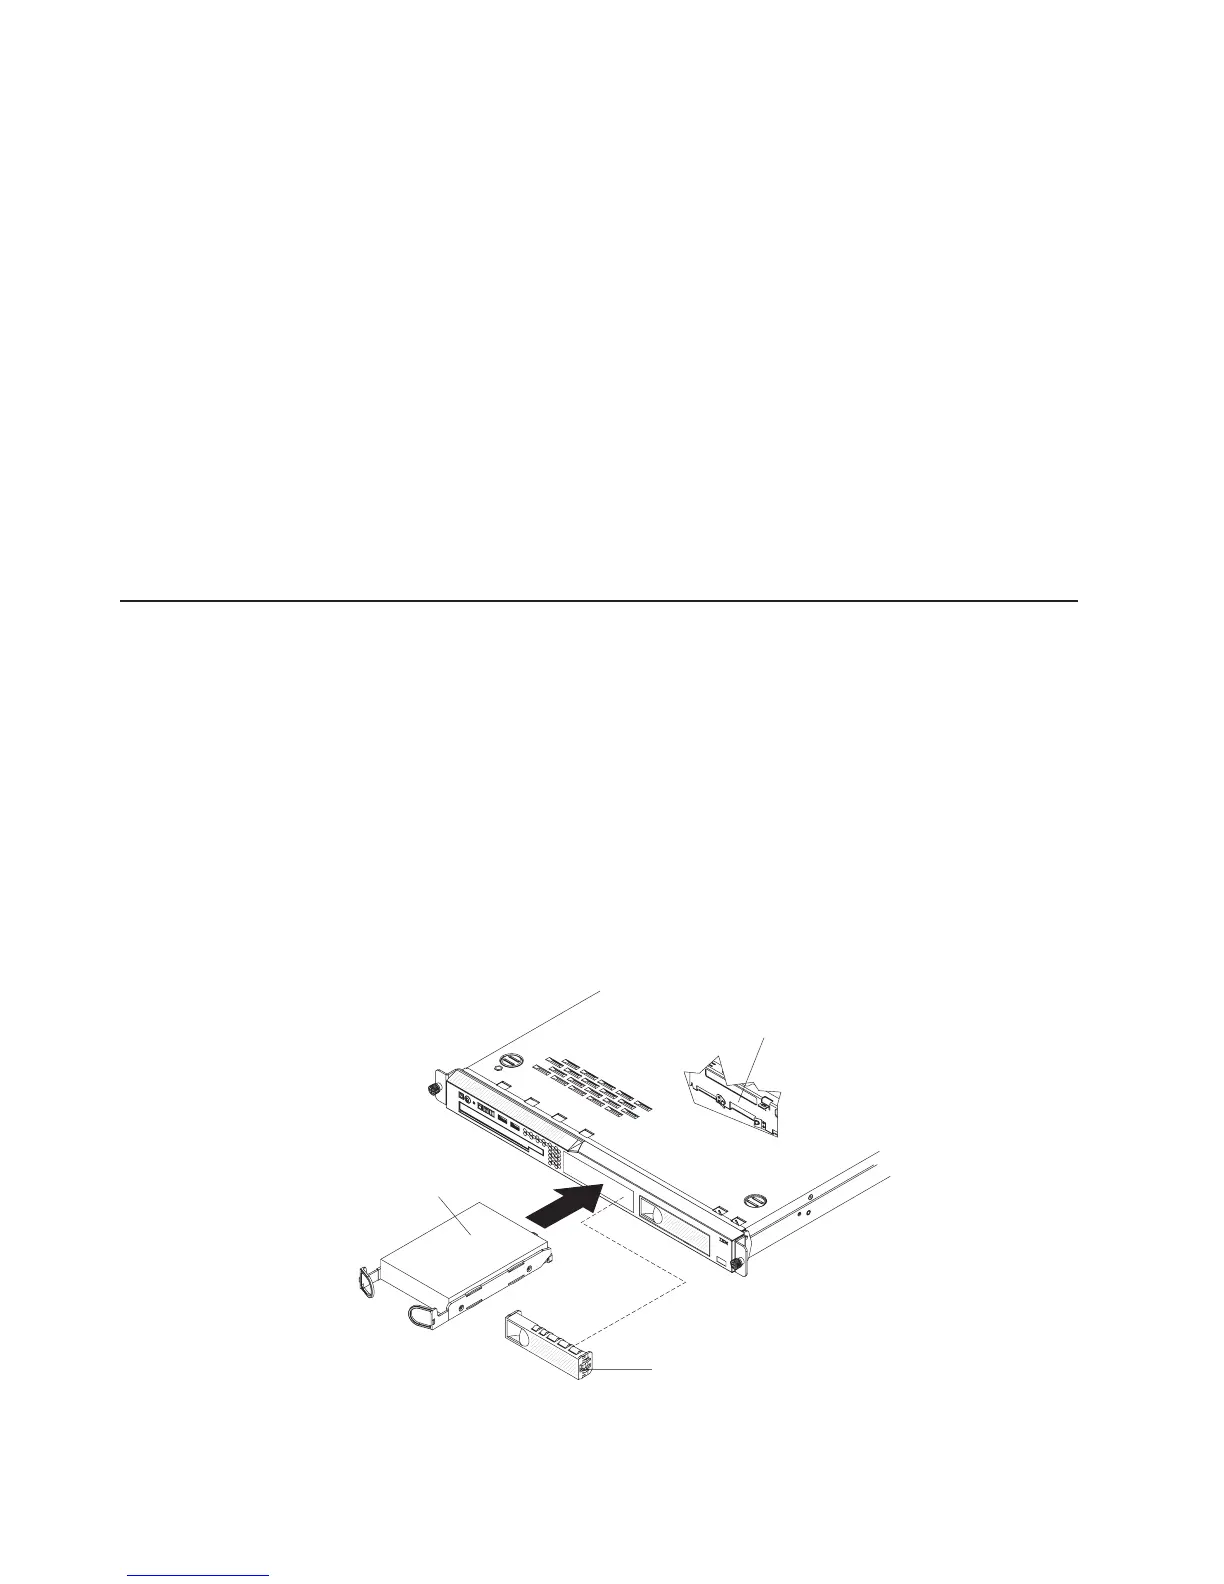
Installing a hard disk drive
Locate the documentation that comes with the hard disk drive and follow those
instructions in addition to the instructions in this chapter.
Attention: To avoid damage to the hard disk drive connectors, make sure that the
cover is in place and fully closed whenever you install or remove a hard disk drive.
Installing a simple-swap Serial ATA hard disk drive
Attention: Simple-swap hard disk drives are not hot-swappable. Disconnect all
power from the server before you remove or install a simple-swap hard disk drive.
To install a simple-swap Serial ATA hard disk drive, complete the following steps.
Note: If you have only one hard disk drive, install it in the left drive bay.
Filler panel
Hard disk
drive assembly
SATA hard disk
drive back plate
Attention: To avoid damage to the hard disk drive connectors, make sure that the
cover is in place and fully closed whenever you install or remove a hard disk drive.
24 IBM System x3250 Types 4364 and 4365: User’s Guide