9
A INTRODUCTION
This manual provides the specifications and the
step-by-step procedures for the installation,
startup and operation, maintenance and clea-
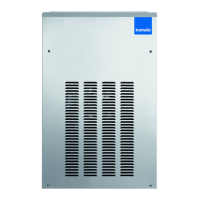
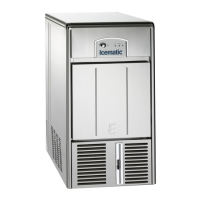
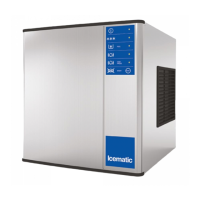
ning for the ICEMATIC F80C-F125C-F120-F200-
SF300-SF500-SFN1000.
The Electronic Flakers and Superflakers are
quality designed, engineered and manufactu-
red.
Their ice making systems are thoroughly tested
providing the utmost in flexibility to fit the needs
of a particular user.
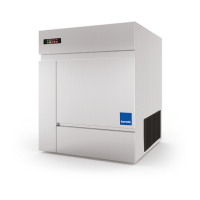
Storage Bin
Since the SF series Modular Flakers do not have
their own attached ice storage bins, it is neces-
sary to use an auxiliary bin as detailed here
below:
F80C - F125C - F100 Kg 90/130
F200 Kg 130/240
SF300 Kg 240/350
SF500 - SFN1000 Kg 500/1200
KF205-255 Stainless steel cover for D205 e D255
KF305 Stainless steel cover for D305
KF405 Stainless steel cover for D405
KF505 Stainless steel cover for D505
KM300-500 Side ice outlet kit for SF300 e SF500
KM1000 Rear ice outlet kit for SFN1000
B. UNPACKING AND INSPECTION
Icemaker
1 Call your authorized Distributor or Dealer for
proper installation.
2 Visually inspect the exterior of the packing
and skid. Any severe damage noted should
be reported to the delivering carrier and a
concealed damage claim form filled in subjet
to inspection of the contents with the carrier’s
representative present.
3 a) Cut and remove the plastic strip securing
the carton box to the skid.
b) Cut open the top of the carton and remove
the polystyre protection sheet.
c) Pull out the polystyre posts from the cor-
ners and then remove the carton.
4 Remove the top and and sides panels of the
unit and inspect for any concealed damage.
Notify carrier of your claim for the concealed
damage as stated in step 2 above.
5 Remove all internal support packing and
masking tape.
6 Check that refrigerant lines do not rub against
or touch other lines or surfaces, and that the
fan blades move freely.
7 Check that the compressor fits snugly onto all
its mounting pads.
8 See data plate on the rear side of the unit and
check that local main voltage corresponds
with the voltage specified on it.
GENERAL INFORMATION AND INSTALLATION
NOTE. To retain the safety and performance
built into this icemaker, it is important that
installation and maintenance be conducted in
the manner outlined in this manual.
CAUTION. Incorrect voltage supplied to
the icemaker will void your parts replace-
ment program.