17
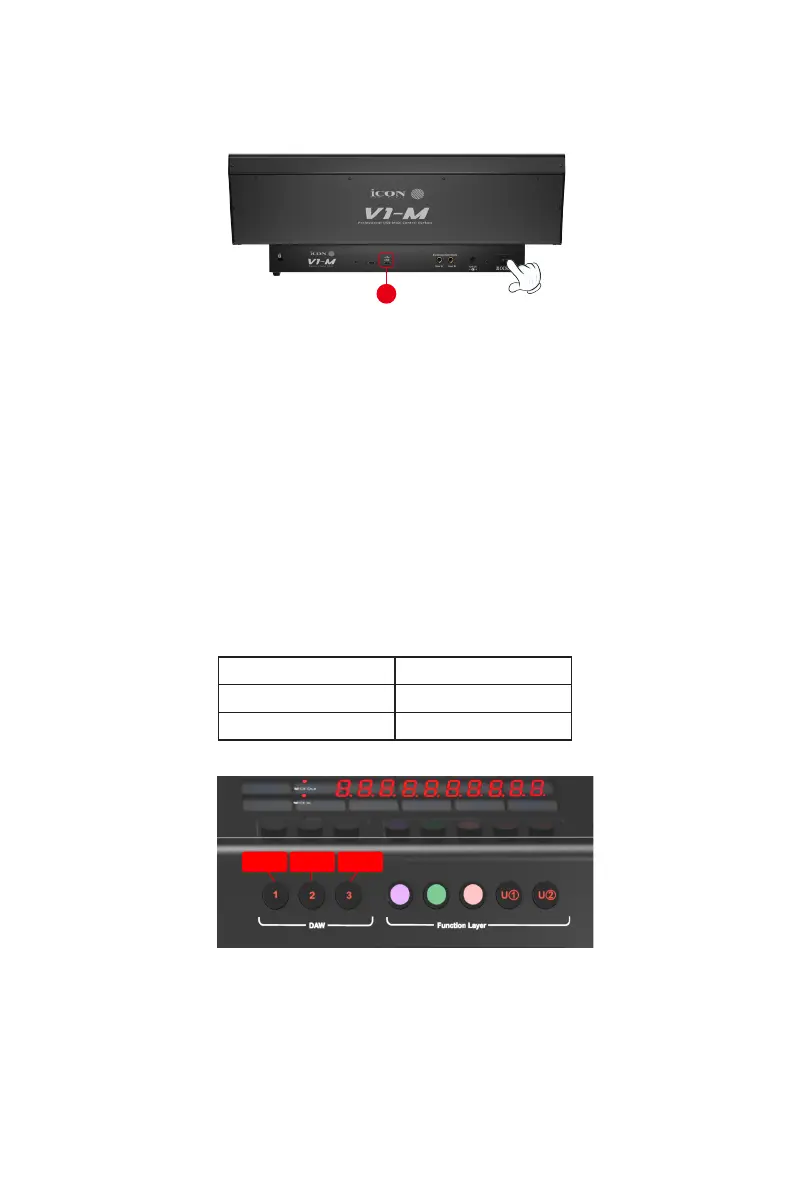
1. Connect the V1-M to your Mac/PC via the USB C port
Choose a USB port on your Mac/PC and insert the USB C cable. Connect the cable’s
other end to the V1-M. Switch on! Your Mac/PC should automatically “detect” the new
hardware.
2. Set up the 3x DAWs you wish to connect to in the iMAP
A) See installing the 'iMAP' section
.
B) Following the diagrams below. Let's use these examples as the DAWs we want to set
up on the V1-M.
Getting Started with the V1-M
DAW #1 Bitwig
DAW #2 Cubase
DAW #3 Logic
In order to allocate the right DAW to the right DAW button (above), we're going to
need to use the iMAP. It is always best to always have the iMAP running in tandem
with the V1-M. In this way on-the-y changes can be made with immediate eect.
First, make sure the iMAP is downloaded and installed, then read the following
section.
1