17
INSTALLATION
Solar Thermal - Installation and Servicing
INSTALLATION
12
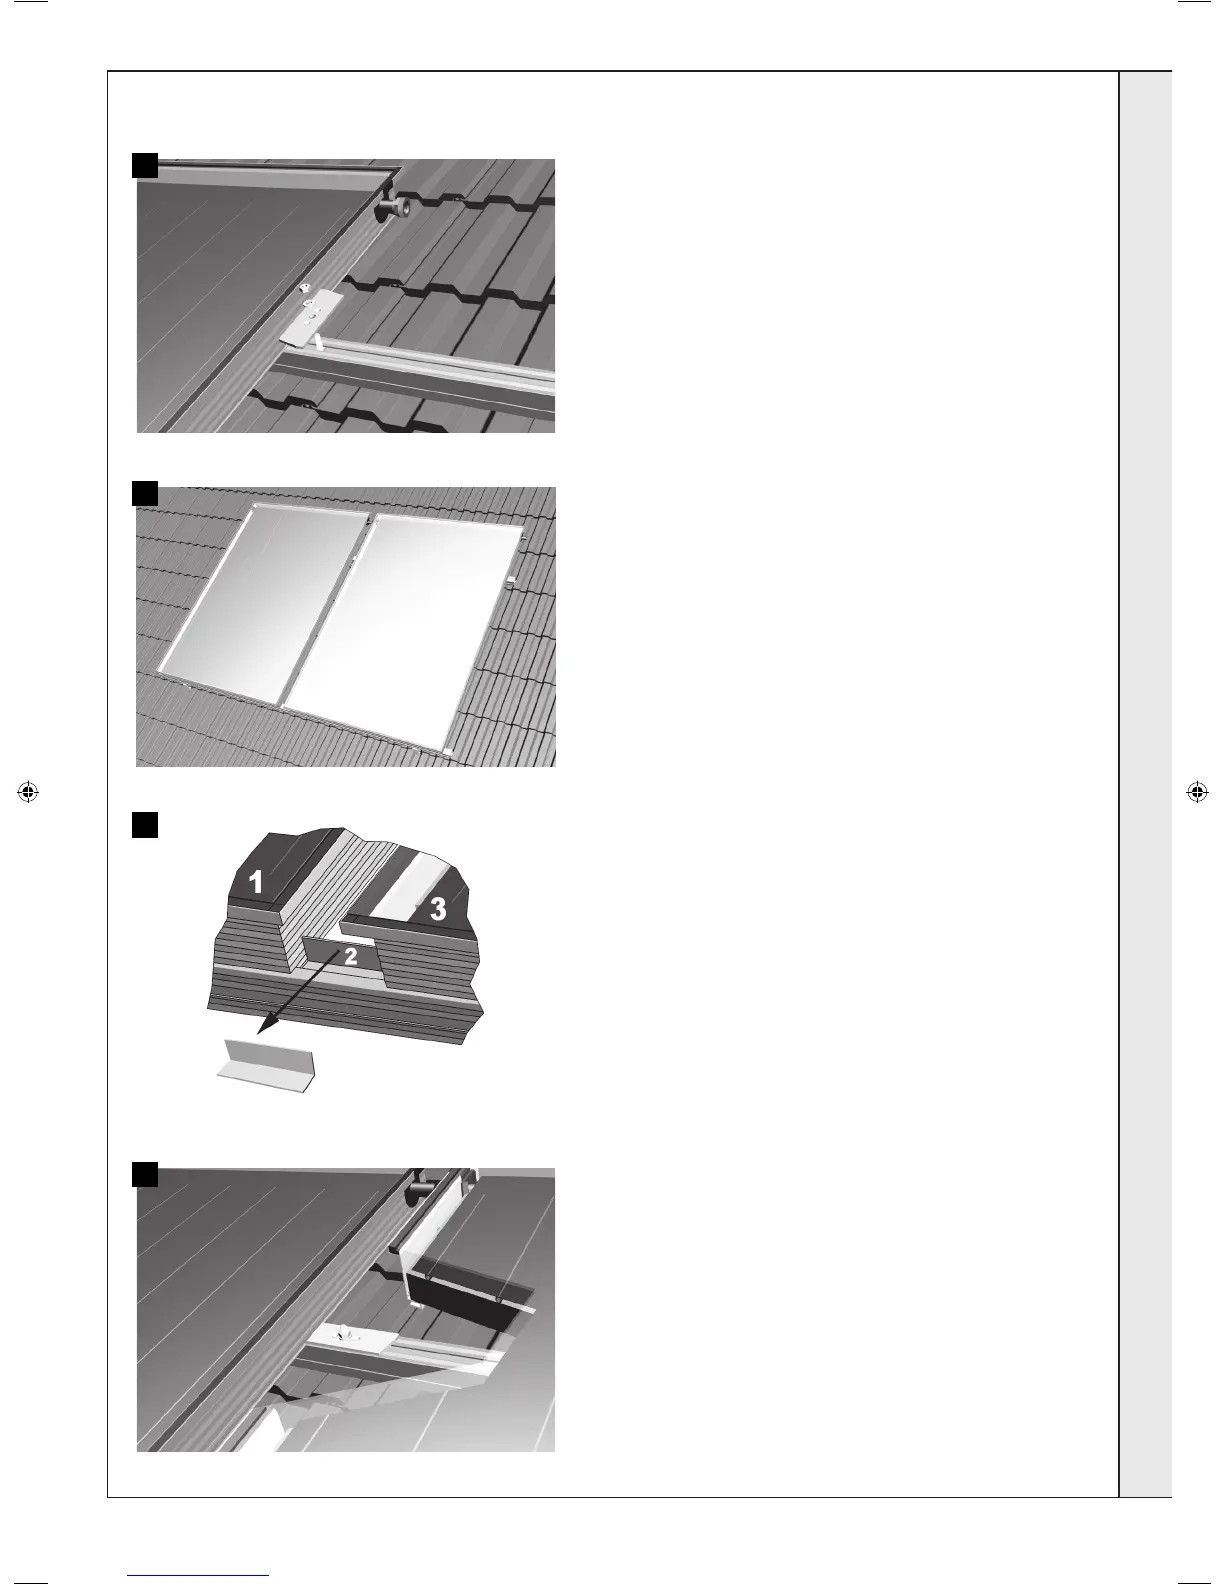
MOUNTING SYSTEM, PARALLEL
13. Place the clamping piece on the upper mounting rail and hand
tighten for now.
Order: upper mounting rail - hammer-head bolt - washer -
clamping piece - washer - nut
14. Attach the second collector (measurement A = measurement B as
shown in Figure 12b)
Please use the mounting jig (14b)
15. Rotate the clamping piece by 90º and screw it tight using a long
socket wrench
13
14a
14b
15
207786-2.indd 17 16/02/2012 11:26:01
 Loading...