

B
bmckinneySep 8, 2025
How to fix the iHome Docking Station if it does not turn on?
- LLinda DavidSep 9, 2025
Plug the AC adapter into a working wall socket and plug the connector into the supply jack on the unit.
How to fix the iHome Docking Station if it does not turn on?
Plug the AC adapter into a working wall socket and plug the connector into the supply jack on the unit.
Why is the 'Battery Low' icon always flashing on my iHome Docking Station?
If the 'Battery Low' icon is always flashing on your iHome Docking Station, it could be due to weak batteries. Replace them with new batteries. Alternatively, the batteries may not be installed correctly. Check to ensure the polarity (+ and – ends) matches the diagram in the battery compartment.
Why is the iD85/iPhone/iPod performance erratic on my iHome Docking Station?
Erratic performance of your iHome Docking Station can be caused by external interference. Move the unit away from potential sources of interference such as computers, modems, wireless devices (routers), or fluorescent lights.
Why is my iHome iD85 unit/adaptor getting warm after extended play at high volume?
It is normal for the iHome Docking Station unit/adapter to get warm after extended play at high volume. Turn the unit off for a while or lower the volume.
Why is the snooze time too long/short on my iHome iD85 Docking Station?
If the snooze time is too long or short on your iHome Docking Station, it may be because a custom snooze time has not been set. Press and hold the Snooze button, then press the + or - button to adjust the snooze time.
Connect the AC adaptor cable to the DC jack on the back of the iD85 and plug into a wall socket.
Snap AM antenna into stand, plug FM antenna cable into socket, and extend FM antenna.
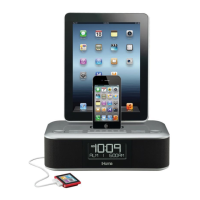
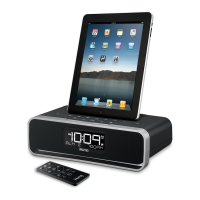
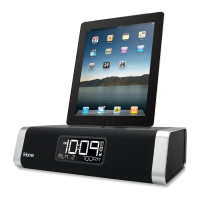
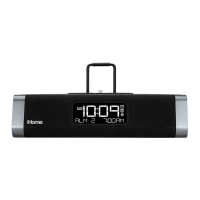
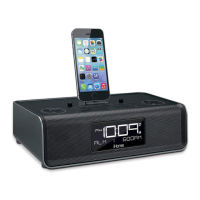
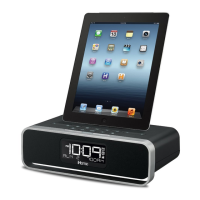
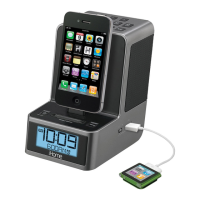
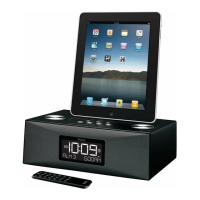
Gently dock iPad, iPhone, or iPod into the 30-pin dock. Remove rubber dock pad if device has a cover.
Dock your device and press the Time Sync Button. The display will show 'TIME UPDATED' on success.
Press Mode Button to select AM/FM band. Use +/- buttons to tune stations. See page 7 for presets.
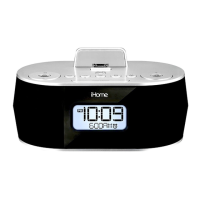
Details controls on the top panel including buttons for alarms, volume, nap, and snooze.
Identifies rear panel ports like AC Adaptor Jack, Line-in Jack, and antenna sockets.
Explains indicators on the display, such as time, alarm, AM/PM, and battery status.
Update iD85 firmware by downloading the free iHome+Sleep app from the App Store.
Connect the AC adaptor to the unit and a 120V AC wall socket for operation.
Manually set the DST Switch and use +/- buttons to select time zone via the Time Zone Button.
Use Time Sync Button to sync iD85 time with docked iPhone, iPad, or recent iPod models.
Set time, date, and year manually using the Time Set Button and +/- buttons.
The iD85 has a dual alarm system with adjustable times, sources, and frequencies.
Configure alarm time, frequency, wake source (iPod, Radio, App), and volume.
Review, arm, or disarm alarms by pressing the alarm button. Active alarms show icons.
Press the button to stop a sounding alarm and reset it for the next scheduled day.
Program custom snooze time (1-29 min) or activate snooze by pressing Snooze/Dimmer button.
Ensures buzzer alarm sounds during power failure if back-up batteries are installed.
Docked iPad/iPhone/iPod charges when unit is connected to AC power (except iPod Classic).
Play music from docked device using Play/Pause, track skip, and volume controls.
Extend FM antenna and snap AM antenna. Use Mode button to select AM/FM and +/- to tune.
Play audio from external devices via standard 3.5mm headphone jack using the Line-in Jack.
Set gradual volume decrease for sleep timer (15-120 min). Independent sleep volume setting available.
Set a nap alarm timer (5-120 min) or OFF. Nap wake source defaults to buzzer or docked device.
Adjust the brightness of the LCD display by pressing the Snooze/Dimmer Button.
Select the correct FM radio frequency steps and ranges for your region (USA, Europe, Japan, etc.).
Install 2 AA alkaline batteries for continuous alarm operation during power failures.
Follow precautions for battery handling, disposal, and usage to prevent damage or hazards.
Covers safety guidelines for water, ventilation, heat, power sources, cleaning, and damage.
Details the 1-year warranty, exclusions, service fees, and requirements for claims.
Outlines warranty validity, limitations on liability, and user acknowledgement of terms.
| Product Type | Docking Station |
|---|---|
| Power Source | AC Adapter |
| Connector Type | 30-pin dock connector |
| Compatible Devices | Apple iPhone, iPod |
| Features | Alarm Clock, FM Radio |