26
First use - Fitting the seal RV 10.8001
) Insert vapour tube (1).
) Insert seal RV 10.8001 (2).
) Slide the union nut (3b) over the flange on the condenser (3a).
)
Also slide the annular spring (3c) over the flange on the condenser (3a).
) Position the condenser (3a) on top of the seal (2).
) Tighten the cap nut hand-screwed (3b).
Note: Follow the mounting instructions for the glassware
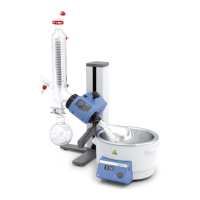
Assembling the vertical glassware cooler locking device
) Assemble the condenser locking device according to the diagram (fig.
12).
) Mount the plate (I) using the thumb screw (J).
) Put the support rod (L) on the plate (I) and attach it with the screw
nut (K).
) Attach the rubber protector (M).
) Fasten the Velcro
®
band (N) to the support rod (L).
) Secure the vertical glassware with the Velcro
®
band (N).
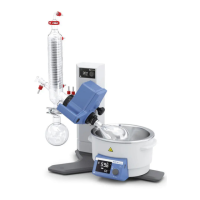
Fitting the condenser seal
) Place the RV 10.8001 condenser seal in the condenser receptacle and
fit the glassware to the device according to the assembly instructions
(Fig. 11 a,b, c and d).
Fig. 11a
Fig. 11b
1
2
3a
3b
Fig. 11c
Fig. 12
I
J
M N
L
K
Fig. 9b
Fig. 10
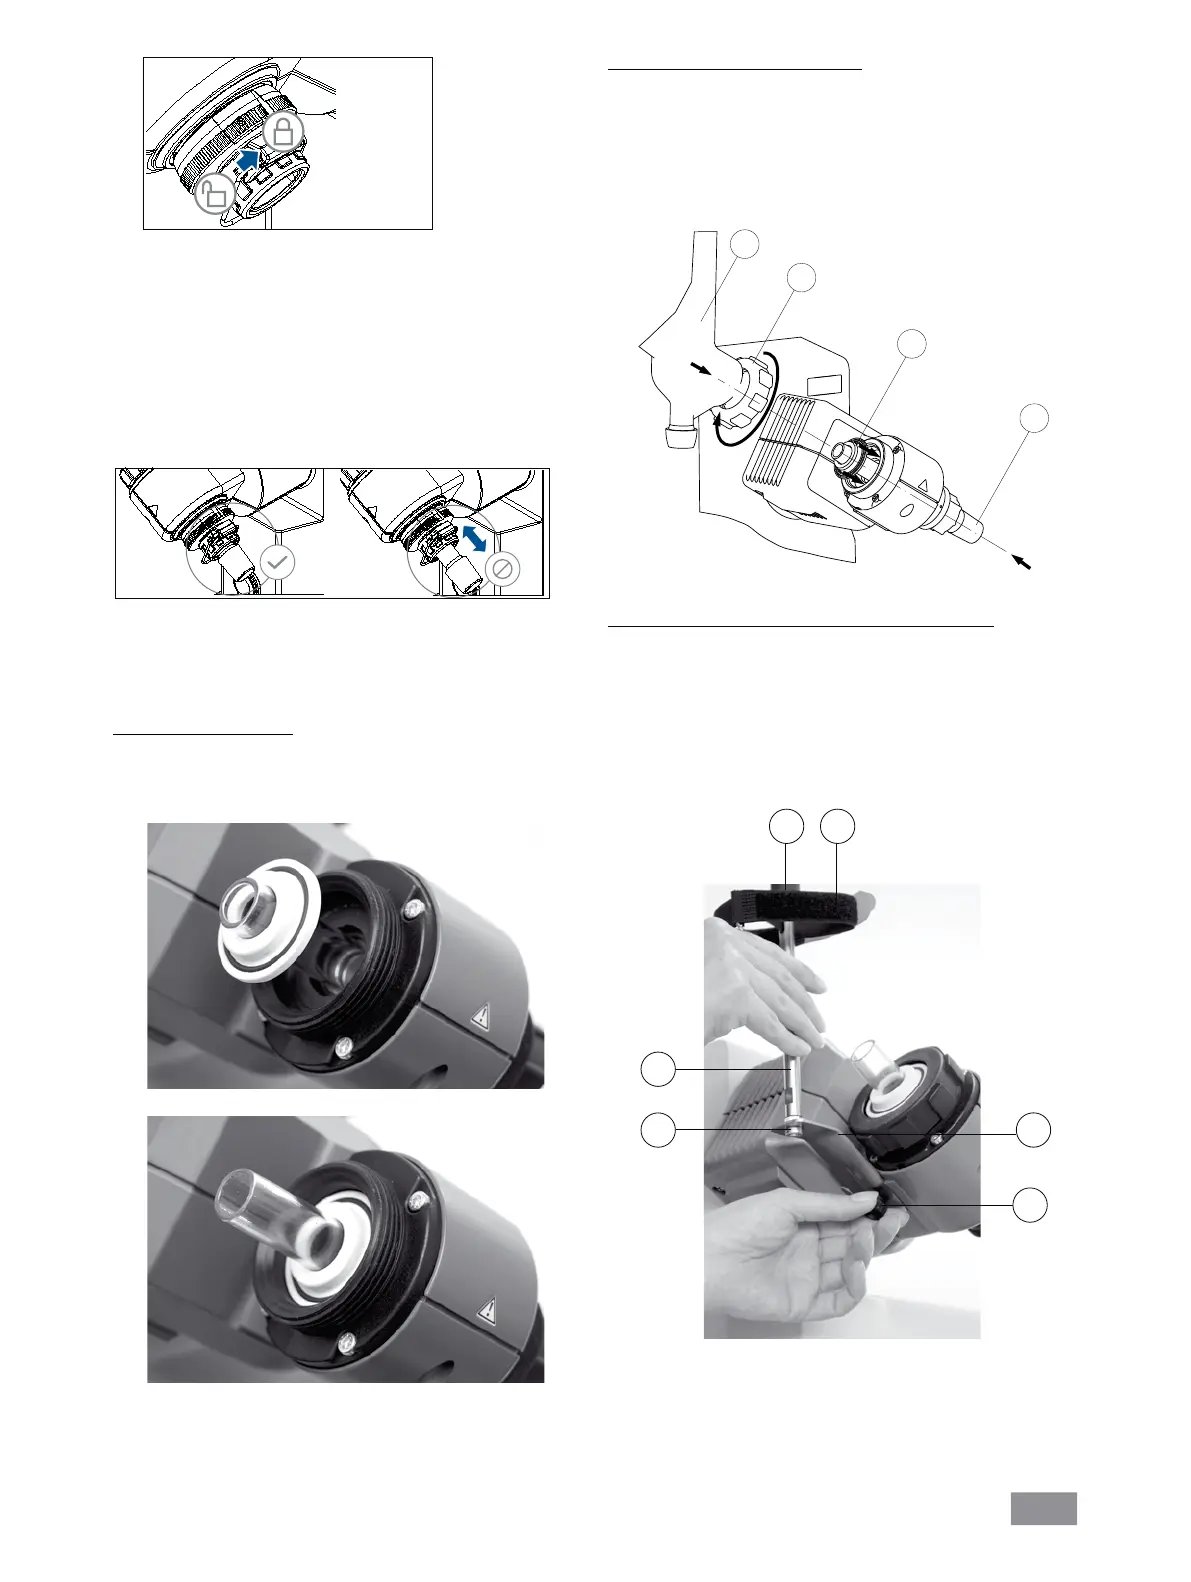
) Open the locking device on the drive head by turning it 60°
counterclockwise. Then you can see a red mark.
) Feed the vapour tube in until it stops.
) Then, lock the locking device by turning it clockwise by 60°.
)
Pushing the lock knob to the end position, the red mark should be
covered and invisible.
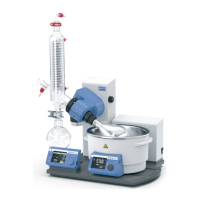
) The vapour tube is not allowed to be pulled out!
) Check the correct axial locking device on the vapour tube.
) Keep the red mark invisible.