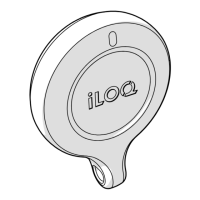
4. Installation
4.1 Installation of the iLOQ Mortise Cylinder
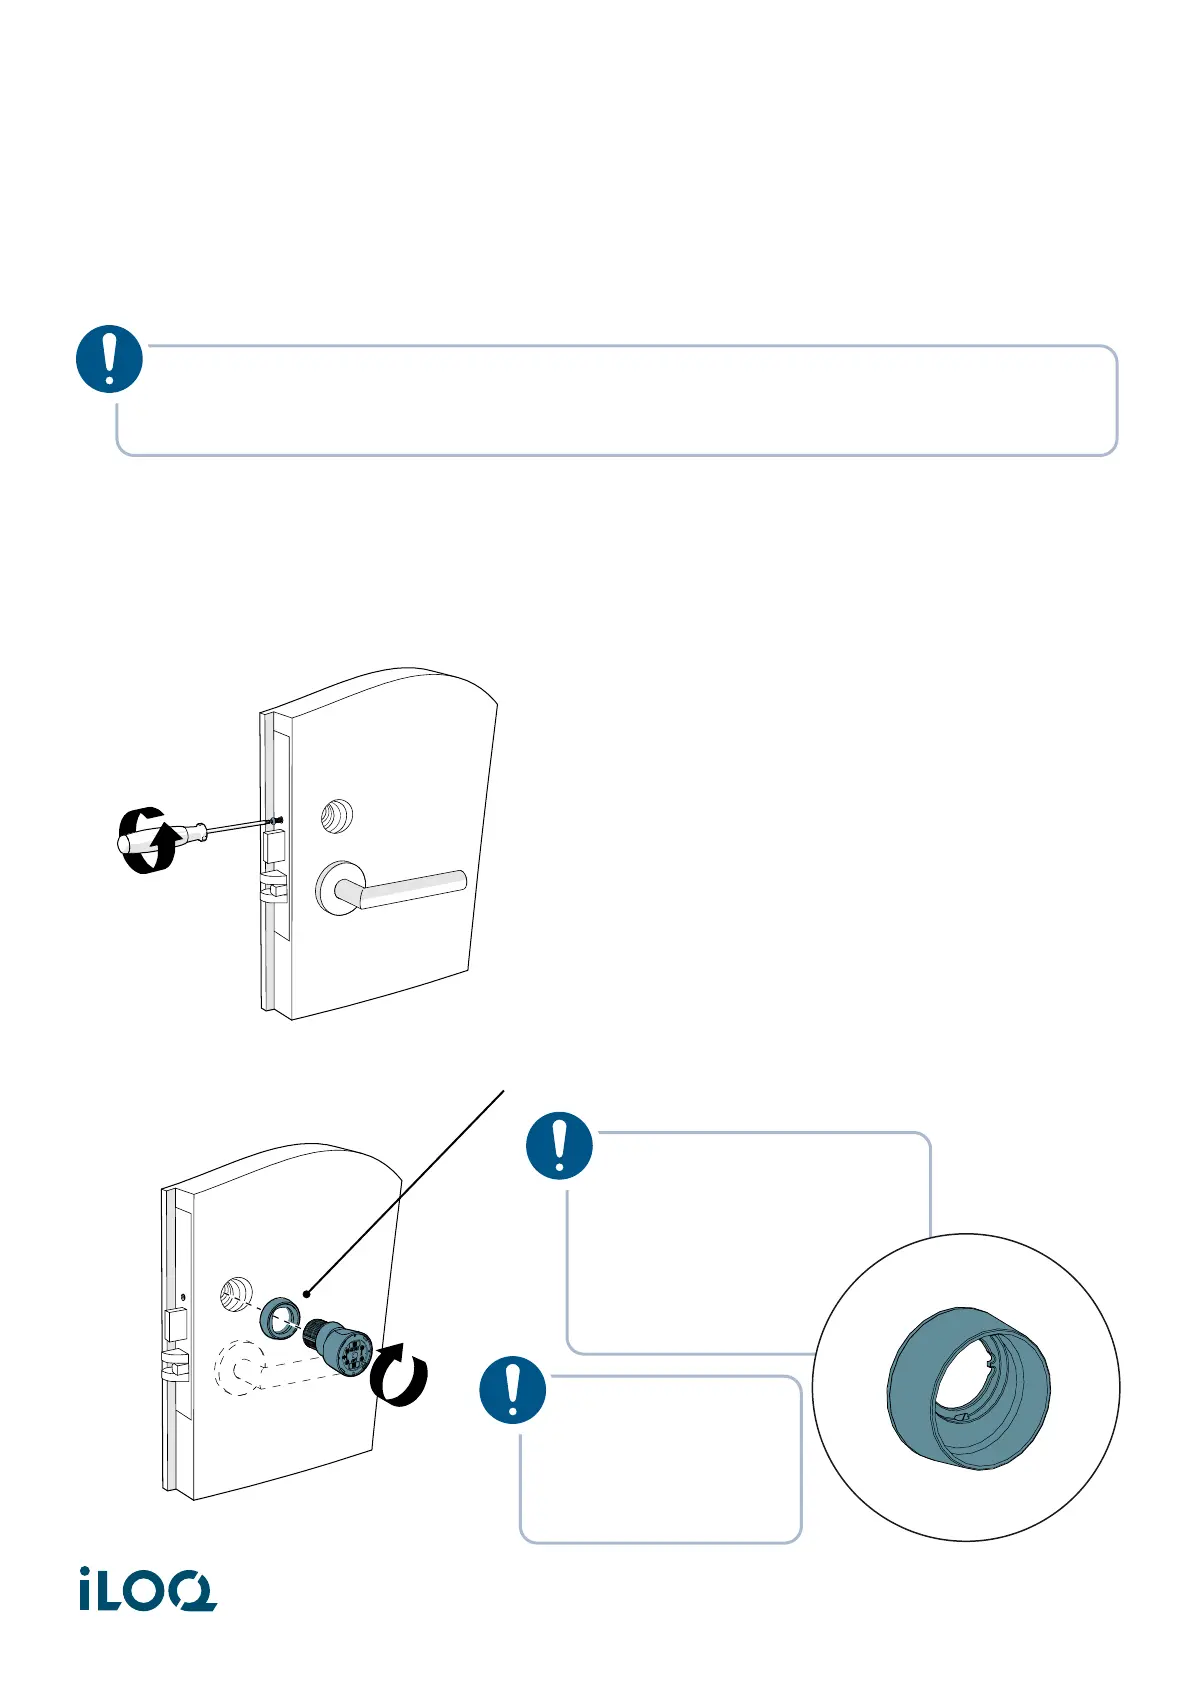
Maximum tightening torques for installation:
• Mortise cam/RIM washer screws: 0.5 Nm
• ADA adapter screw: 0.1 Nm
1. Loosen the cylinder set screw of the mortise case to clear the cylinder’s mounting hole.
2. Thread the iLOQ cylinder with the security ring into the mortise lock.
NOTE! The following installation instructions are for illustration purposes only. The Mortise
Cylinder may be used with various types of hardware. For precise installation guidance,
please refer to the installation manual provided with your specific door hardware.
NOTE! The security ring
could be replaced by a
high guard escutcheon to
provide an extra protection
to the cylinder and the
knob (Product code:
AX50.X.ES1.XX).
NOTE! Do not use
excessive force
when installing the
cylinder (max. 5
Nm of torque).
7
Document ID - 304931
iLOQ S50 (X50S)