EasyManuals Logo

Image Access widetek 44 User Manual

Default Icon
129 pages
To Next Page IconTo Next Page
To Previous Page IconTo Previous Page
Page #24 background imageLoading...
Page #24 background image
/ /
Page 24 Manual
B.4 Powering up the Scanner
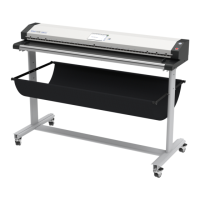
The main power switch is positioned on the right side of the scanner (see Picture 8).
After connecting the scanner to the external power supply, switch the main power switch
to position I. When the main power switch is in position I, the „Power“ button will be
illuminated and the scanner is in standby mode.
B.4.1 Starting the Scanner from Standby Mode
Push the red illuminated „Power“ button to start the scanner.
The button illumination changes to blue.
The scanner starts with self-test routines and verifies all system components. Status
messages will be displayed on the touchscreen and (if connected) on the external
monitor.
At the end of the start-up sequence, the touchscreen displays the start screen.
B.4.2 Switching the Scanner to Standby Mode
Note:
Always turn off the scanner with the „Power“ button at the right side
of the front panel!
The main power switch should only be used when the scanner is in
stand-by mode and before
the scanner is disconnected from the
external power supply.
To turn off the scanner, press and hold the „Power“ button for at least three seconds.
While pressing the button, a “click” sound is audible.
The content of the touchscreen and the external monitor changes and display the system
message.
Finally the touchscreen and the external monitor switch off and the „Power“ button will be
illuminated red again.

Table of Contents

Other manuals for Image Access widetek 44

Questions and Answers:

Question and Answer IconNeed help?

Do you have a question about the Image Access widetek 44 and is the answer not in the manual?

Image Access widetek 44 Specifications

General IconGeneral
BrandImage Access
Modelwidetek 44
CategoryScanner
LanguageEnglish

Related product manuals