11) Install the SuperDisk drive into an available bay. For a
• 3.5" bay, slide the SuperDisk drive directly into the bay.
• 5.25" bay, mount the SuperDisk drive assembly to your
computer’s rails. Install the screws through either the upper
or lower positions on the brackets so that the drive slides
into its bay.
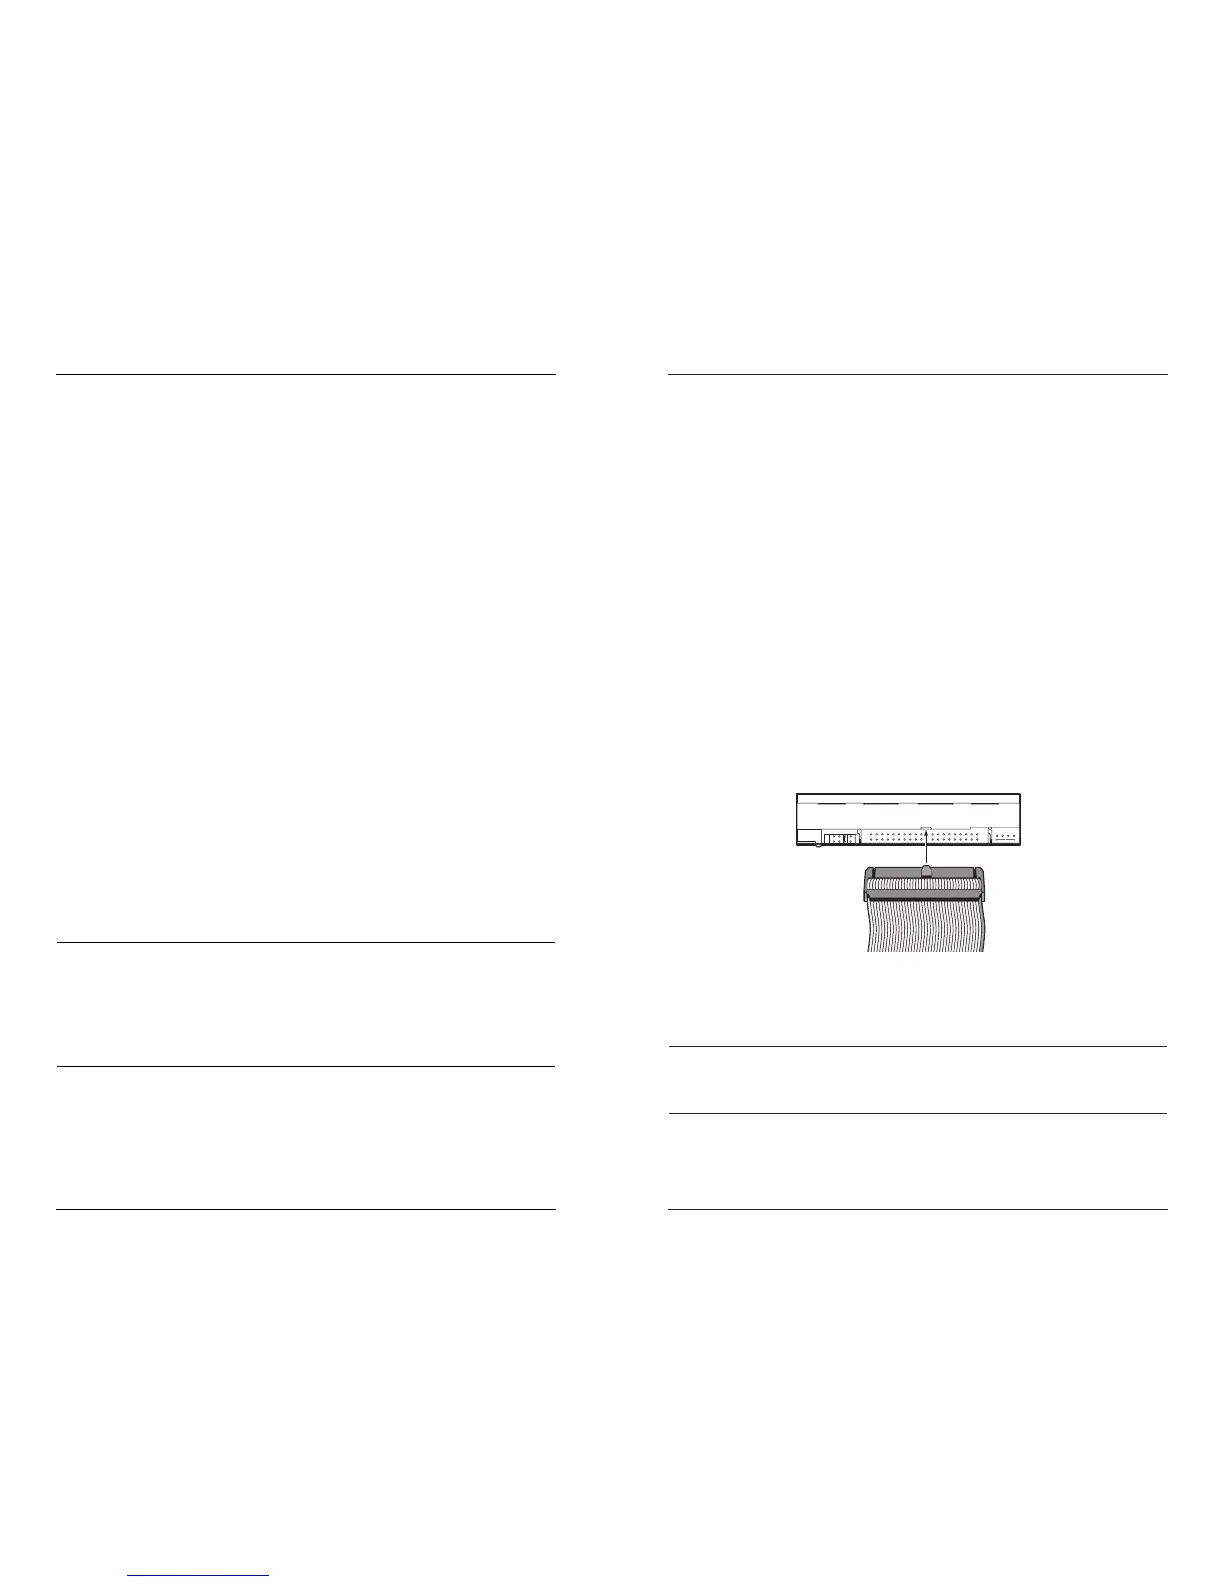
12) Attach the supplied IDE cable to the rear of the SuperDisk drive.
Make sure Pin 1 (identified by a red stripe or marking) on the
cable is on the side closest to the power connector. Holding the
SuperDisk drive right side up with the rear of the unit facing you,
the red wire should be on the right side of the cable. When
positioned correctly, you should not need to force the connection
but will feel a slight resistance followed by a soft click. DO NOT
use the floppy drive cable supplied with your computer.
12) After you have successfully attached the supplied IDE cable to
the SuperDisk drive, plug the other end of the IDE cable into an
available IDE connector (often, but not always, located on the
motherboard).
13) Attach your SuperDisk drive to an available power connector.
Make sure the notch located on the top of the power connector
is facing up, forming a snug connection. If necessary, use a
polarized power adapter.
WARNING
Plugging in the power cable incorrectly destroys your SuperDisk
drive and voids your warranty.
Hardware Installation Procedure
10
3) Repeat steps 1 and 2 with a 1.44MB diskette (for example, the
Driver Software Diskette).
Windows 95--all versions/98/NT
The SuperDisk drive is automatically assigned a Drive icon in My
Computer. Depending on your system, the Drive icon is either a 3.5"
floppy drive or a removable drive. Perform the following steps:
1) Insert a SuperDisk diskette into the SuperDisk drive.
2) Double-click on the Drive icon in My Computer. After a few
seconds, the diskette’s directory appears. This confirms that the
drive was installed correctly.
3) Repeat steps 1 and 2 with a 1.44MB diskette (for example, the
Driver Software Diskette).
Operating the SuperDisk Drive
The SuperDisk drive performs all the normal Windows or DOS copy,
move, and format features your floppy drive performed. These
features and others are described below.
Copying Disks
To copy disks greater than 32MB you will need to use COPY or
XCOPY instead of the DISKCOPY command.
Formatting Disks
With the correct BIOS and system support, SuperDisk diskettes can
be formatted using the Quick Format or (full) Format option in
Windows 95 or 98. If your system does not have BIOS support, the
Quick Format option won’t work the first time you attempt to
reformat a SuperDisk diskette. Subsequent quick formats work
correctly.
✔ NOTE
If you need only to erase files on a diskette but not reformat the
entire diskette, use either the Delete key (click on Windows
Explorer>Edit>Select All) for Windows 95 or 98 or the DEL*.*
command for DOS. These commands may erase the diskette faster
than reformatting.
Ejecting a Diskette
Always wait for the activity indicator (green LED) light to go off or
stop blinking before ejecting a diskette to avoid compromising the
integrity of stored data.
17
Testing the Installation