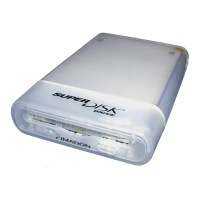
Troubleshooting your SuperDisk drive
a Unplug the SuperDisk drive’s USB cable from your computer’s USB port.
b Unplug the power cable (round end) from your SuperDisk drive and wait
five seconds.
c Reconnect the power cable.
d Press Eject to remove any diskette from the drive.
e Reconnect the USB cable.
f Insert a good diskette (regular or SuperDisk) into your SuperDisk drive.
The diskette resets the drive. If it does not, repeat steps a-d, restart your computer,
and continue with steps e and f.
The SuperDisk diskette icon appears in black and white instead of gray.
This only occurs with Mac OS 8.1 after you erase a SuperDisk diskette.
To restore the icon’s appearance, perform the following:
1
Click the SuperDisk diskette icon on your installation CD-ROM.
2
Choose Get Info from the File menu under the Finder.
3
Select the diskette icon from the window and choose Copy from the Edit menu.
4
Click the SuperDisk diskette icon on your desktop.
5
Choose Get Info.
6
Select the diskette icon from the window and choose Paste from the Edit menu.
12