15
4. Press several times the key until you come back to mode L (residual time to end
the test). Confirming the data storing, the led will stop blinking.
5. Press several times the key until on the numeric display (C8) appears the letter F
(showing ON time or the possibility to select it).
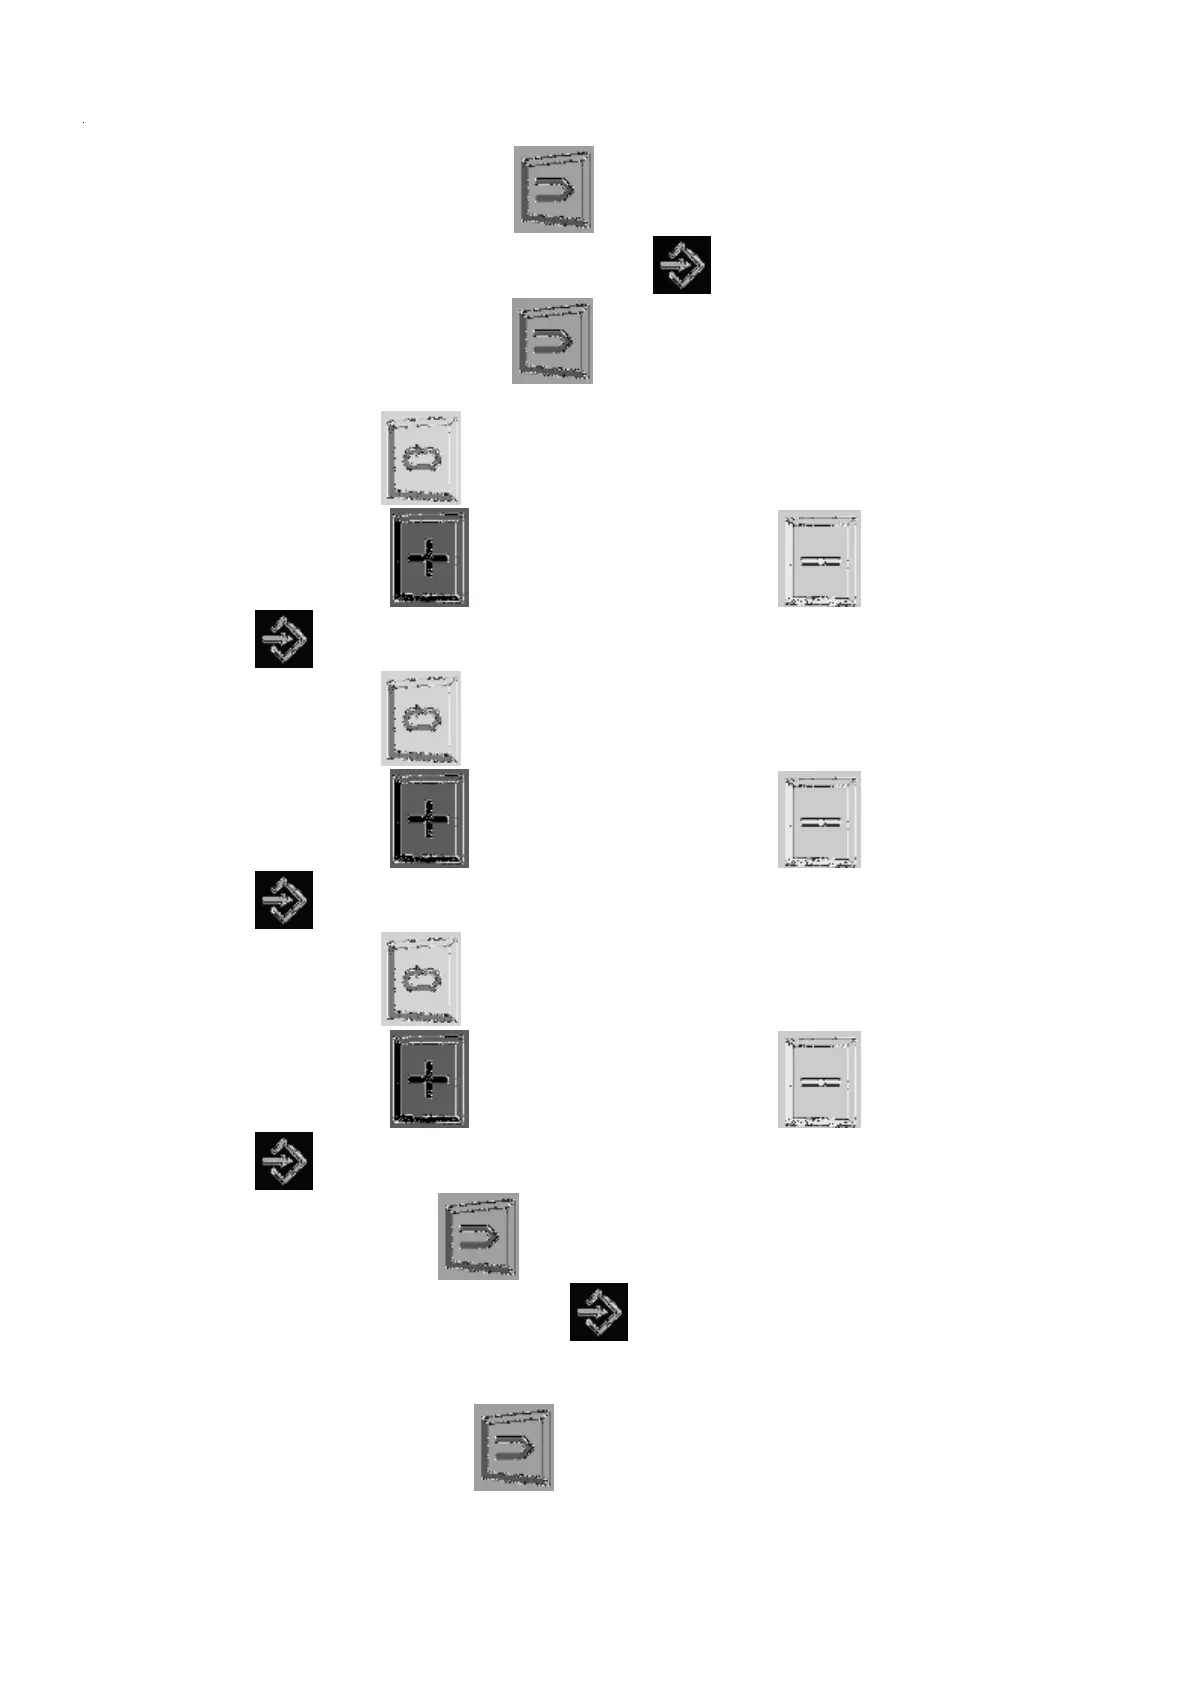
6. Press the key
; the figure on the left of the display (C8) will start blinking.
7. Press the key to increase the value or the key to decrease it. The led
is now blinking, showing that the value is under modification.
8. Press the key ; the figure in the middle of the display (C8) will start blinking.
9. Press the key to increase the value or the key to decrease it. The led
is now blinking, showing that the value is under modification.
10. Press the key
; the figure on the right of the display (C8) will start blinking.
11. Press the key to increase the value or the key to decrease it. The led
is now blinking, showing that the value is under modification.
12. Press several times until you come back to mode L (residual time to end the test).
Confirming the data storing, the led will stop blinking.
CONTINUOUS SIEVING
Press several times the key
until on the numeric display (C8) appears the letter C
(showing the present mode or the possibility to select it):