Aligning
and
Tuning
Best results always come from
machines
which are correctly
aligned
and
tuned
.
These
are
the
important
areas on which
we
recommend
periodic
checking
.
A.
Saw
blade
and
fence
parallel
to
the
mitre
guide
slots
B.
Blade
angle
stops
at
45°
and
90°
C.
Blade
angle
scale
D.
Splitter
and
guard
E.
Table
insert
plate
Alchough chese areas are aligned
ac
rhe facrory, mi
sa
lignmenc may occur
during
shipments,
and/or
afcer some period
of
use.
You
don'c need expensive cools
co
align and resc, buc you will need a good
cry
or
combination
square.
A good
cry
square wich a
3"-6"
blade will work nicely.
Test
the
square
on che oucside firsc. Some carpenters squares are
noc
accurate boch inside and outside.
Note:
All
adjustments
should he
made
with
the
saw
unplugged
for
safety.
DO
NOT
WORK
WHILE
:
A.
TIRED
B.
DRINKING
ANY
ALCOHOL
C.
DISTRACTED
D.
WEARING
LOOSE
CLOTHING
OR
TIES
DO
NOT
WORK
WITH:
A.
SAWDUST
ON
THE
FLOOR
B. LOOSE ELECTRICAL
CONNECTIONS
C.
LOOSE
WIRES
ON
THE
FLOOR
Belt
Tension
and
con
di
ti
on
The
drive belc has a break-in period. Afcer some hours
of
use
it
may loosen
and need
co
be censioned
in
order
co
gee full power from rhe mocor
wichour
slipping
.
1.
Unplug
the saw.
2. Tilcing che arbor for easier access.
3. Loosen rhe four boles which hold
the
mocor in place.
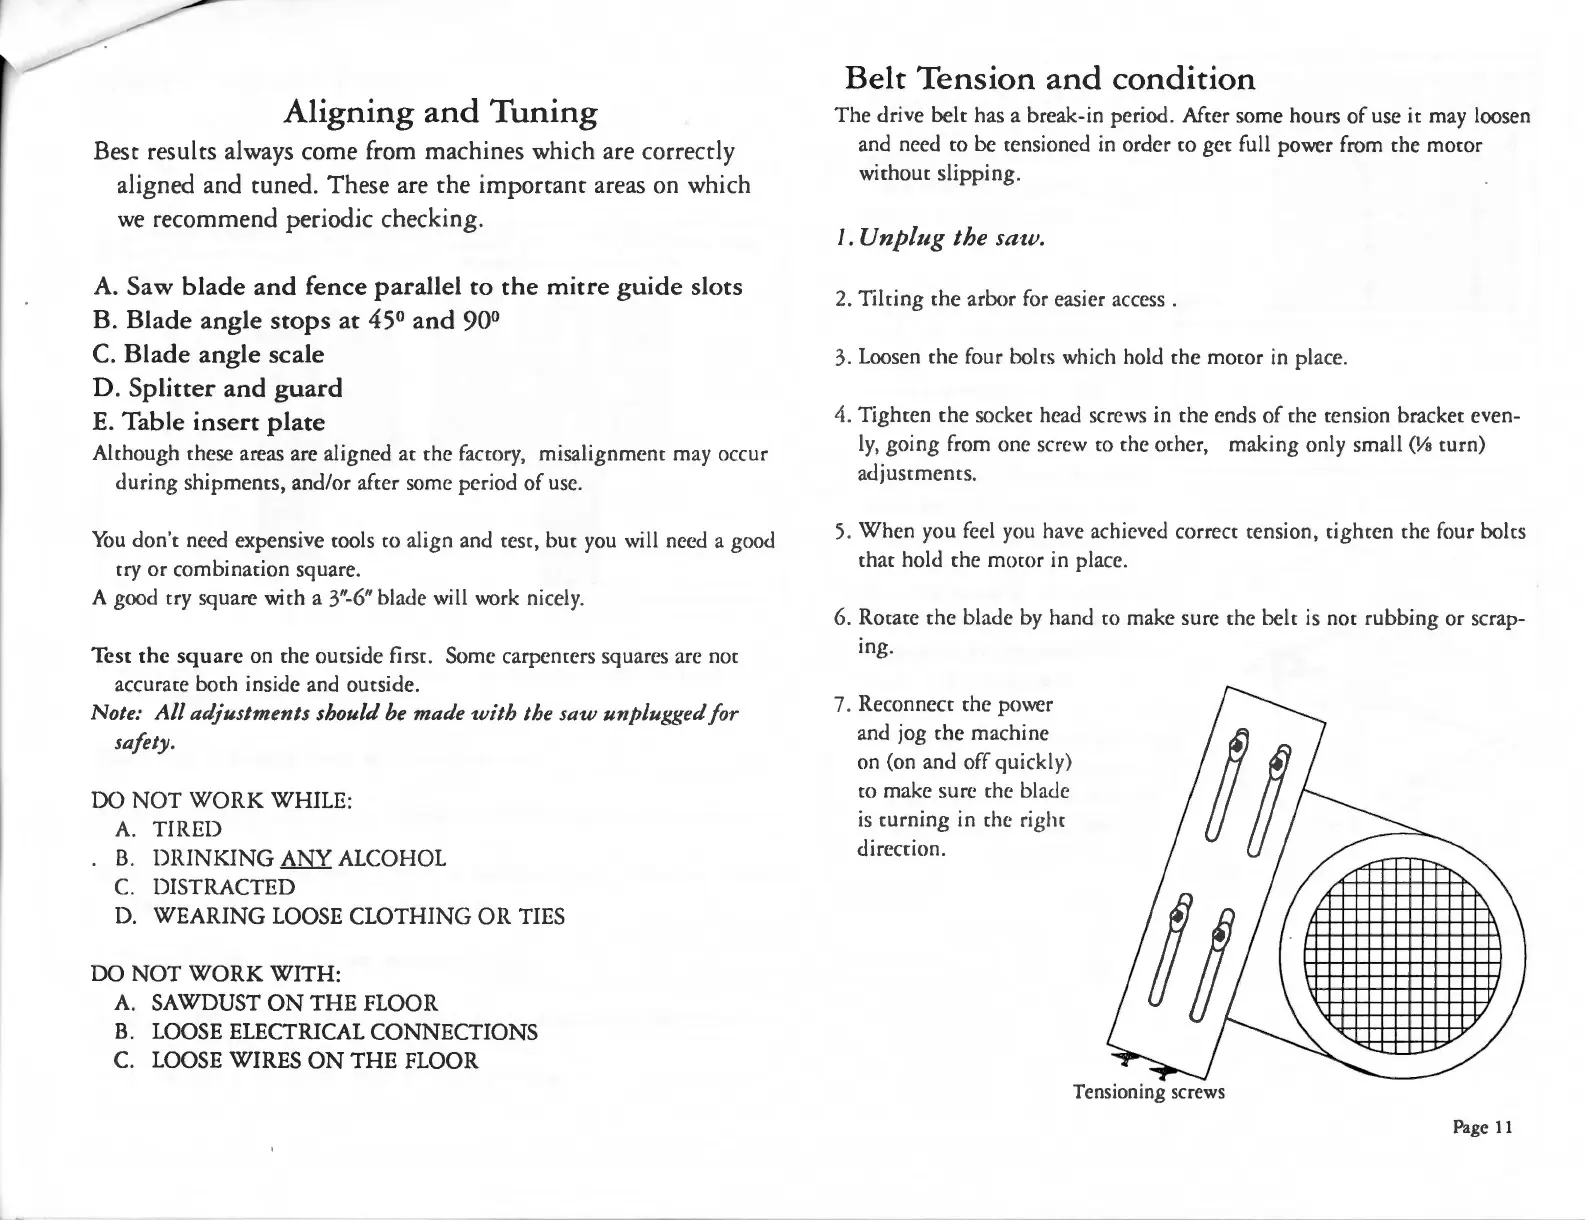
4.
Tighren
rhe sockec head screws in
the
ends
of
che tension bracket even-
ly
,
going
from one screw
co
che ocher,
making
only small
(Ya
turn)
adjusrmencs.
5.
When
you feel you have achieved correcc tension,
righten
the
four boles
char hold che mocor in place.
6.
Rorace che
blade
by hand
co
make sure the belc
is
nor
rubbing
or scrap-
tng.
7. Reconnect
the
power
and jog che
machine
on (on
and
off
quickly)
co
make sure chc blade
is
curning
in chc
ri
g
hc
direccion.
Tensioning screws
/
'\
-
/
"'
-
~
"'
\
I
IJ
......
Page
11