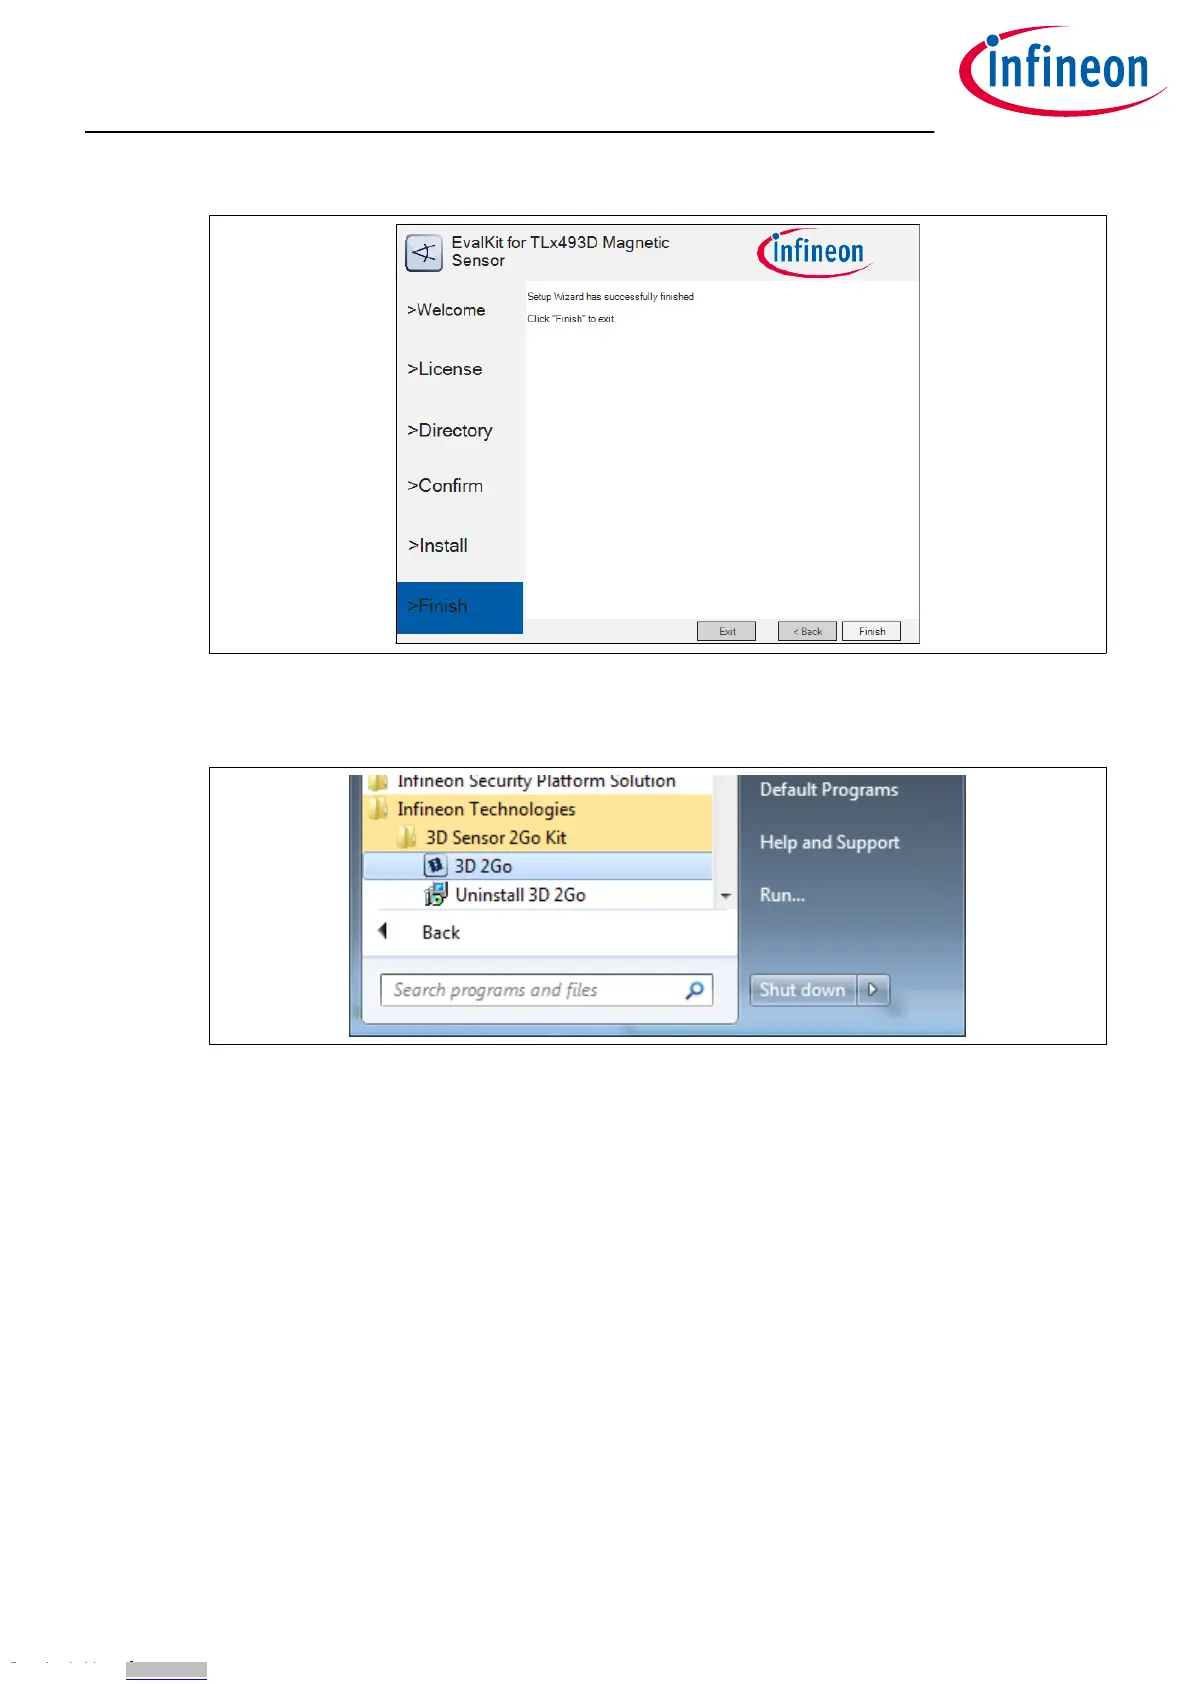
Figure 18 Installation finished
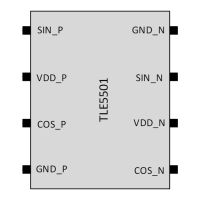
7. You can now start the evaluation soware. Open the start menu, browse to Infineon Technologies > 3D
Sensor 2go Kit and open the application by clicking on 3D 2Go.
Figure 19 Shortcut to the 3D Magnetic 2Go evaluation soware (GUI)
3.1 Driver installation
To enable the communication between the 3D Magnetic Sensor 2 Go kit it is necessary to install the J-Link driver
on your PC.
The driver is included in the GUI installer and will start automatically within the installation progress. In case of
issues, you can directly download the latest version from the SEGGER homepage:
https://www.segger.com/downloads/jlink
Steps
1. Start the installation. Invoke your downloaded driver executable or wait for the 3D Magnetic Sensor 2 Go
installer to open the window shown in Figure 20. Click on Next.
3D Magnetic Sensor 2 Go - TLE493D-A2B6
Low Power 3D Hall Sensor with I²C Interface
Soware installation
User Manual 15 1.0
2018-05-16
Downloaded from Arrow.com.Downloaded from Arrow.com.Downloaded from Arrow.com.Downloaded from Arrow.com.Downloaded from Arrow.com.Downloaded from Arrow.com.Downloaded from Arrow.com.Downloaded from Arrow.com.Downloaded from Arrow.com.Downloaded from Arrow.com.Downloaded from Arrow.com.Downloaded from Arrow.com.Downloaded from Arrow.com.Downloaded from Arrow.com.Downloaded from Arrow.com.