6
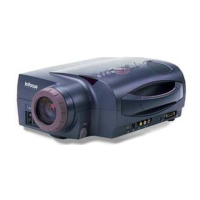
Setting up the Projector
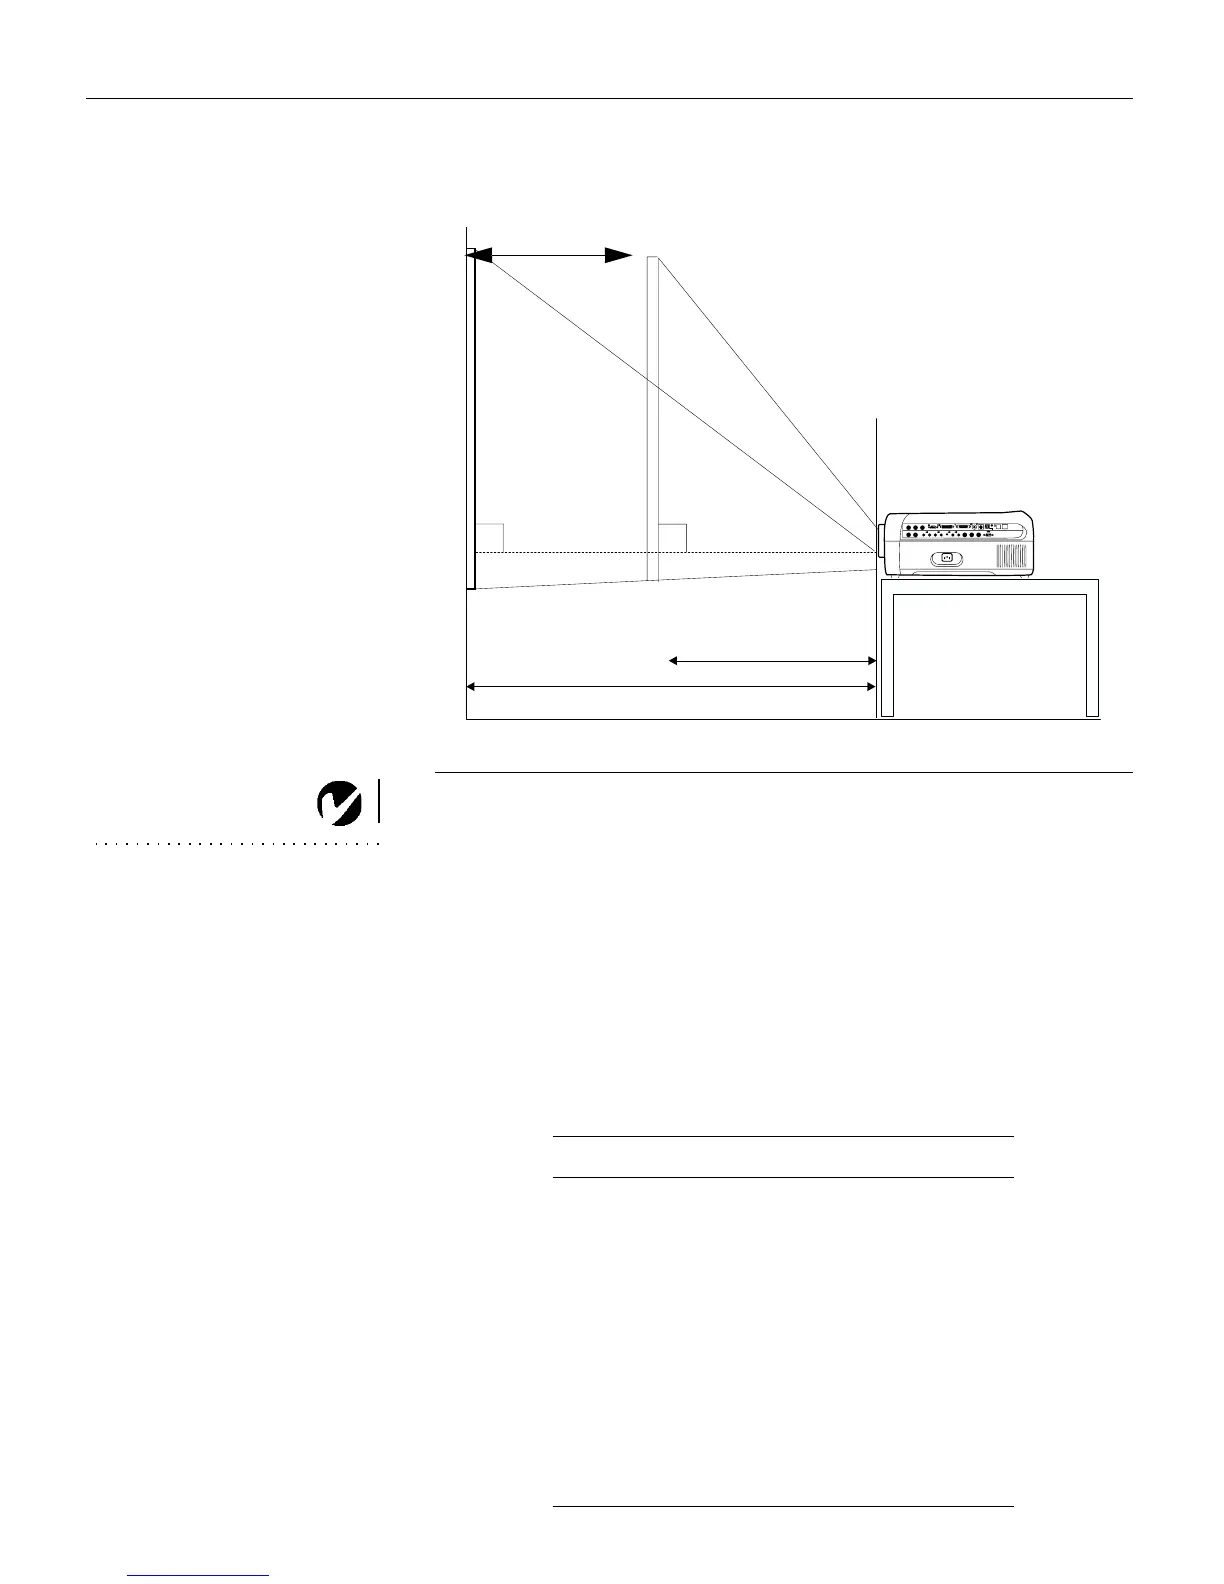
FIGURE 3
Projected image size for 10’ diagonal image size
NOTE: The CableWizard
connector is used with the optional
CableWizard2 or 3, a connection
hub containing mouse, audio,
monitor and computer connectors.
It is optimized for ceiling-mounted
installations, and can be used with
a 60’ extension cable. See
“Optional Accessories” on
page 44. This input is designated
Computer CableWizard.
Once you know the diagonal image size, you can figure out the
width and height using these formulas:
width (inches) = diagonal (inches) x 0.8
height (inches) = width (inches) x 0.75
3
Make sure the projector is unplugged and your computer is
turned off. Now you’re ready to connect your equipment.
Steps for connecting the different types of equipment are
given on the pages listed below.
L L
Inout InIn
L
BNC BNC
R RR
A
0
R
s
R
G
G
B
B
minimum L: 14’
maximum L: 20’
distance between lens and screen: L
zoom adjustment range:
90º
90º
20-14’
Equipment you want to connect Page
Computer with VESA cable page 8
USB type B mouse page 8
Computer with BNC cables page 8
Computer with M1-DA cable page 9
RS-232 cable page 10
Video player page 10
External speaker page 12
Remote cable page 12
 Loading...