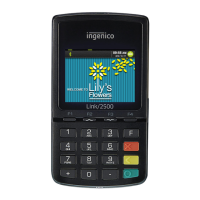
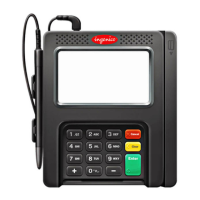
First things with the Link2500
If your payment terminal comes pre-activated, you can skip this activation procedure.
If your payment terminal is not activated yet, please make sure you have the activation code from
your dealer. After powering on the terminal shows the Activation screen below when it’s not activated
yet.
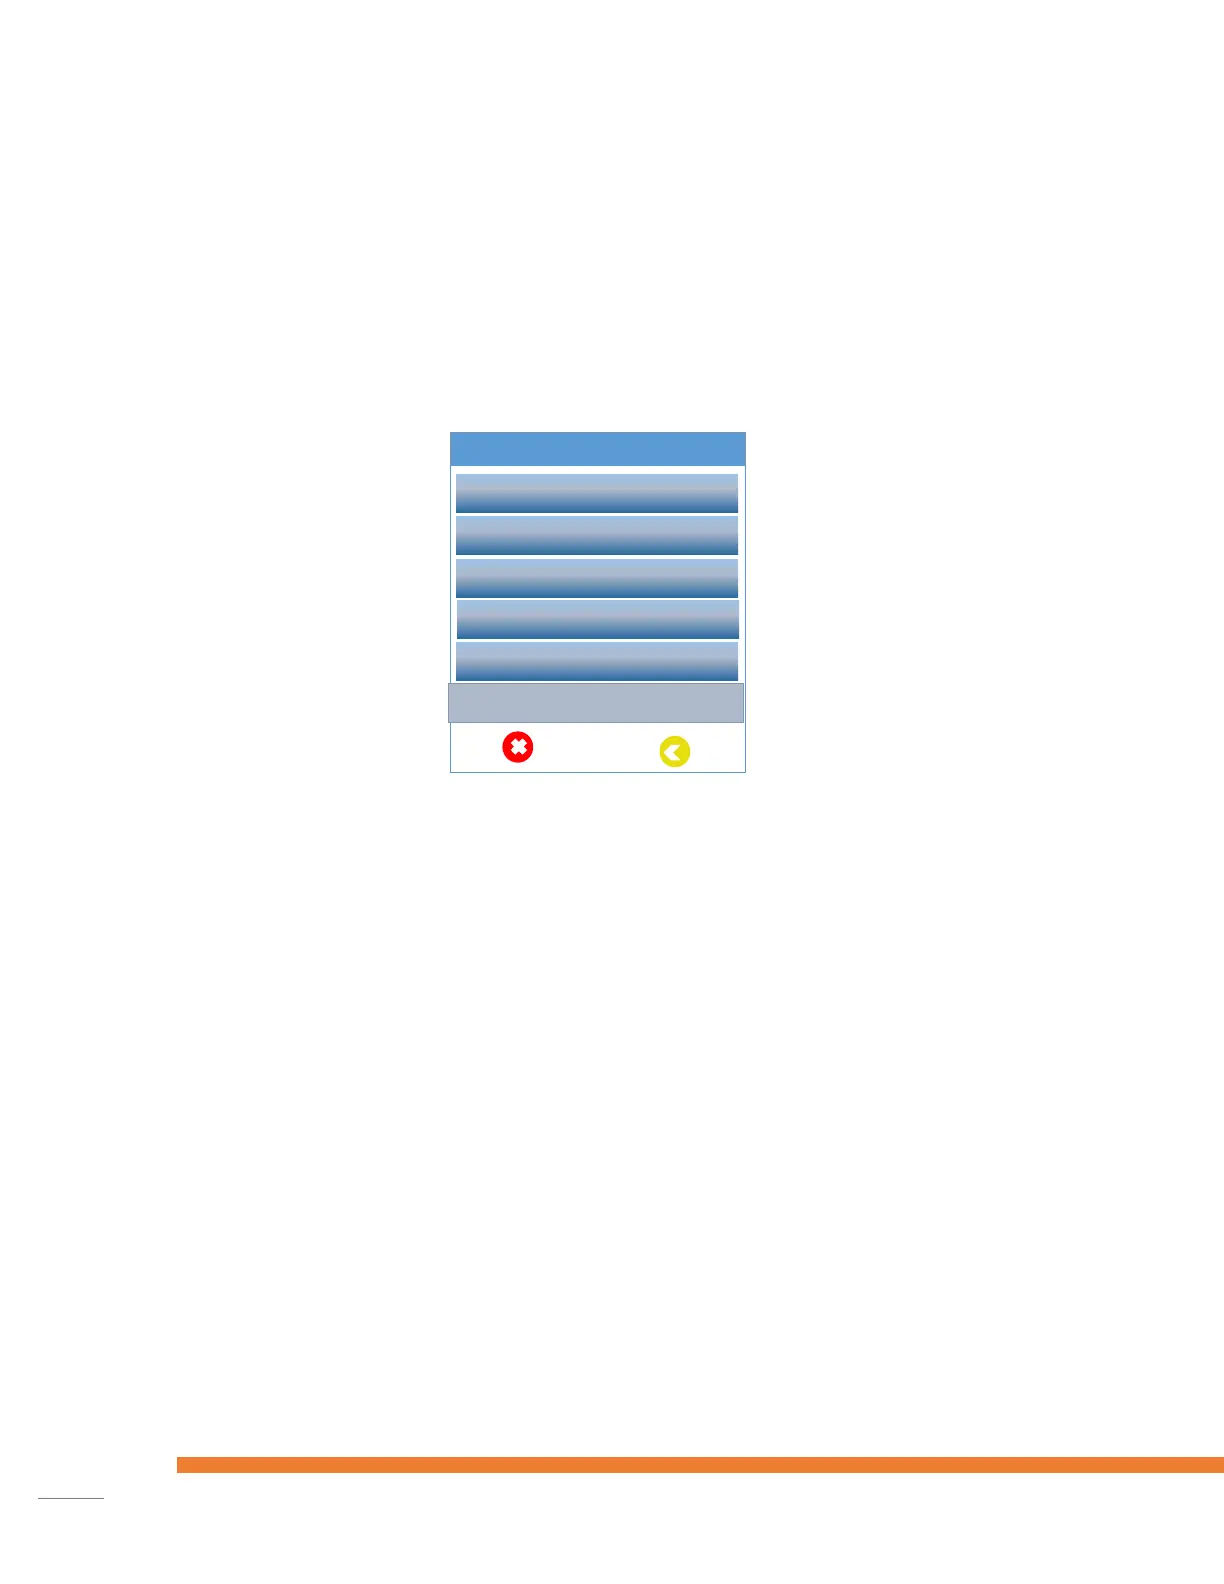
Setup the connection method
First thing to do after powering on the terminal is the configuration of the network.
WiFi Setup
Select ‘WiFi Settings’, press the green ‘OK’ button on the keypad and follow the on-screen instructions.
Select ‘Scan network’ and press ‘OK’ button. If the SSID of the network is not found the first time, try
again
GPRS Setup
Select ‘Set SIM-card PIN-code’ if the used SIM card has a PIN-code and follow the on-screen
instructions. If there is no PIN-code or the PIN-code is just entered, choose the ‘GPRS Settings’ option
from the ‘Activation Menu’ to change the connection parameters for GPRS. Generally Access Point
Name, username and password are needed.