9
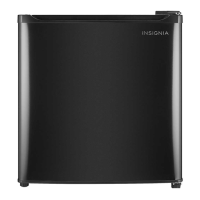
1.6 Cu. Ft. 12 Volt Compact Refrigerator
www.insigniaproducts.com
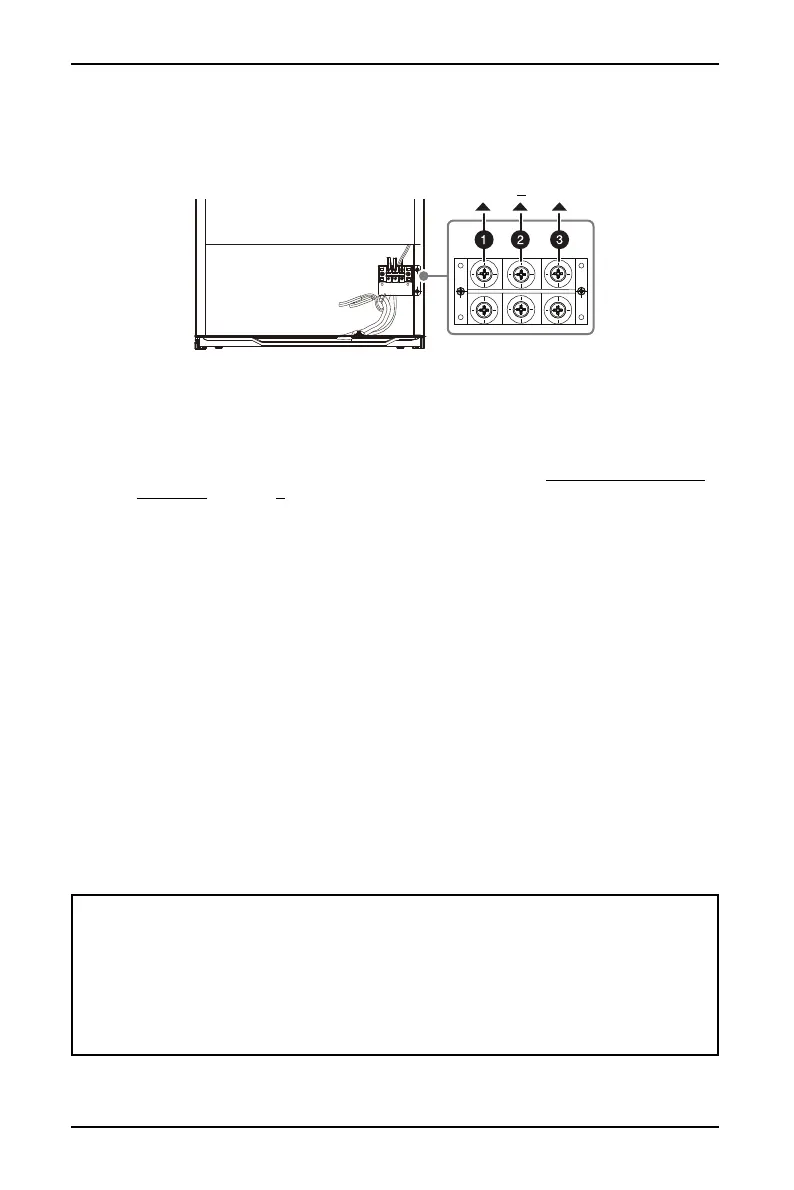
4 Locate the power supply connection terminal block on the right side of the
compressor compartment.
5 Unsnap the clear plastic cover over the terminal block to access the terminal
screws.
6 Loosen the terminal screws on the lower side of the block with a Phillips
screwdriver.
7 Connect a power supply wire to the + terminal (1). See Selecting the correct
type wire on page 8.
8 Connect a power supply wire to the – terminal (2).
9 If you install your refrigerator in an RV, connect a power supply wire to the
GND (3) terminal and to a metal portion of the RV.
10 Tighten the terminal block screws, then replace the plastic cover.
11 Align the rear refrigerator cover with the screw holes, then route the supply
wires through the slot on the lower right of the cover.
12 Replace the screws you removed previously.
13 Connect the power supply wires to the DC power supply. See the
documentation that came with the supply.
14 Move your refrigerator into its final position. Make sure that you don’t roll over
or damage the main power supply line.
15 Turn on your refrigerator by replacing refrigerator circuit fuse or turning on
circuit breaker in the DC voltage distribution panel.
16 Return the control knob to the 7 position.
Reversing the door position
CAUTIONS:
• To avoid serious injury or death from electrical shock, disconnect the main DC
power source before you reverse the door.
• To remove the door, you have to tilt your refrigerator backwards. To avoid
personal injury and property damage, get another person to tilt your refrigerator
while you reverse the door. You can also lean your refrigerator against something
solid, like a chair, just below the top panel.
• DO NOT lay your refrigerator flat because you may damage the coolant system.
+
GND
Power input: DC 12 V
Current: 15 A max.
 Loading...