15
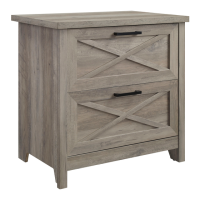
2-Drawer File Cabinet - Dark Oak
www.insigniaproducts.com
STEP 4: Assembling the cabinet sides and bottom
You n e ed:
1 Insert two large KD cams (E) into the mid-cabinet back brace (5). Insert two large KD cams (E) into the mid-cabinet
horizontal brace (5). Insert two large KD cams (E) into the bottom front trim (8). Make sure that the cam lock arrows
are pointing toward their corresponding cam-lock screw holes.
2 Lay the left side panel (2) flat on the floor, then align and attach the mid-cabinet horizontal brace (5), the upper
back brace (6), the mid-cabinet back brace (5), and the bottom panel (4). Make sure that the edges of the panels are
flush with each other, then tighten the KD cams.
3 Use a Phillips screwdriver to attach the bottom panel (4) to the left side panel (2) with three 4 x 22 screws (V)
through the holes in the connection bar (18).
4 Place the right side panel (3) on the top of the assembled pieces, then align and attach it to the assembled pieces.
Make sure that the edges of the panels are flush with each other, then tighten the KD cams.
5 Use a Phillips screwdriver to attach the bottom panel (4) to the right side panel (3) with three 4 x 22 screws (V)
through the holes in the connection bar (18).
6 Place the assembly upright on the floor.
E KD Cam (large) (6)
Phillips screwdriver
2 Left side panel
4 Bottom panel
3 Right side panel
5 Mid-cabinet horizontal brace
and mid-cabinet back brace
6 Upper back brace
V 4 x 22 mm screws (6)
18 Connection bar
 Loading...