Titan Instructions for Use - EN Page 38
Operating Titan in Handheld Mode
3.5.1 Startup
The Titan will always start on the previously used protocol Test screen, ready to start a measurement.
When switching on the Titan in handheld mode after disconnecting from a PC, it will start in the Select
Protocol screen and you will have to select which protocol to use next.
3.5.2 Battery
When the Titan battery’s power capacity becomes low, the first indication you will see is the battery symbol in
the top right hand corner of the hand held unit change color. When the battery’s power level becomes too
low that measurements can no longer be performed, a warning will appear on screen, the measurement will
be stopped and all recorded data will be stored. You will have to turn off the handheld unit and change
battery or place the Titan in the cradle to be able to continue testing. Upon restarting the Titan, the previously
measured data will be recovered and you can continue with your measurements without retesting.
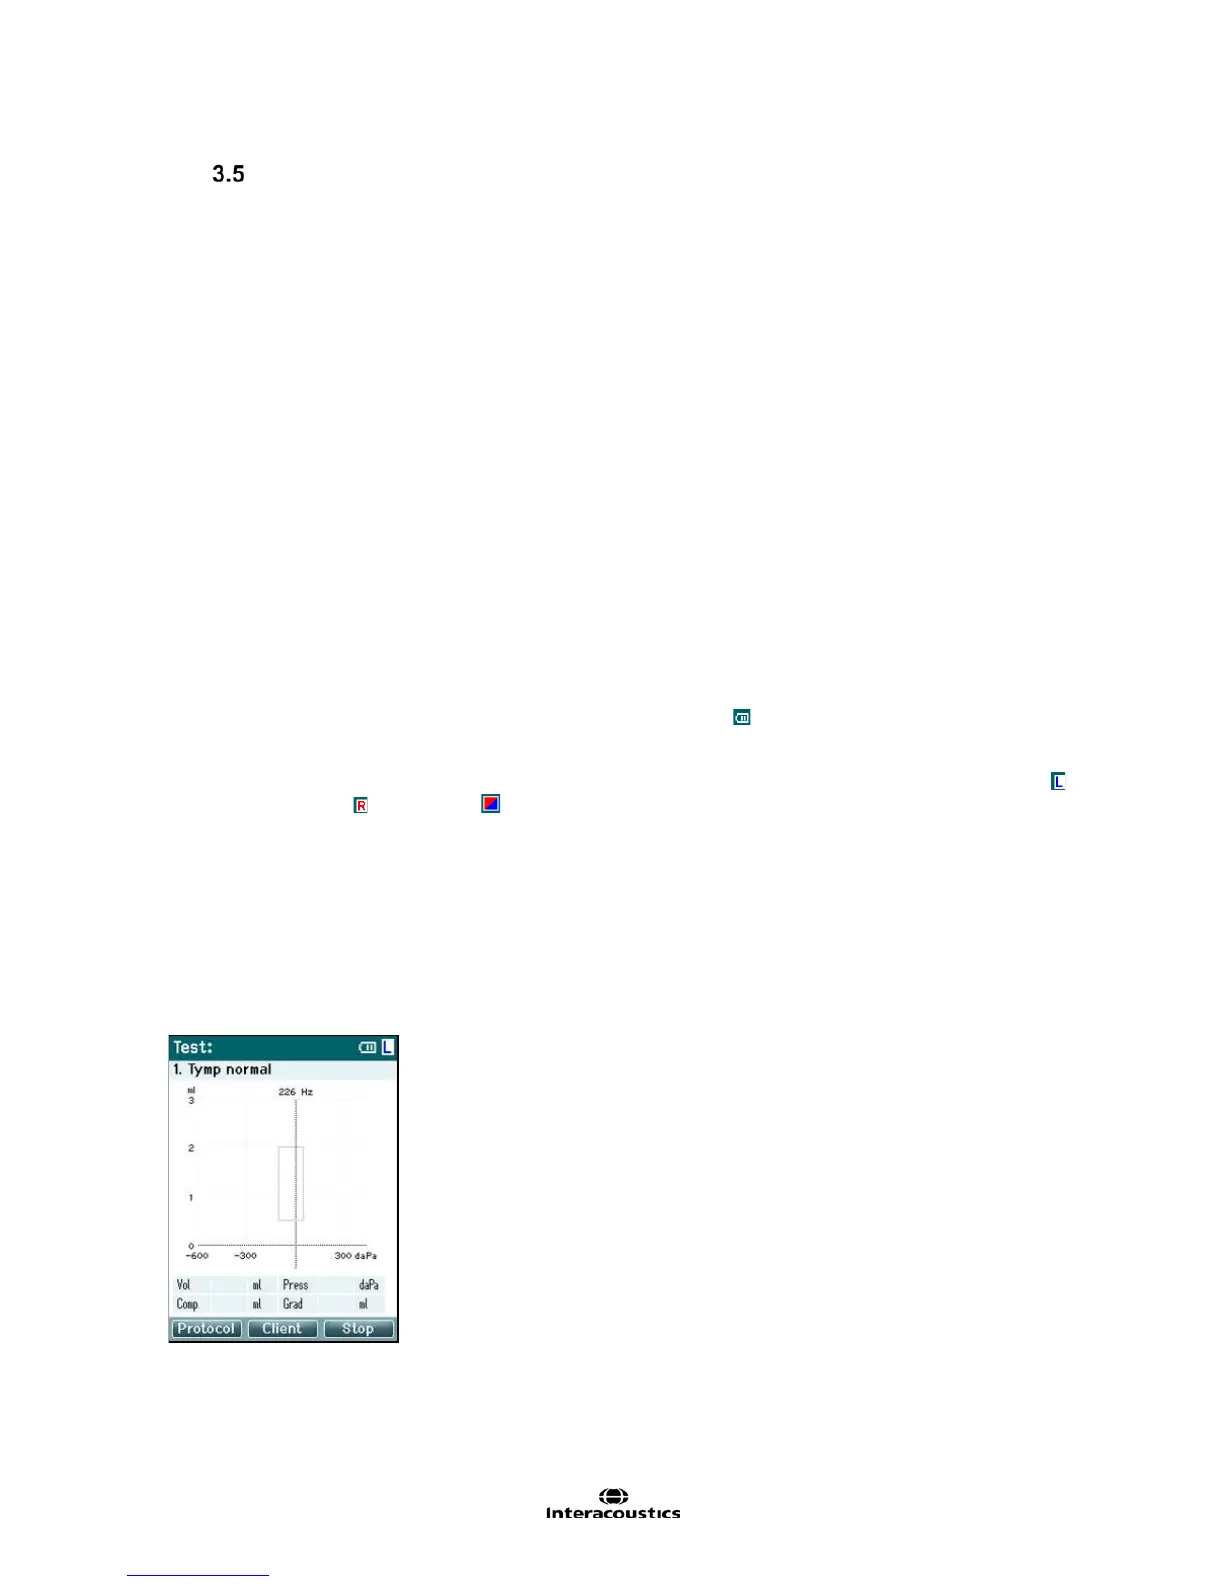
3.5.3 Test Screen
Usually, the Titan starts in the Test screen. When deleting or saving data after a measurement, you will also
return to this screen. The following information can be viewed on the screen:
• Next to the word Test, the header shows the status of the probe: in ear, out of ear, leaking or
blocked.
• Whenever the Printer Icon is visible, a Bluetooth or direct connection is available to a thermal
printer
• In the top right-hand corner you will find the Battery Status, . When the Titan handheld unit is
placed in the cradle, the battery will begin charging and the charging battery icon will be visible. If
the battery is almost out of charge, the icon will appear in red
• In the upper right-hand corner an icon is visible to indicate if the Titan is testing either the Left ear,
, or Right ear, .or both ears (available only in ABRIS440 when a suitable transducer is
connected)
• Protocol name is shown on the second line of the Test screen. After Start is pressed, the second
line will change to show the test type that is running (e.g., Tymp, DP-Gram)
• It is possible to force the impedance measurement to start, e.g. when measuring on a child with a PE
tube. A Forced Start is activated by long pressing on Start for 3 seconds. The status bar will
indicate Forced Start. Let go of the Start button to run the measurement.
Note Running a forced start is only possible with the device set for Manual start in the protocol
setup.