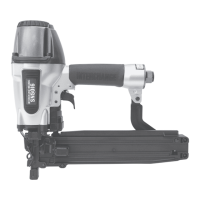
16 Ga. Medium Crown Stapler
Drives 7/16" Crown Staples (1" to 2" / 25 to 51mm)
Model No. SN5016
Item No. 64405
16
Interchange Brands Operator’s Manual
Maintenance and Inspection
Read the section titled SAFETY.
NOTE: The information contained in this Manual is designed to assist you in the
safe maintenance of the stapler. Some illustrations in this Manual may show details
or attachments that are different from those on your
stapler.
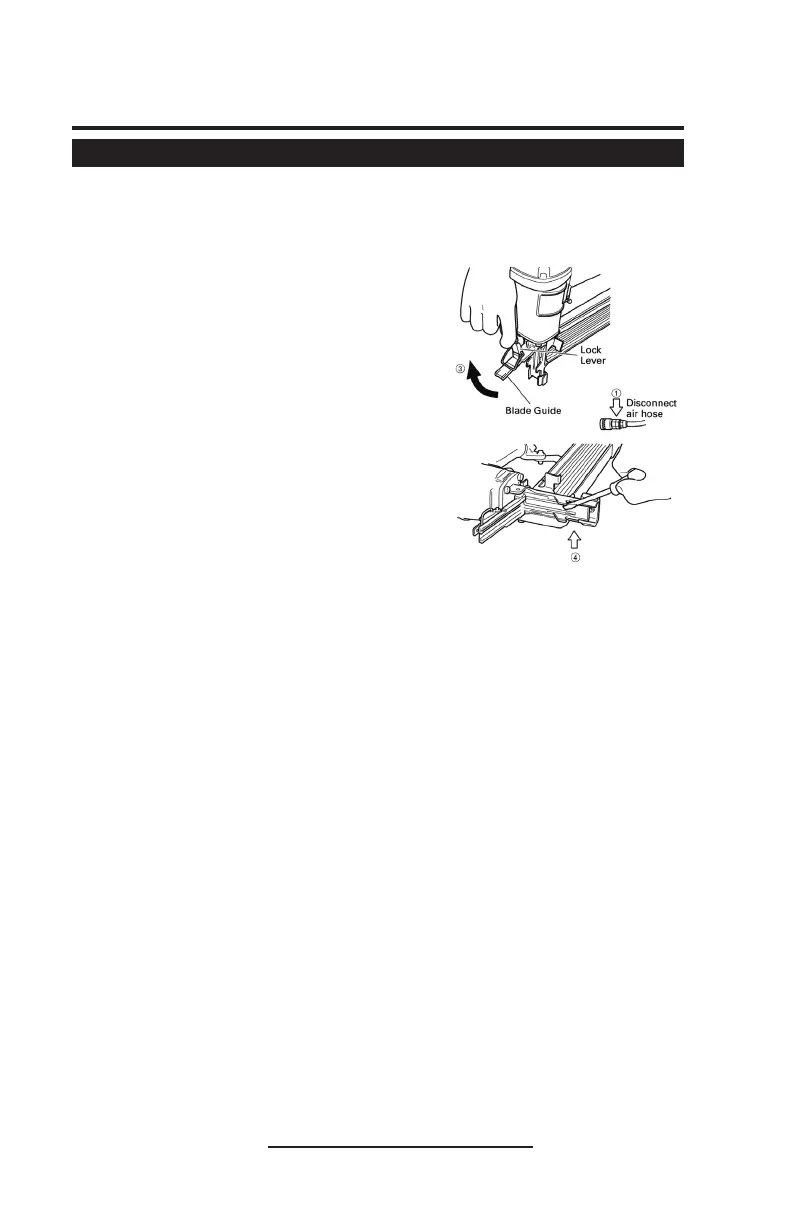
WARNING: Disconnect air hose and remove
staples from stapler when:
Clearing a jam
Doing maintenance and inspection
Clearing a jam
Remove a jammed staple in the following order:
1. DISCONNECT AIR HOSE.
2. Remove all staples.
3. Remove the lock lever and open blade
guide.
4. Remove the jammed staple with a slotted
head screwdriver.
5. Close blade guide and latch.
6. In case of frequent jams, contact an
authorized service center.
A qualified person should perform repairs and maintenance.
Periodic maintenance to be performed:
Drain air line filter daily.
Keep lubricator filled.
Clean filter element, then blow air through filter in direction opposite to
normal flow.
Clean magazine and feeder mechanism.
Keep safety/push lever working properly.
Lubricate the stapler after stapling.
Drain air compressor.
All quality staplers will eventually require servicing or replacement of parts
because of wear from normal use.
Storing
When not in use for an extended period, apply a thin coat of the lubricant to
the steel parts to avoid rust.
The stapler should be stored in a warm and dry place when not in use. Do
not store the stapler in a cold weather environment.
Cold Weather Care
Do not store the tool in a cold weather environment.
Keep the tool in a warm area until beginning the work.
If the tool is already cold, bring it in a warm area and allow the tool to warm
up before use.
1. Reduce the air pressure to 60 to 80 psi (4.2 bar 4.2 kgf/cm2).
2. Remove all fasteners from the tool.
3. Connect the air hose and free-fire (blank-fire) the tool.
The lowered air pressure will be enough to free-fire the tool. Slow speed operation
tends to warm up the moving part.