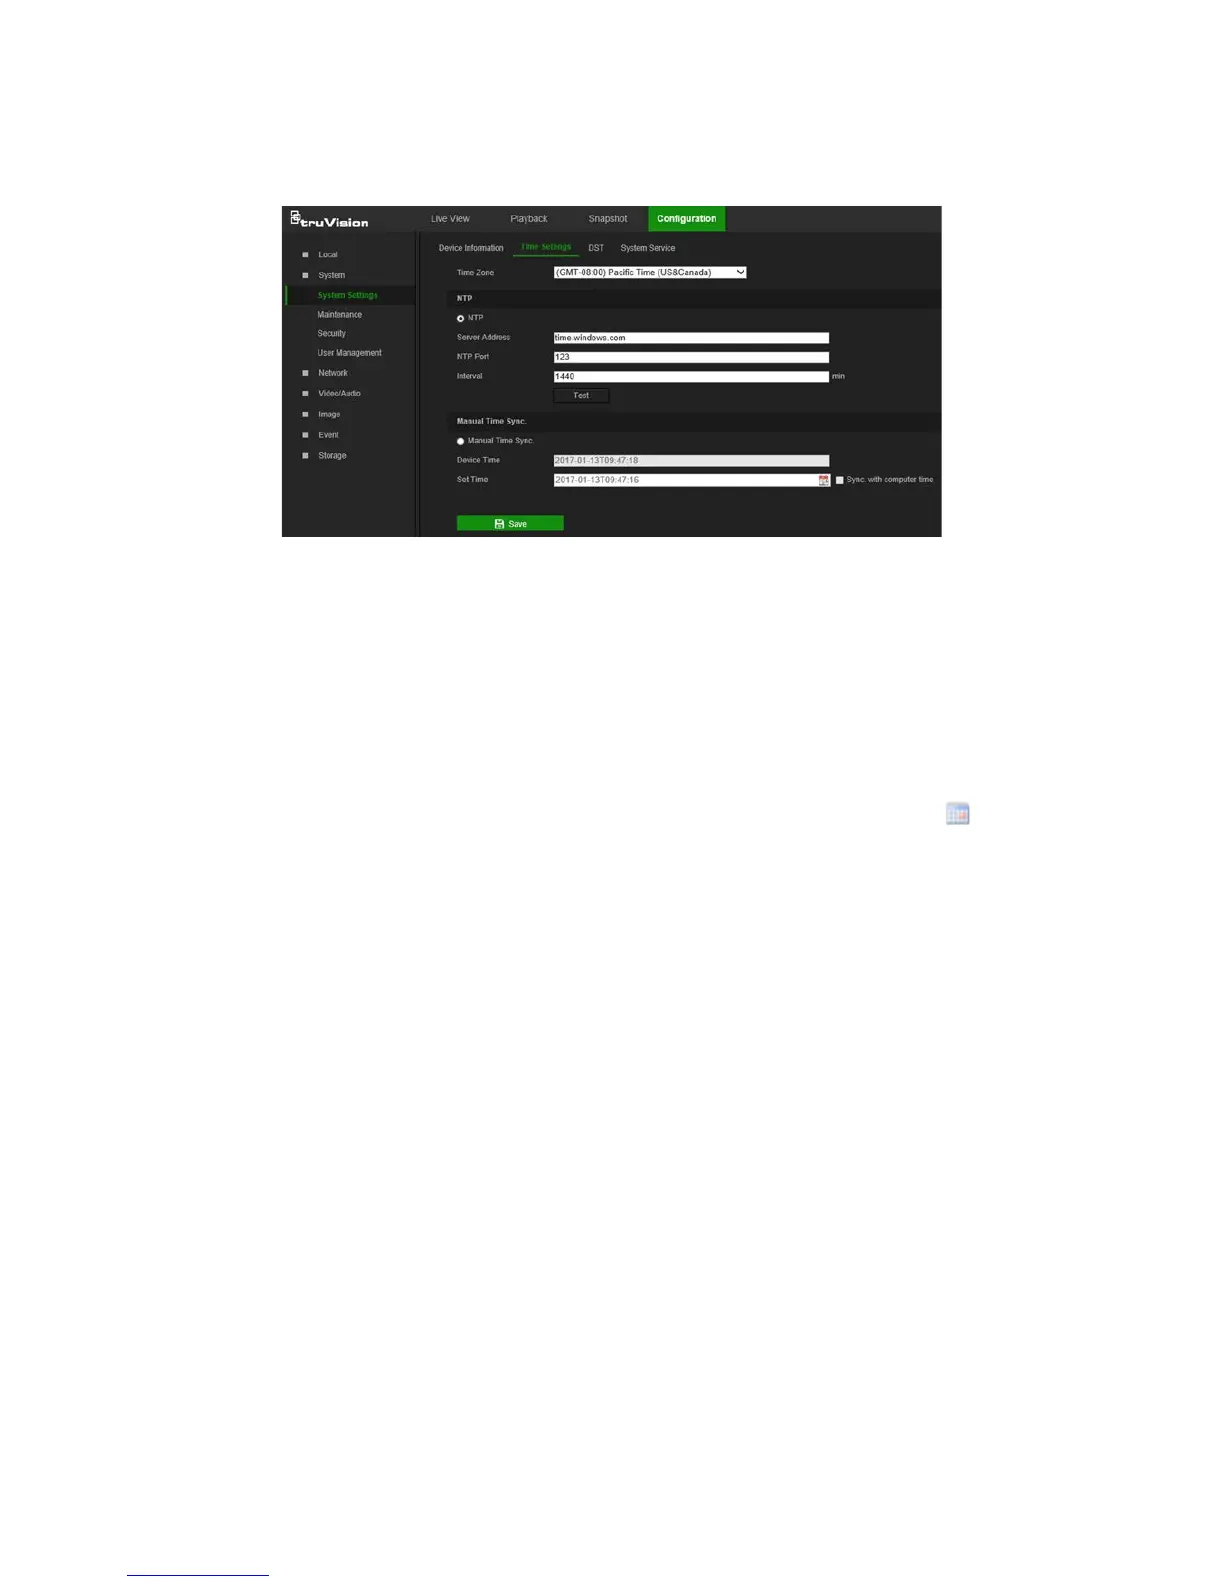
To define the system time and date:
1. From the menu toolbar, click Configuration > System > System Settings > Time
Settings.
2. From the Time Zone drop-down list, select the time zone that corresponds to the
camera’s location.
3. Select one of the following options for setting the time and date:
Synchronize with an NTP server: Select the NTP radio button and type the
required information in the Server Address and NTP Port boxes. The time interval
can be set from 1 to 10080 minutes.
—or—
Set manually: Select the Manual Time Sync radio button and then click
to set
the system time from the pop-up calendar.
Note: Select the Sync with computer time checkbox to synchronize the time of the
camera with the time of the computer.
4. Click Save to save changes.
5. Click the DST tab and then select Enable DST to enable the DST (Daylight Savings
Time) function, and set the date of the DST period.
6. Set the date and time differential of the DST period using the Start Time, End
Time, and DST Bias drop-down lists.
12 TruVision 81 Series IP Camera Configuration Manual