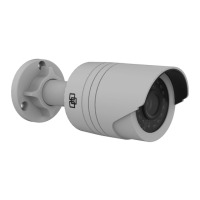
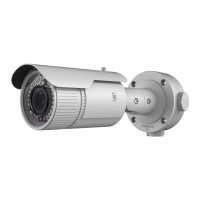
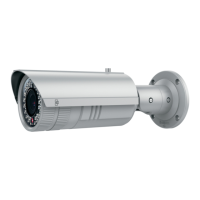
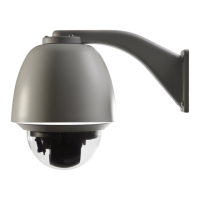
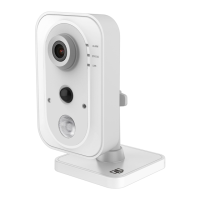
Select ON or OFF to enable/disable LEDs. See the Installation
Guide for a description of LED functions.
Enable: The LEDs will be ON when the camera is in the mode
selected (Common, Day, or Night).
Disable: The LEDs will be OFF when the camera is in the mode
selected (Common, Day, or Night).
Note: The LEDs always are ON if the camera is connected to the
network with an Ethernet cable.
5.
Area If the camera is focused on an object against strong backlight, the
object will be too dark to be seen clearly. BLC compensates for the
background light so that the image in the foreground is clear. OFF,
Up, Down, Left, Right, and Center are selectable. When WDR is
enabled, BLC cannot be configured.
When enabled, this feature (wide dynamic range) shows details of
objects in shadows or details of objects in bright areas of frames
that have high contrast between light and dark areas.
6.
White balance (WB) sets the relative parameters for the color white
in the camera. Based on this information, the camera continues to
display all colors correctly even when the color temperature of the
scene changes such as from daylight to fluorescent lighting.
Select one of the options:
AWB1: Apply for small range of 2500 to 9500 K, for environments
where the lighting is always stable.
Locked WB: Locks the WB to the current environment color
temperature.
Incandescent Lamp: For use with incandescent lighting.
Warm Light Lamp: For use where the indoor light is warm.
Natural Light: For use with natural light.
Fluorescent Lamp: For use where there are fluorescent lamps
installed near the camera.
7.
Digital noise reduction (DNR) reduces noise, especially in low light
conditions, to improve image performance.
Options include: Normal mode, Advanced mode, or OFF.
Only available when DNR is set to Normal Mode. Set the level of
noise reduction to a higher value for stronger noise reduction.
Set the level of noise reduction level in Advanced mode.
Note: Setting high values may result in an unclear image.
8.
Inverts the image. Options are Left/Right, Up/Down, Center, and
OFF.
TruVision 81 Series IP Camera Configuration Manual 27
 Loading...

