
D
Darren RobertsAug 22, 2025
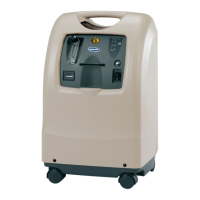
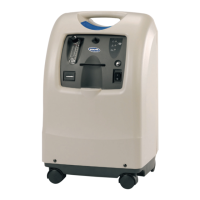
Why does my Invacare Perfecto 2 SeriesIRC5PO2AW overheat?
- KKaren WilsonAug 22, 2025
If your Invacare Medical Equipment unit overheats, ensure it's placed at least 30.5 cm (12 inches) away from any wall and not on thick carpeting to avoid blocking the base exhaust vent. Clean or replace the cabinet filters if they're dirty. Check the fan to ensure the leads are connected, the fan isn't defective, and it's installed correctly with the airflow arrow pointing down. Clean the heat exchanger if it's dirty or plugged. A defective compressor, capacitor, or motor windings can also cause overheating, so consider replacing the compressor or capacitor. Finally, have the line voltage inspected by an electrician, as excessive voltage might require a voltage regulator.