ELECTRICAL CONNECTION
9
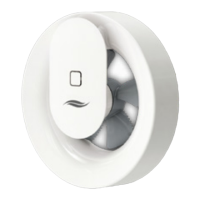
Pulsar extractor fan | Installation and operation instructions
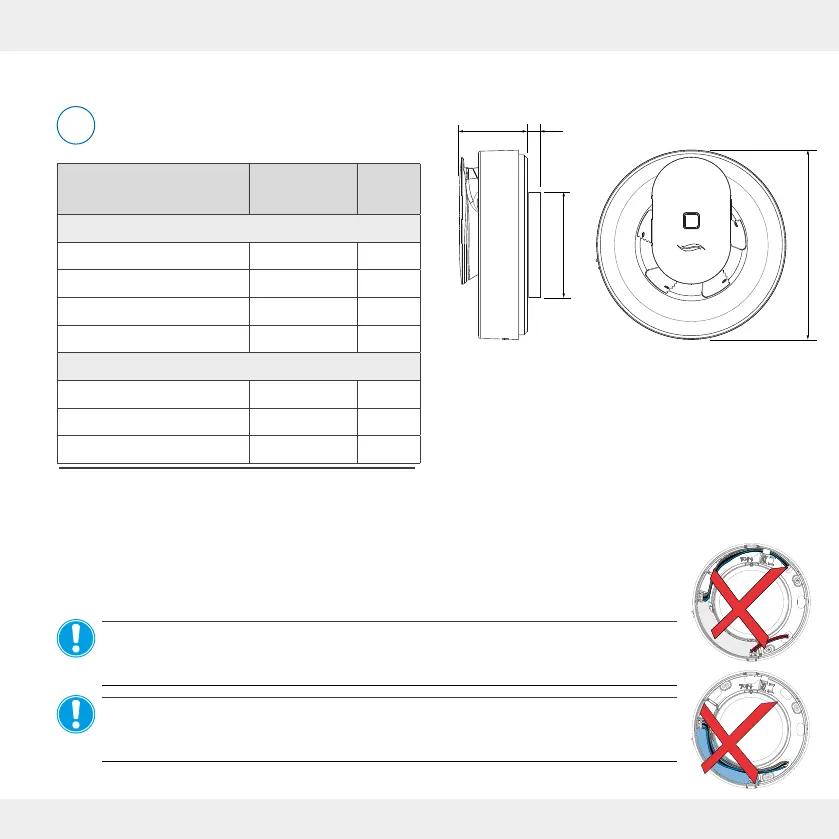
Dimensions
Keep a minimum distance of 250 mm from
components at the front and all around.
Description
Depth/
Length [mm]
Ø [mm]
Drill holes wall openings:
Wall mounting sleeve
1)
Wall thickness 115
Suspended ceiling Wall thickness 105
Flush-mounted box PSU
1)
66 68
Cavity wall box PSU
1)
61 68
Mounting elements:
Pulsar extractor fan 81 177
Wall sleeve DN 100
1)
Wall thickness 100
PSU
2)
(DC 12 V) 32 54
1) Wall mounting sleeves are available in the aV100 wall mounting set, including
weather protection cover, from inVENTer GmbH.
4.1 Dimensional drawings
4 Electrical connection
The Pulsar extractor fan can be connected directly to the AC 230 V mains or operated safely with
extra-low voltage 12 V DC (SELV). A power supply unit (PSU) is optionally available.
NOTICE: If 230 V AC and 12 V DC are connected at the same time,
the Pulsar extractor fan will be damaged!
• Never connect the Pulsar extractor fan simultaneously to 230 V AC and 12 V DC.
NOTICE: Laying the mains cable over the cover of the circuit board will damage the
board and impair the function of the Pulsar!
• Do not lay the AC 230V mains cable over the circuit board.
i
Ø99
Ø177
3.2 3.3