3
BOX CONTENTS
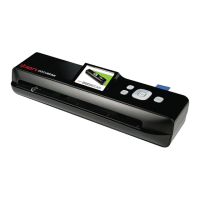
• DOCUSCAN
• SD card
• Mini-USB cable
• Power adapter
• Protective photo sleeve
• Calibration & cleaning paper
• Cleaning strip
• Quickstart Guide
• User Manual
• Safety & Warranty Information Booklet
SAFETY INFORMATION
• Keep scanner away from water or moisture and dusty areas.
• Never store scanner in hot and very cold areas.
• Only use attachments/accessories specified by the manufacturer.
• No objects filled with liquids, such as vases, should be placed on the scanner.
• Avoid dust contamination when the scanner is not in use.
• When left unused for a long period of time, disconnect the scanner from the power supply.
• Avoid environments where the scanner would be exposed to direct sunlight (or any other source of excessive heat) for
long periods of time.
• Protect the scanner from potential liquid spills such as soda, coffee, tea, etc.
• Do not drop the scanner.
• Operate the scanner on a level, stable work surface, free of excessive vibration.
• Do not open the scanner case without technical support. Doing so risks electrical shock.
• Position the scanner near a power outlet where it can be easily accessed when plugged in.
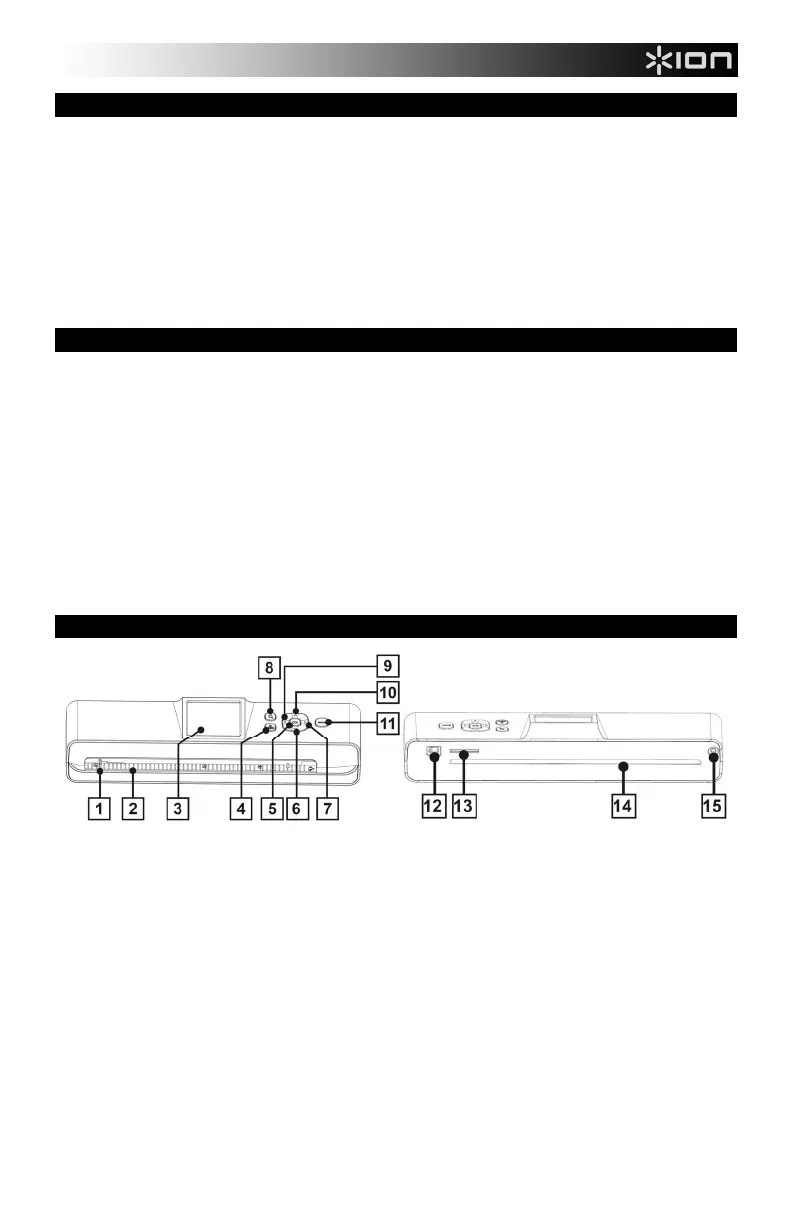
FEATURES
1. PAPER GUIDE – This piece adjusts to help guide the paper into the scanner.
2. FEED SLOT – Insert your paper or photo into this slot when scanning.
3. LCD – Displays scanned images and other information about the scanner's operations.
4. POWER / MENU – Press and hold this button for 3-5 seconds to turn the scanner on/off. Press the button to display the
setting menu.
5. OK – Press this button to confirm selections in menus shown in the LCD.
6. DOWN – Moves down in menus shown in the LCD.
7. RIGHT – Moves right in menus shown in the LCD or moves to the next scanned image.
8. ZOOM – Zooms into the current scanned image.
9. LEFT – Moves left in menus shown in the LCD or moves to the previous scanned image.
10. UP – Moves up in menus shown in the LCD.
11. SCAN – Press this button to enter Scan Mode.
12. MINI-USB PORT – Use the included mini-USB cable to connect this port to a free USB port on your computer.
13. SD/MMC SLOT – Insert an SD/MMC card here (with the gold contacts facing upward).
14. PAPER EXIT SLOT – Outputs the paper or photo after scanning.
15. POWER IN – Connect this input to the included adapter then connect the adapter to a power source.