Panther Instrument User Manual V1.0
Pioneering Gas Sensing Technology. Page 11 of 24 ionscience.com/usa
Using Panther
WARNING: Before switching Panther on, ensure the ambient air is clean as the instrument automatically Zero's the
sensor at switch on. After the instrument has run through its start-up routine, adjust the instrument settings to the
desired levels. Check the instruments sensitivity using a CalCheck or calibration kit.
Switch the Panther on by pressing and holding the ON/OFF key, after the instrument has completed its Zero routine it
will enter the main screen.
Gas leaks tend to occur at pneumatic joints or welded seams, hold the Panther at a 45
o
angle to the object being
tested and drag the probe along the seam or joint at a rate of approximately 25mm per second.
When a leak is detected the bar graph will start to fill and the frequency of the audio output will increase; this will
decrease as the probe moves away from the leak. Return the probe to the suspected leaking area and move slowly
along the same area until the leak is located. Once the leak has been located, the probe should be held at the leak
until the numeric reading stabilizes.
The live reading bar offers a graphical indication only and should not be used to measure a leak; you may find that the
graph completely fills however the numeric reading will continue to increase.
Variation in temperature, humidity and background gas may result in a constant level being detected on the
instrument. To reset to Zero, hold the instrument away from the source of leak or contamination and then press the
ZERO key. The instruments display will return to a near zero reading. It is especially important to move away from any
toxic substances when Zeroing the Panther to avoid any false negatives which could lead to harm.
The following things will affect the instruments reading: -
* Breath of the instrument user contains both CO
2
and moisture.
* Barometric air pressure and background temperature.
* Sources of cold and heat.
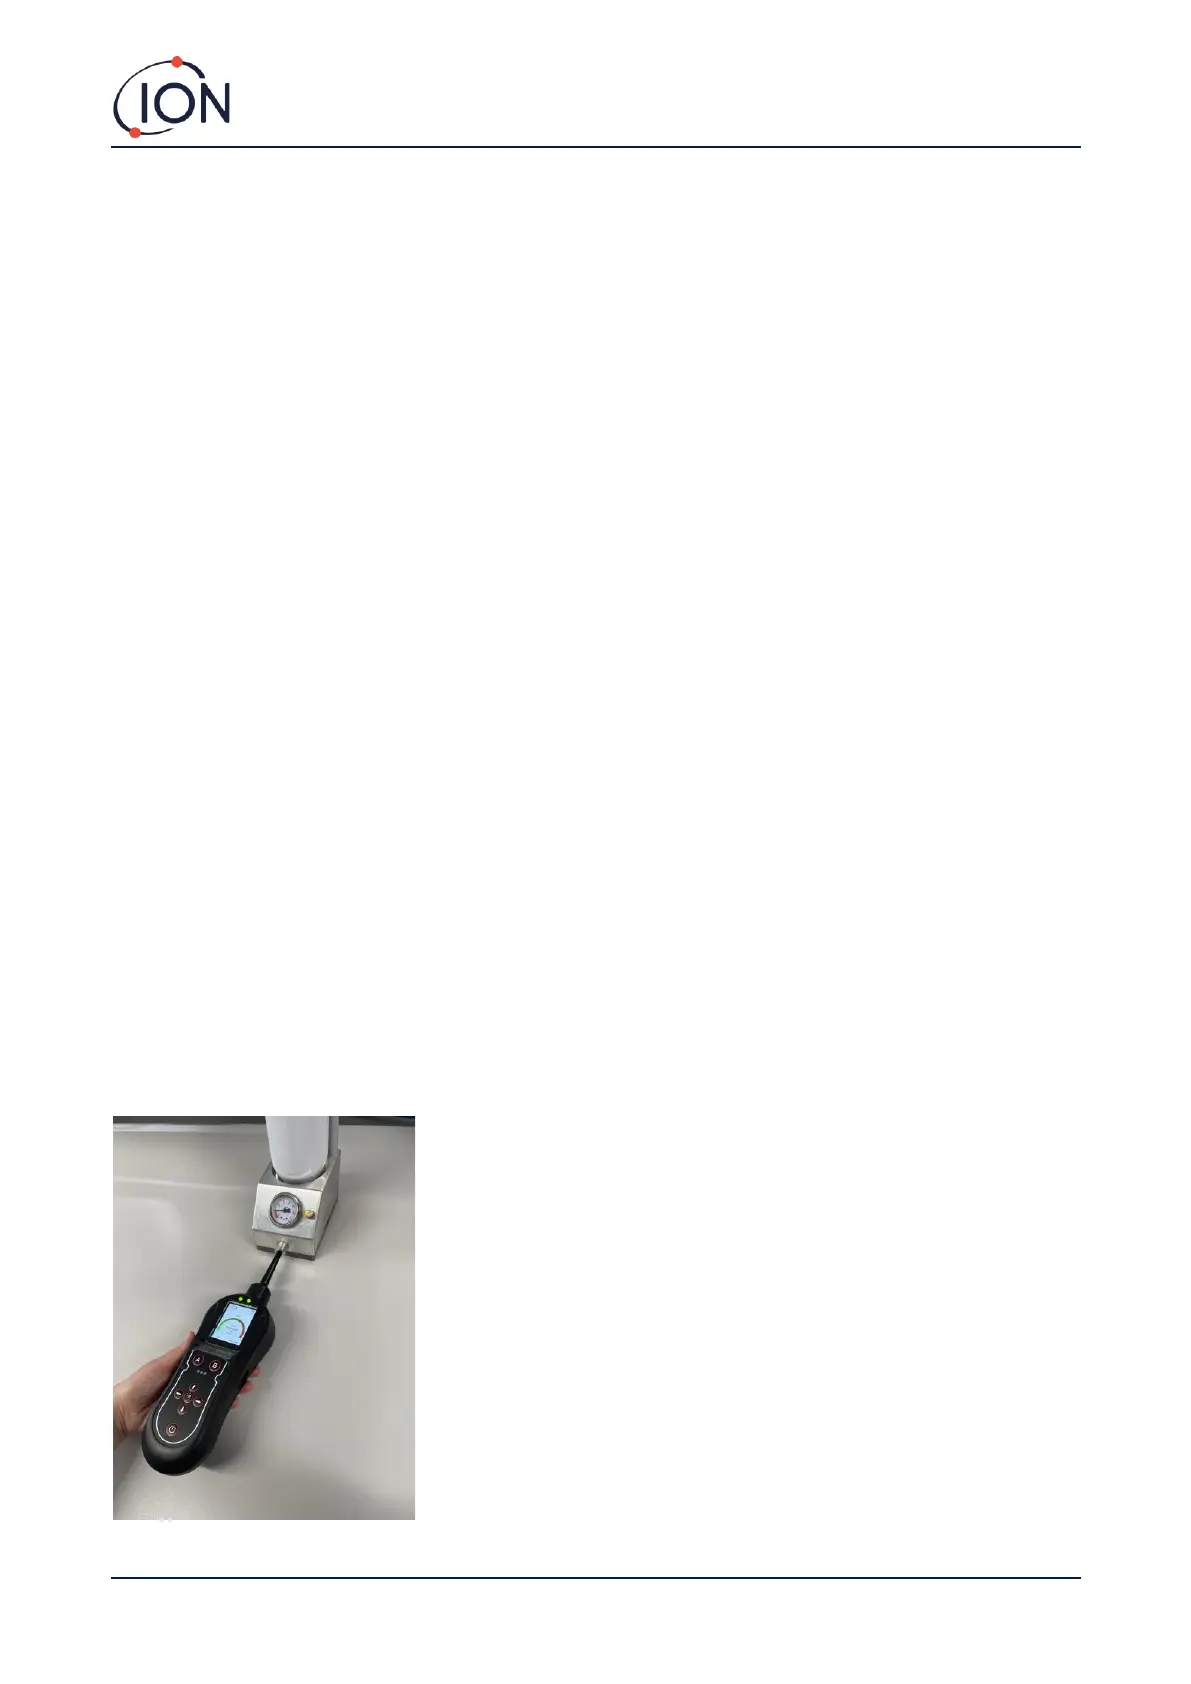
How to conduct a calibration check
The response of your Panther instrument can be tested using the CalCheck (p/n A-21500). Push the gas bottle into the
top of the CalCheck. This will release the gas and the dial should move into the white. If it remains in the red then you
need to replace/refill the gas bottle. Push your Panther instrument into the CalCheck, as shown in the image below.
The Panther will detect the leak and display a reading. If this reading is incorrect, the Panther will need to be
recalibrated.
 Loading...