5
DRIVER AND SOFTWARE INSTALLATION
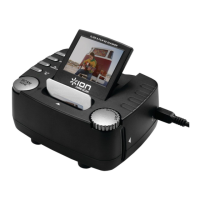
To use the SLIDES 2 PC you must install the SLIDES 2 PC Scanner Driver and ArcSoft PhotoImpression 6 in
advance. Both of these items can be found on the included CD.
DRIVER INSTALLATION
1. Turn on the computer.
2. Insert the installation CD into the CD-ROM drive
and the installation CD menu will appear.
3. When you see the following screen, Choose
"Scanner Driver – 32-Bit" or "Scanner Driver –
64-bit."
4. Follow the on-screen instructions to install the
driver.
SOFTWARE INSTALLATION
Note3: Please “REMOVE” any prior version of
PhotoImpression before installing PhotoImpression 6.
1. Insert the installation CD into the CD-ROM drive
and the installation CD menu should appear.
2. When you see the following screen, choose
“Install PhotoImpression 6” to install the software.
3. Follow the on-screen instructions.
4. The installed software will automatically create a
PhotoImpression 6 logo on your desktop.
5. Restart the computer.
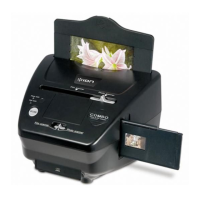
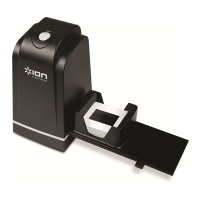
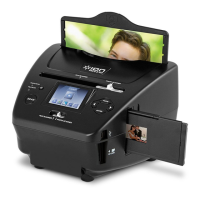
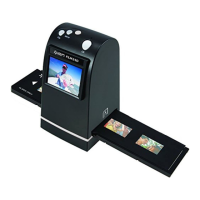
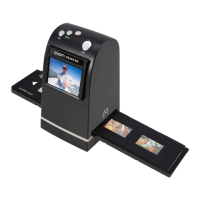
USING THE INCLUDED HOLDERS
1. Open the negative / positive slide holder as Illustrated.
2. Put a negative film / positive slide into holder as shown.
3. Close the holder and please make sure the holder close properly.