10
The Go2Nova
®
8408 hand controller (HC) shown in Figure 3 is the standard controllers that used for
a CEM25 mount. It has a 4 line, 21 character large LCD screen, function keys, direction keys and number
keys on the front; a and a HBX port (6-pin) and a serial port (4-pin) at the bottom.
2.4.1. Key Description
MENU Key: Press “MENU” to enter the Main Menu.
BACK Key: Move back to the previous screen, or end/cancel current operation, such as slewing.
ENTER Key: Confirm an input, go to the next menu, select a choice, or slew the telescope to a
selected object.
Arrow (▲▼◄►) Keys: The arrow keys are used to control the movement of DEC and R.A. axes.
Press and hold ▲(DEC+),▼(DEC-) buttons to move a telescope along the DEC direction,
◄(R.A.+), ►(R.A.-) to move a telescope along the RA direction. They are also used to browse the
menu or move the cursor while in the menu. Holding an arrow key for a fast scrolling.
Number Keys: Input numerical values. Also used to adjust slewing speeds (1: 1X; 2: 2X; 3: 8X; 4:
16X; 5: 64X; 6: 128X; 7: 256X; 8: 512X; 9: MAX)
? Key: Identify and display nearby bright stars or objects where the telescope points to.
0 Key: Stop the mount during GOTO. Also toggling between start and stop tracking.
HBX (Handbox) port: connect the HC to a CEM25 mount using a 6 pin 4 wire (6P4C) RJ11 plug.
Serial port: connect the HC to a Computer via a RS232 to 4 pin 4 wire (4P4C) RJ9 cable (iOptron
item# 8412
) for firmware upgrade and computer controller. The pin out of the serial port is shown
in Figure 4.
Figure 4. Serial port pin out on an 8408 hand controller
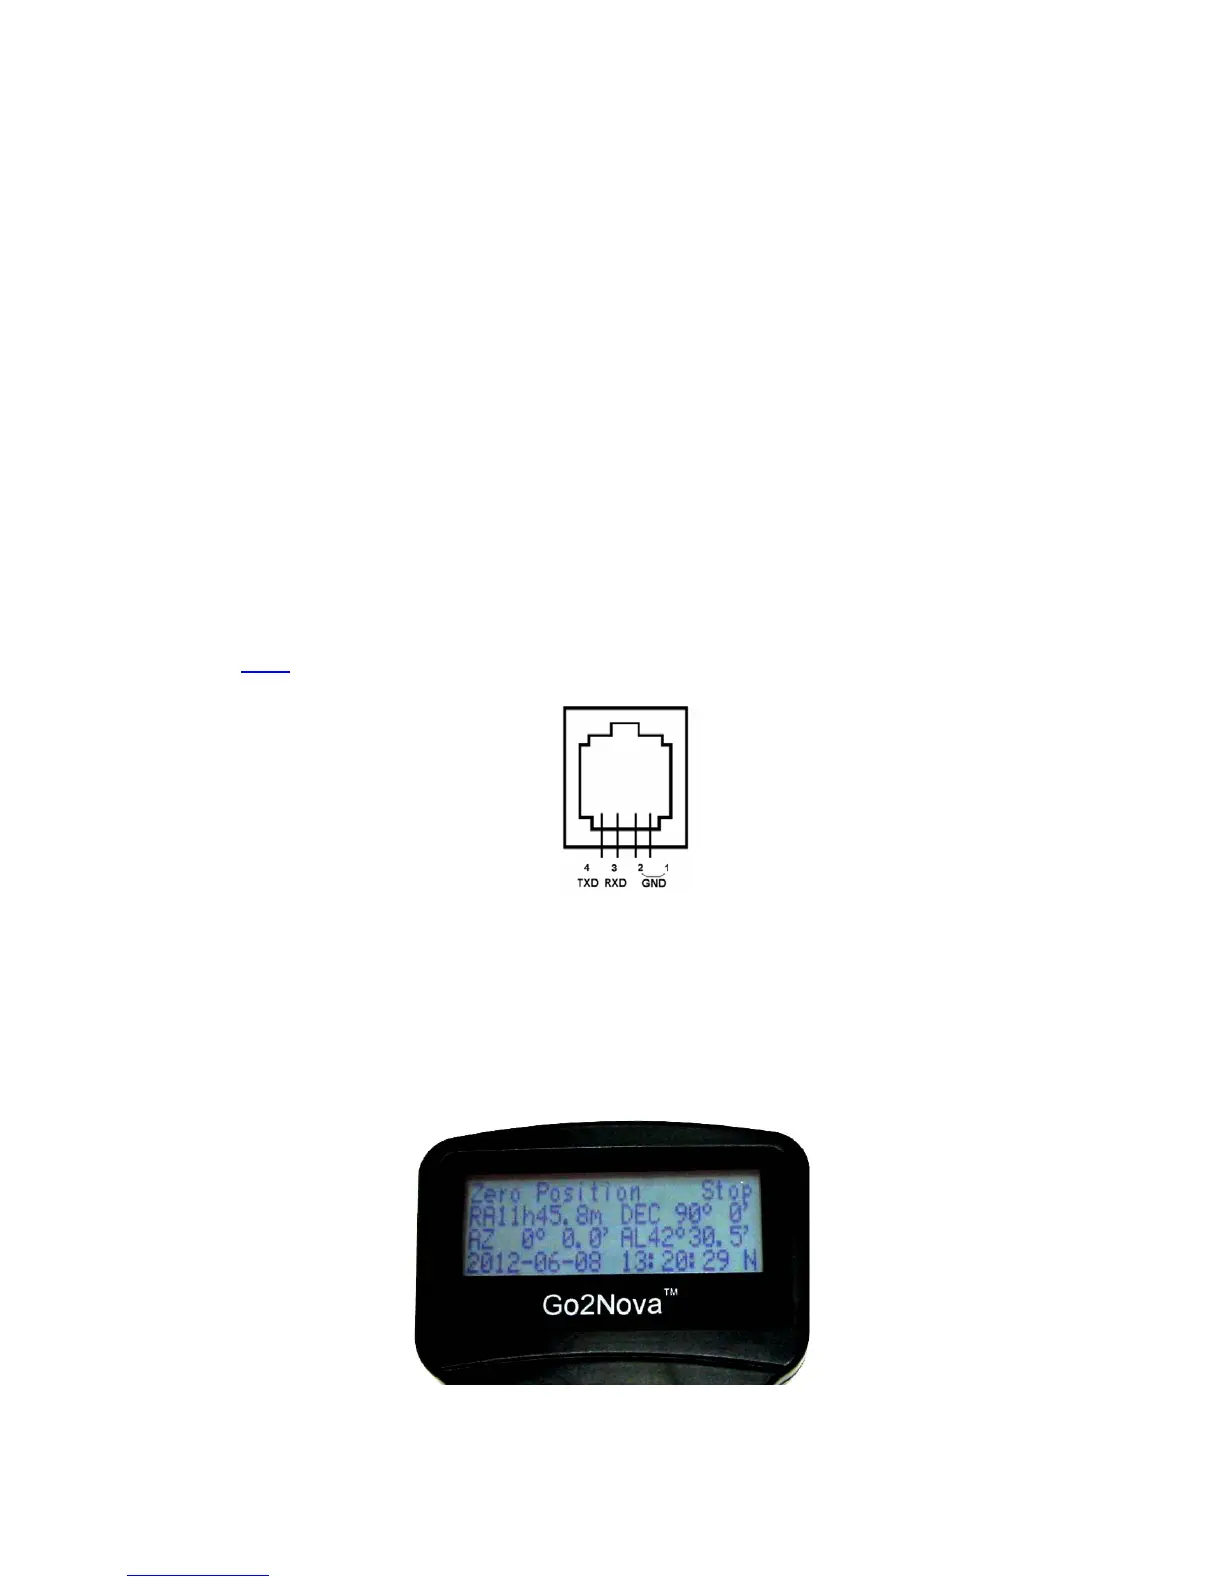
2.4.2. The LCD Screen
The 8408 HC has a large 4-line, 21-character per line LCD screen. The user interface is simple and
easy to learn. When the mount first turned on, an initial information screen will be displayed as shown in
Figure 5, after company logo displayed. It displays the Zero Position, current date and time.
Figure 5. 8408 Initial Information Screen