6. The USB Floppy Disk Emulator has been connected correctly and
LED 2 (green) is on, while LED 1 (red) is off. A USB Stick has been
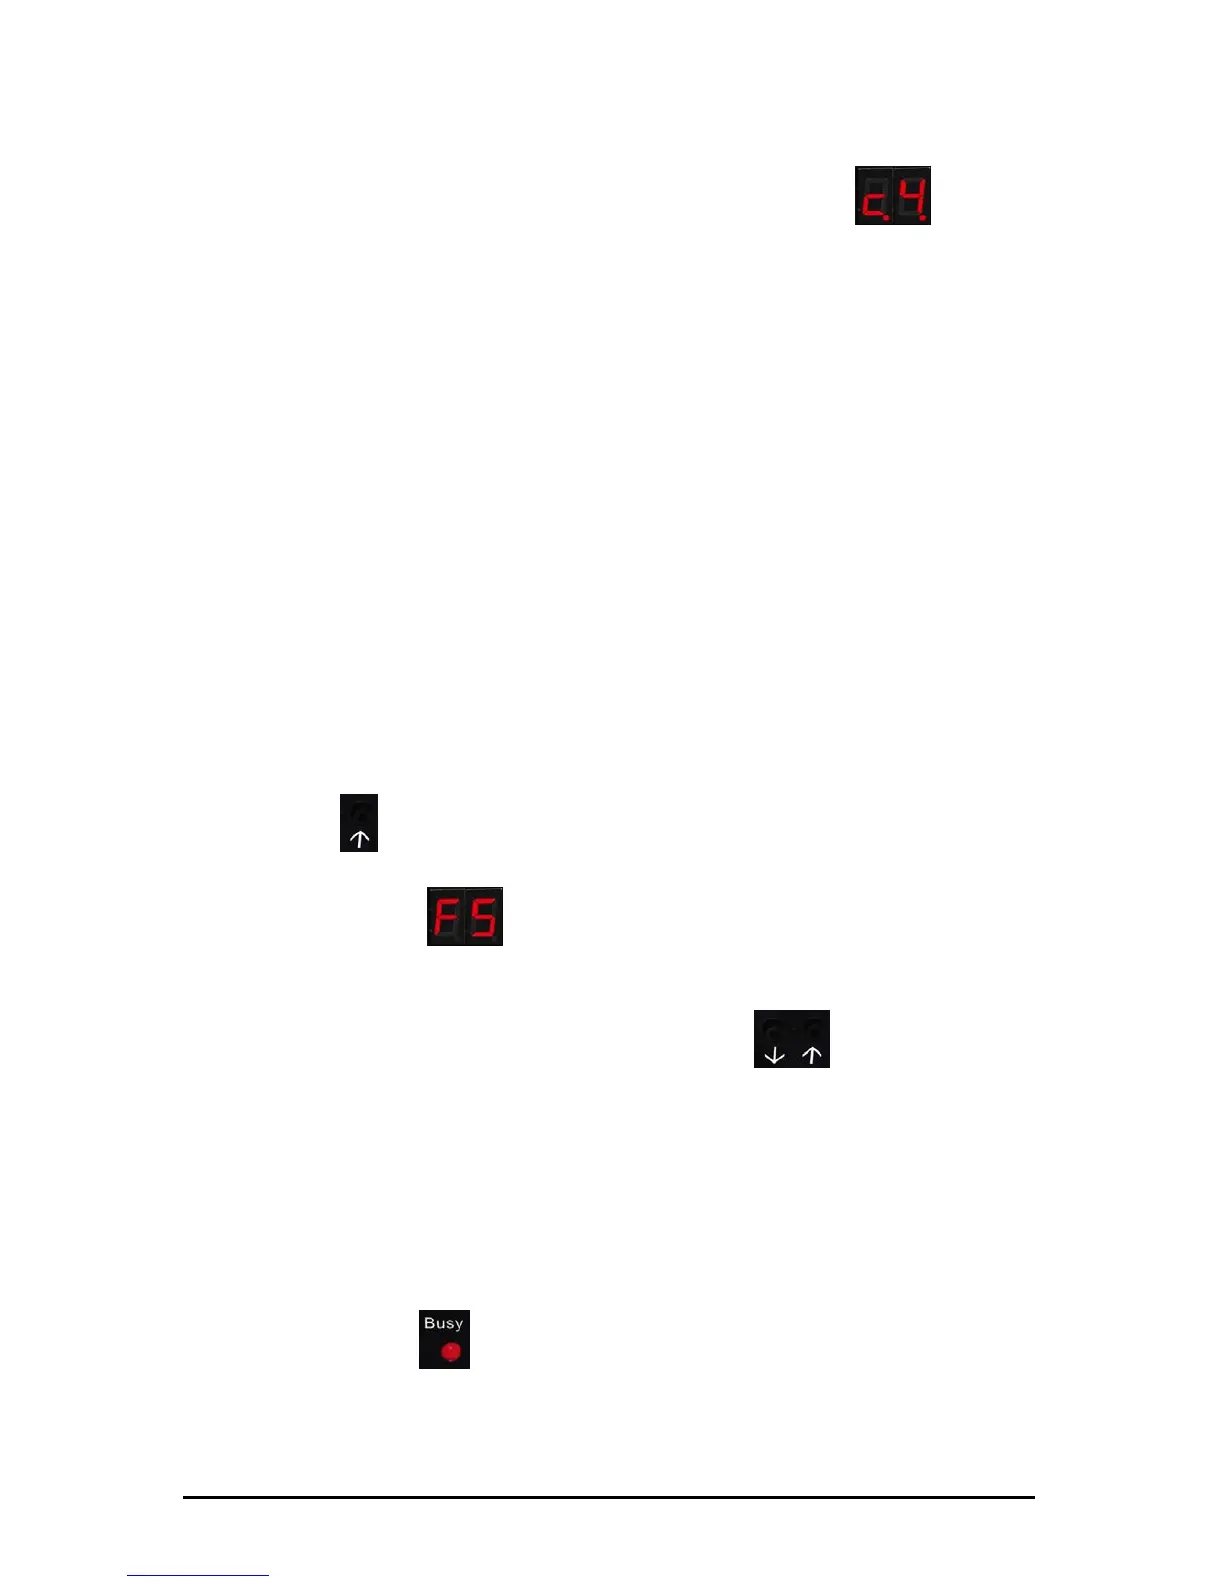
inserted into the USB port. And yet the display shows
(C4),
why?
This behavior may indicate contact failure.
Plug the USB Stick in and out a couple of times or use a
different USB Stick.
7. The USB Stick has been correctly attached and the voltage supply
is appropriate, but both LED's (red and green) are on and the
display shows the current virtual floppy number. Why are both
LED's on?
That is quite normal. When the device is reading or
writing, LED 1 lights up (red). Please do not under any
circumstances select a different virtual floppy or remove
the USB Stick when the red LED is on! Or else the
read/write process is interrupted and could lead to data
loss. In the worst case the USB Stick or the disk drive
could become damaged.
8. The current read/write operation has been completed. You would
like to now select the next higher number virtual floppy with the
right button
(µ). You select the next higher number virtual floppy
disk, however, the digital display does not switch to the next higher
number and shows
(F5). Why?
Most probably you have pressed the button for longer
than 5 seconds.
Please just shortly tap both buttons
(¶µ) and,
subsequently, select your virtual floppy image as usual.
9. After a read/write process has been completed, you have
removed the USB Stick from the disk drive and now want to further
process the saved data on a PC. There you find out that the data
are faulty or useless, or the USB Stick itself cannot be opened.
What happened and how can you avoid this in the future?
Probably, the USB Stick has been removed prematurely.
LED 1 (red)
lights up and indicates that no
read/write process is being performed. Do not under
any circumstances remove the USB Stick while the red
LED is still on.
Subject to change without prior notice Date: 09-03-10
ipcas GmbH USB Floppy Disk Emulator – USB Floppy v0.2 Page 16 of 17