Safely remove the USB Stick from your PC and connect it to the
USB Floppy Disk Emulator.
Í
The display of the USB Floppy Disk Emulators now shows
(00).
Use the USB Stick in the USB Floppy Disk Emulator in the same way
as you used your floppy in the disk drive.
9. One USB Stick replaces 100 floppies
The USB Floppy Disk Emulator in multi-disk mode behaves as if only one
floppy were to be emulated. Please first read Chapter 1.
USB Stick replaces 1
floppy.
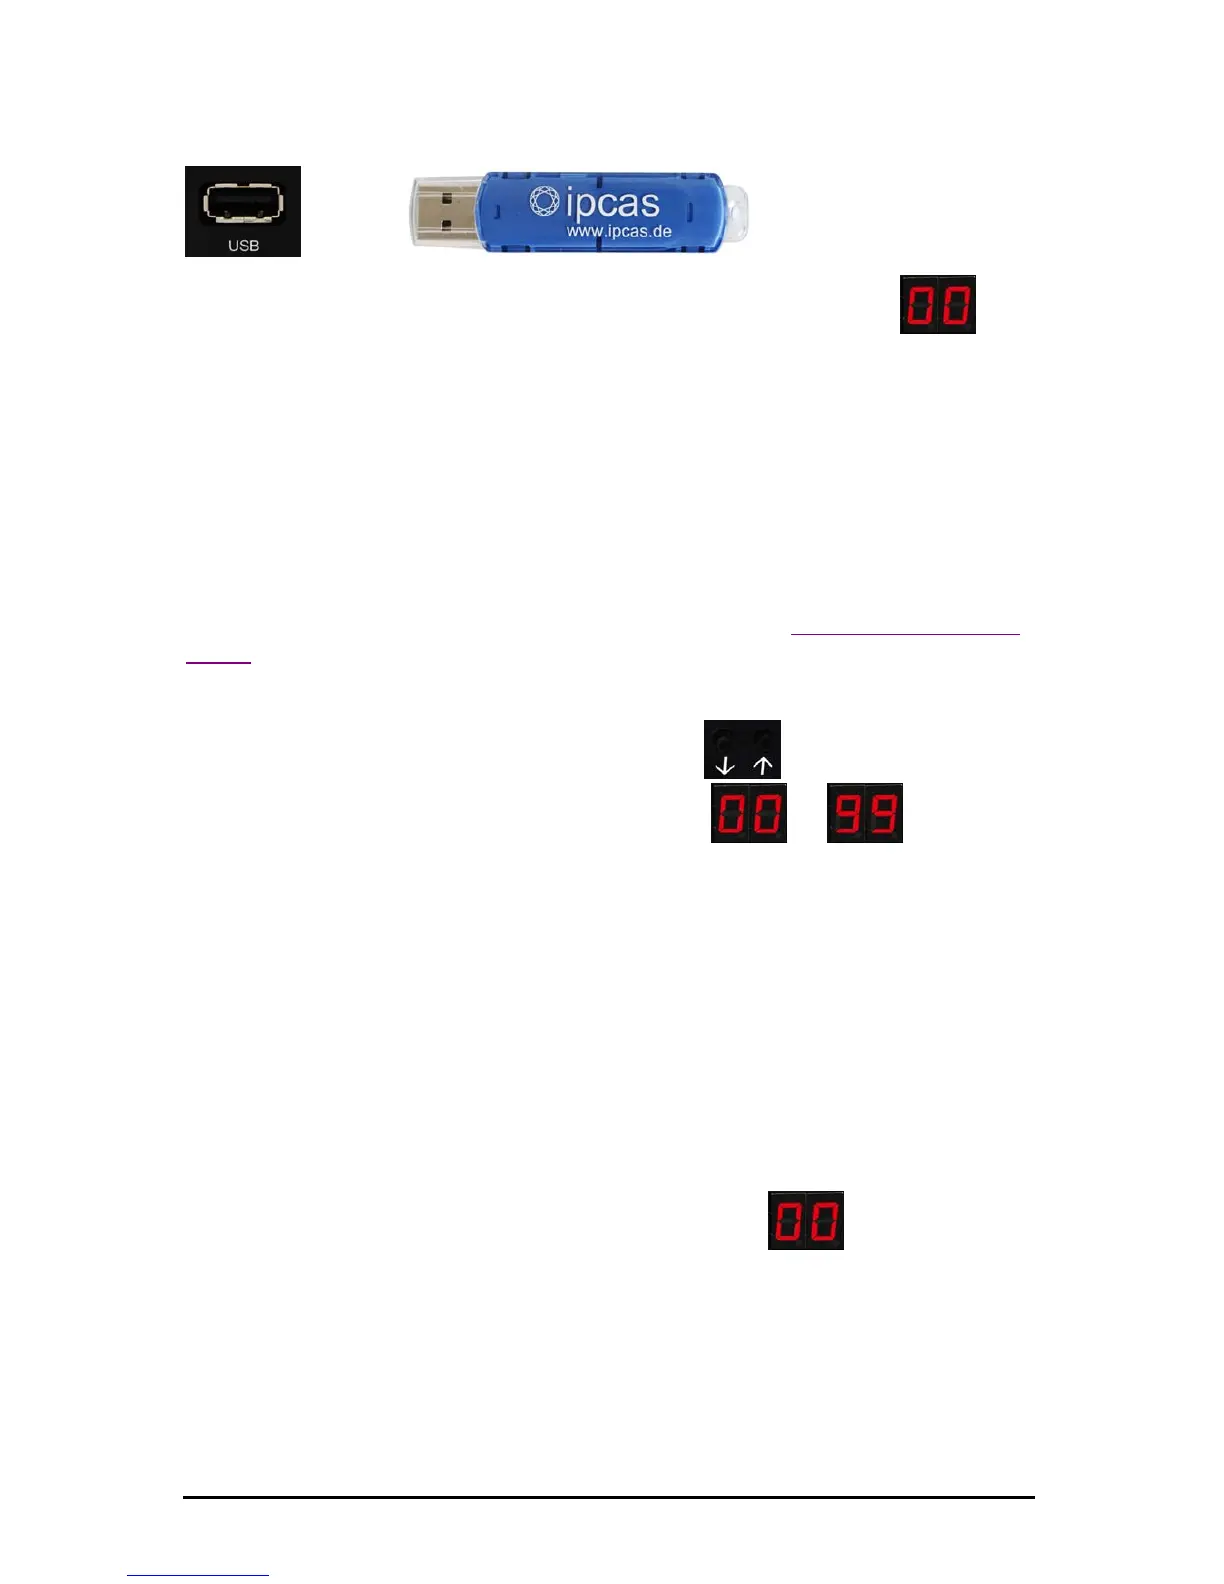
When more than one floppy are managed by just one USB Stick, the desired
floppy can be selected with the selection button
(¶µ). The display
always shows you the currently set floppy
to (from 0 to
99).
Preliminary steps:
To manage up to 100 virtual floppies on one USB Stick, you must first create
virtual floppies on the USB Stick.
Connect the USB Stick into the USB port on your PC.
If the USB Stick should already have been used on your USB Floppy Disk
Emulator, then the directory UFDDD00 should be located on the USB
Stick.
The contents of this directory include your first floppy. The ending "00" at the
end of the directory name refers to the floppy number
(00) on your
Floppy Disk Emulator.
Create additional directories on the USB Stick. For the directories, enter the
names UFDDD01, UFDDD02, UFDDD03 etc. to the maximum
UFDDD99.
You do not have to create 100 directories. If you only want to manage three
floppies with the USB Stick, then just create the directories UFDDD00,
UFDDD01 and UFDDD02.
Subject to change without prior notice Date: 09-03-10
ipcas GmbH USB Floppy Disk Emulator – USB Floppy v0.2 Page 9 of 17