Better Packages Section 1
Unpacking and Setup
8
ushes must be angled toward the
front of the dispenser in order to work.
Installing the brushes backwards will
cause a troublesome tape jam.
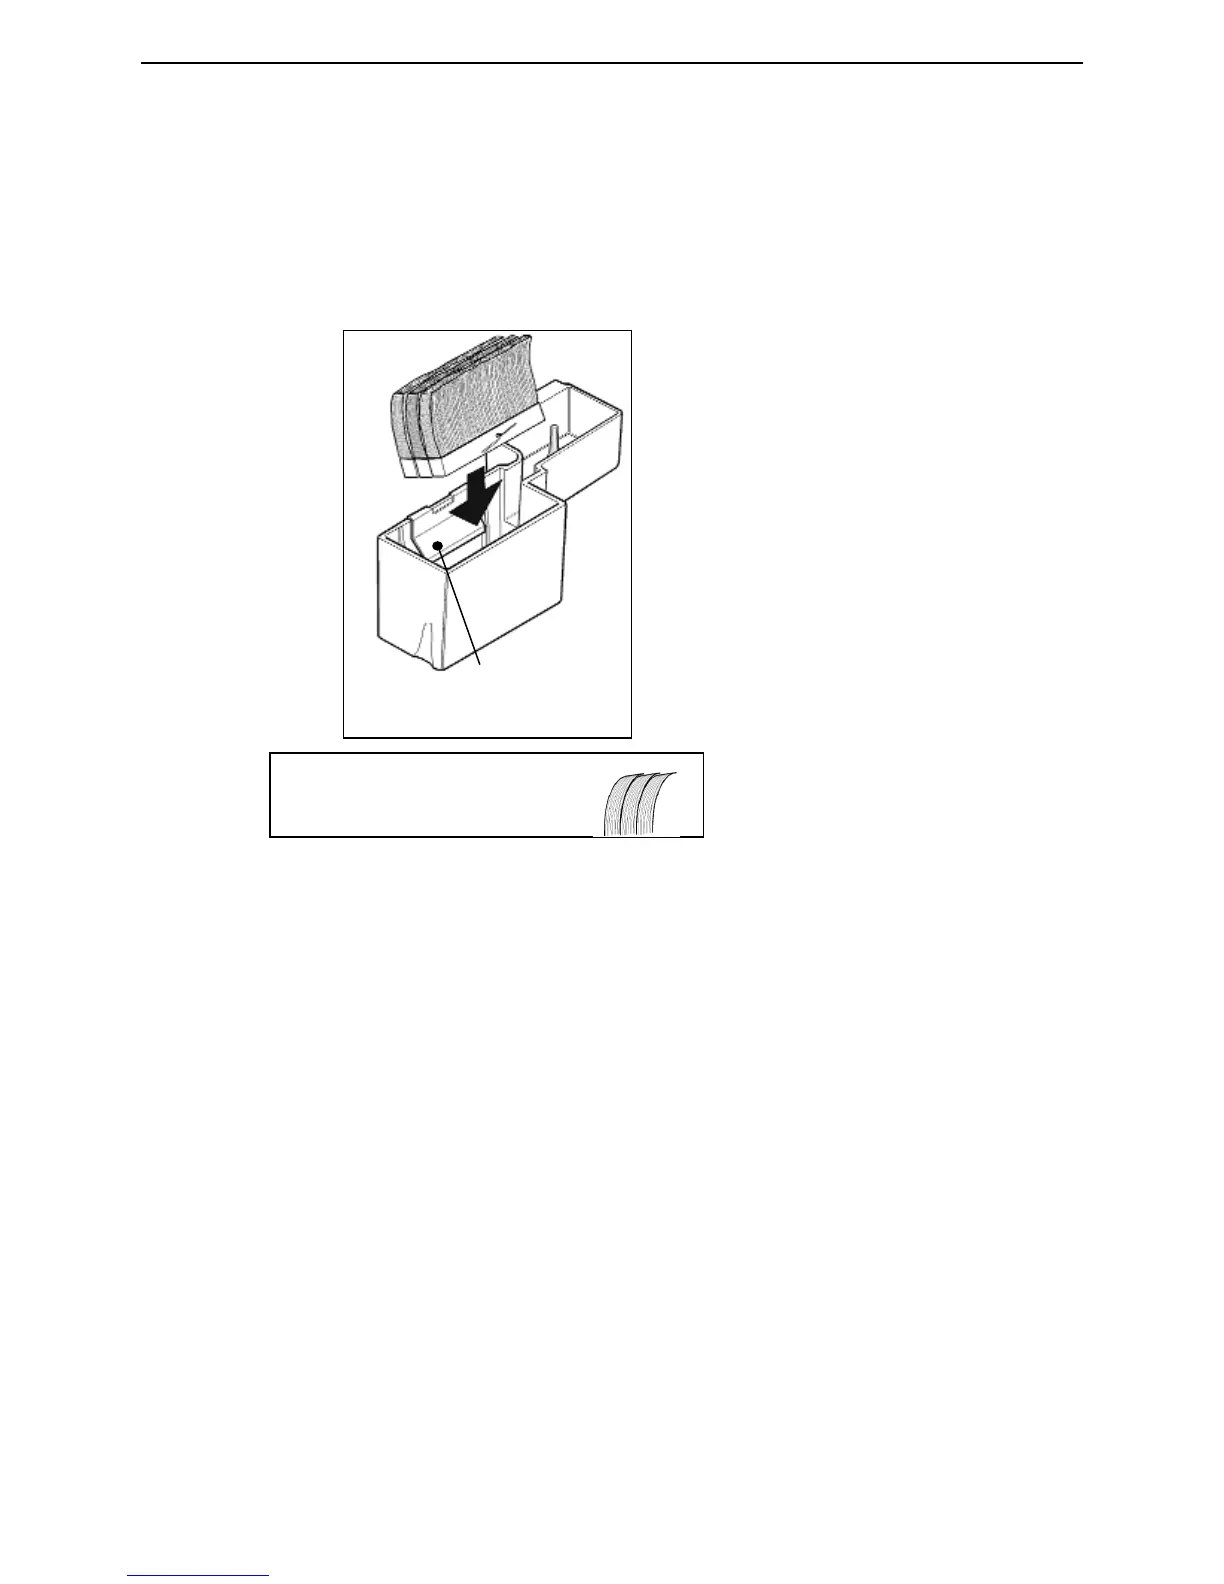
INSTALLING THE BOTTLE AND WATER TANK
1. Insert the brush assembly in the water tank. The brush assembly must be tilted toward the dispenser
so that the cotter pin will clear the retaining bracket as it is pressed into place. See Figure 8. Then rotate
the brush forward so that it seats flatly on the bottom of the water tank. The edge of the base of the brush
should be under the retaining bracket.
2. Lift the front of the heater assembly and slide the water tank into position at the front of the dispenser.
At first, tilt the brush toward the dispenser so that the head of the cotter pin clears the retaining bracket as
you push the brushes into the tank. Then tilt the brush back so that it seals flatly on the bottom of the
tank.
The bottom of the water tank should be even with the edges of the shelf it sits on and the water tank will
drop slightly into the shelf when it is correctly positioned.
3. Lower the heater assembly.
4. Fill the bottle with water.
into the Water Tank