Now add the 4 nuts and bolts – Do not over tighten, finger tight is OK
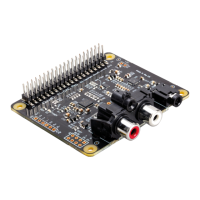
f) Completed Pi-CASE+ with Raspberry Pi and Pi-DAC+ inside
!
g) Now apply the small transparent bumper stickers to the base of each Bolt.
! !
h) Now to complete screw the remaining 4 screws from the bottom of the case into the 5mm spacers
inside.
! !
NOTE: Access to the Raspberry Pi micro SD card can be tricky due to the width of the Perspex. We
suggest the use of tweezers.