EasyManua.ls Logo

IRadimed MRIDIUM 3860+ - User Manual

IRadimed MRIDIUM 3860+
212 pages
Print Icon
To Next Page IconTo Next Page
Loading...
3860+3860+
OPERATION MANUALOPERATION MANUAL
MRidium
MRI INFUSION/MONITOR SYSTEM
TM
REF 1138REF 1138
IRADIMEDIRADIMED
CORPORCORPORATIONTION

Table of Contents

Other manuals for IRadimed MRIDIUM 3860+

Questions and Answers

  • D
    Dennis CarrollAug 20, 2025
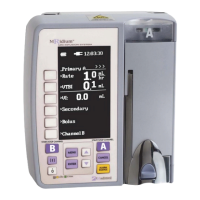
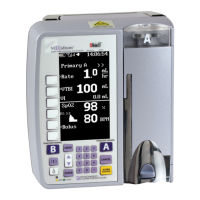
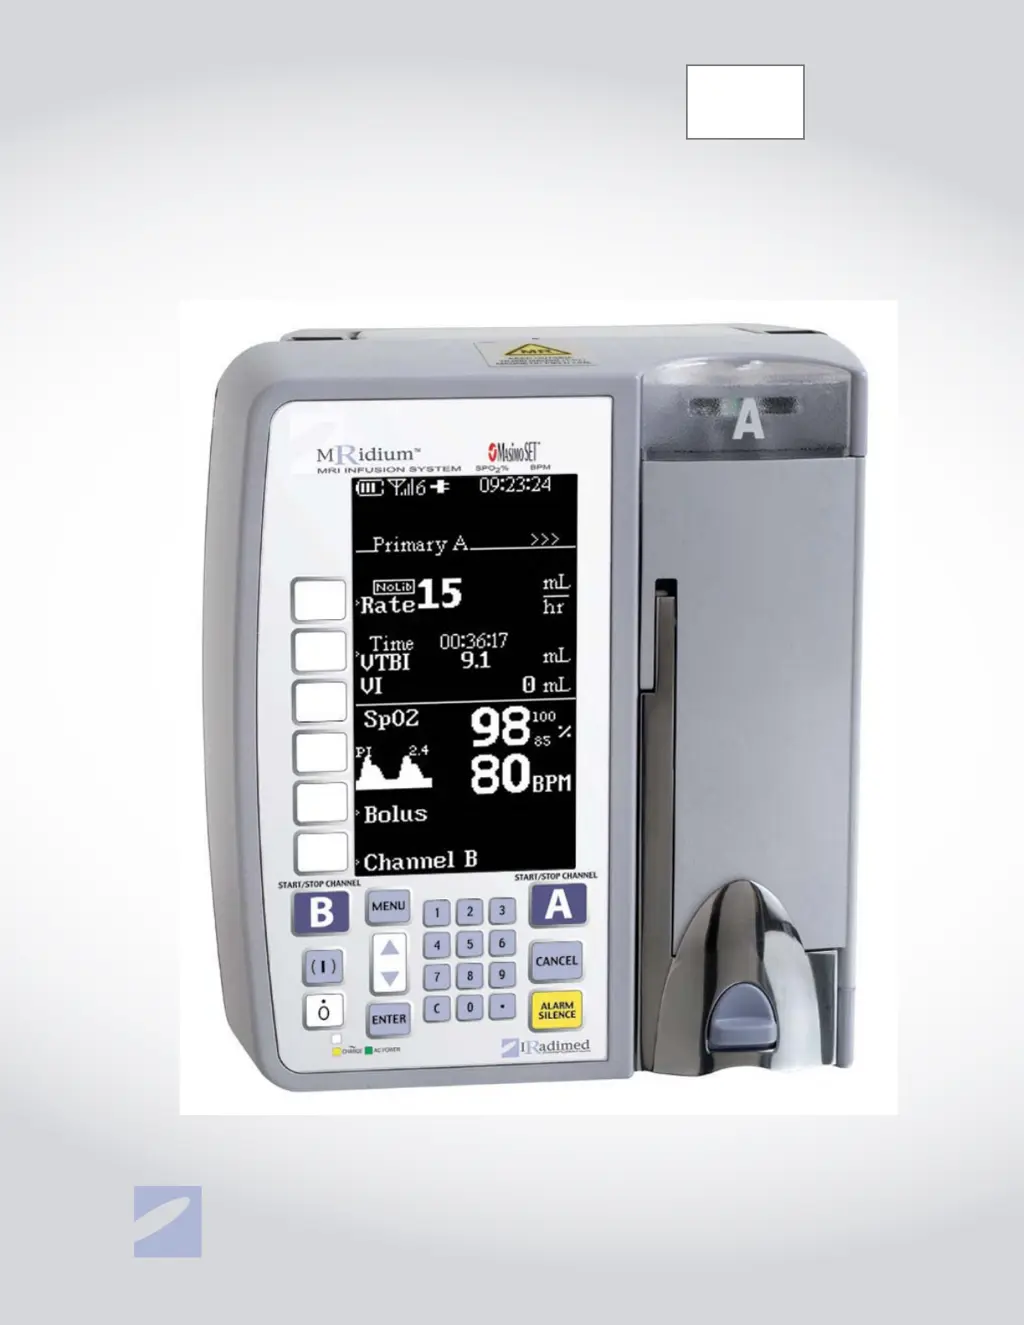
    Why IRadimed Medical Equipment pump won't turn on?
    • D
      Danielle FosterAug 20, 2025
      There are several reasons why the IRadimed Medical Equipment pump might not be turning on: * The unit might not be turned on. To resolve this, press the 1 (On) control key. * There may be no AC power or the battery could be depleted. Plug the power cord into both the pump and an AC power source, or replace the battery pack with a charged one. * The AC power source might have low voltage. Try switching the AC power cord to a power receptacle with sufficient voltage.
  • L
    Leah GonzalezAug 22, 2025
    What to do if IRadimed Medical Equipment infusion stops?
    • A
      andersonrichardAug 22, 2025
      If the infusion stops, it could be due to several reasons: * Air might be present in the Administration Set. Examine the set to locate any air bubbles, disconnect it from the patient, purge the air from the line, re-prime the line, and then resume the infusion. * The Administration Set roller clamp may be closed. Open the roller clamp on the Administration Set. * The Administration Set may be improperly loaded on the pump drive. Open the pump door, remove the set, and reload it following the instructions. * A kinked set could be causing an occlusion alarm. Straighten the set and restart the infusion. * The Patient Access Device could be blocked. Change the Patient Access Device.
  • L
    Luis BarkerAug 25, 2025
    What to do if IRadimed Medical Equipment pump won't start?
    • A
      aguilarrobertAug 25, 2025
      If the IRadimed Medical Equipment pump won't start, consider these potential causes: * The door might be open. Reseat the door and ensure it is completely closed. * The set might not be properly mounted in the pump. Open the pump door and reload the Administration Set. * The pump program might not have been entered. Enter the pump settings and initiate the pump by pressing START/STOP for the appropriate channel.
  • B
    brooksedwardAug 26, 2025
    Why IRadimed Medical Equipment has no fluid flow?
    • C
      Cassidy MarshallAug 26, 2025
      If there is no fluid flow in your IRadimed Medical Equipment, here are some possible causes and solutions: * The Administration Set might not be connected to the fluid source. Attach the Administration Set to the fluid source. * The set might not be mounted in the pump. Open the pump door and reload the Administration Set. * The Administration Set does not mount onto the pump. Select the appropriate MRidiumTM 1000 Series Administration Set for the pump. * The patient line is kinked. Straighten the kinked line, and inspect for damage or leaks. Replace the set if necessary. * The roller clamp is closed. Open the roller or slide clamp. * The set is damaged or the line is leaking. Replace the damaged Administration Set.
  • J
    John SnyderAug 27, 2025
    What to do if the IRadimed Medical Equipment battery operation is too short?
    • K
      Kayla StewartAug 28, 2025
      If the battery operation of your IRadimed Medical Equipment is too short, consider the following: * The battery might not be properly charged. Plug the pump power cord into an AC power source until the battery is fully charged. * An aged battery might not hold a charge. Plug the pump power cord into an AC power source until the battery is fully charged. If the battery still won't charge, replace the battery pack and charge it again.
  • C
    Cynthia VincentAug 29, 2025
    Why IRadimed Medical Equipment unit alarms after each infusion start?
    • Q
      qhallAug 30, 2025
      The IRadimed Medical Equipment may alarm after each infusion start due to: * The occlusion pressure alarm limit being set too low. Examine the patient infusion site for any source of occlusion or infiltration and readjust the alarm limits. * A Bubble Detected alarm occurred. Examine the Set to locate any air bubble. Disconnect Set from the patient. Purge Air in Line. Re-prime line and resume infusion.
  • A
    Anthony McculloughAug 31, 2025
    What to do if fluid is leaking from IRadimed Medical Equipment Administration Set?
    • G
      Garrett WhiteAug 31, 2025
      If you notice fluid leaking from the IRadimed Medical Equipment Administration Set: * Check if the fluid side of the set is not properly connected. Inspect for damage or leaks, and replace if necessary. * If the set is damaged and leaking, examine the set to locate the leak. Disconnect the set from the patient, replace it, and resume the infusion.
  • P
    patrickhendersonSep 2, 2025
    Why IRadimed Medical Equipment unit won't operate on battery?
    • N
      Nicole GarzaSep 2, 2025
      If your IRadimed Medical Equipment unit won't operate on battery, it could be due to these reasons: * The battery might not be properly charged. Plug the pump power cord into an AC power source until the battery is fully charged. * An aged battery might not hold a charge. Plug the pump power cord into an AC power source until the battery is fully charged. If the battery still won't charge, replace the battery pack.
  • H
    Heidi MartinezSep 4, 2025
    What causes Inlet Occlusion Alarm when using 1057 Syringe IV Set with IRadimed Medical Equipment?
    • J
      Jonathan SmithSep 4, 2025
      When using the 1057 Syringe IV Set with your IRadimed Medical Equipment, an Inlet Occlusion Alarm might occur due to: * The 1057 IV set air vent not being open, which prevents normal fluid flow. Open the white cap of the 1057 IV set air vent to allow air flow into the syringe. * The Occlusion Pressure Alarm limit being set too low for the smaller diameter IV tubing. Select a higher Occlusion Pressure Alarm limit to allow normal flow. Alarm limits may need to be set between 8 and 10 PSI, depending on fluid temperature and viscosity.
  • A
    Amber WatkinsSep 6, 2025
    What causes prematurely stopped infusion with IRadimed Medical Equipment?
    • C
      Carolyn FarrellSep 6, 2025
      If the infusion stopped prematurely, it could be due to: * Occlusion overpressure, inlet occlusion, or patient occlusion. Examine the Set to locate the occlusion. Disconnect the Set from the patient to clear the occlusion. Re-prime the line and resume the infusion. * A Bubble Detected alarm occurred. Examine the Set to locate any air bubble. Disconnect the Set from the patient. Purge Air in Line. Re-prime line and resume infusion.

Summary

General Information

Warnings and Precautions

General Warnings and Precautions

Covers safety instructions, MRI environment use, and patient care.

Pump Related Warnings;Precautions

Specific warnings and precautions related to the pump's operation.

SECTION 1 INTRODUCTION

1.2 Controls

Explains how to operate the system using control keys.

1.2.1 Front Panel Control Keys

Details the function of each control key on the front panel.

1.3 Pump Preparation for Use

Describes various configurations for starting an infusion.

Dose Rate Calculator

Calculating pump parameters for dose delivery.

Dose Rate Calculator with Drug Library

Using a drug library for dose rate calculations.

Dose Error Reduction System (DERS) Library (optional)

Using programmed infusion protocols with limits.

1.4 Display

1.4.6 Special Features Setup Menu

Accesses features like Dose Rate Calculation and Alarm Volume.

1.5 User Interface

1.6 System Self Test

1.7 Maintenance and Operator Verification

1.8 Cleaning Instructions

SECTION 2 INSTALLATION

2.5 Preparing the Pump for Use

Steps to prepare the pump for operation.

2.7 Operational Checkout of the Pump

Verifying pump functionality after setup.

2.9 Remote Display Installation

Connecting and setting up the remote display.

SECTION 3 I.V. SET PREPARATION FOR USE

3.2 I.V. Set Priming

Detailed procedures for priming various I.V. sets.

3.3 I.V. Set Insertion and Removal

Procedures for inserting and removing I.V. sets from the pump.

SECTION 4 CONFIGURING THE PUMP FOR USE

4.0 Primary Configuration

Initial setup for infusions, including Rate and VTBI.

Programming a Basic Infusion

Entering flow rate and VTBI for a new infusion.

Canceling;Pausing an Infusion

How to stop or pause an active infusion.

4.1 Dual Channel Infusion

Setting up simultaneous infusions on both channels.

4.2 Secondary (“Piggyback”) Infusion Configuration

Setting up sequential infusions on one channel.

Secondary Infusion Setup

Steps to set up a secondary infusion.

Programming a Secondary Infusion

Entering parameters for a secondary infusion.

4.3 Bolus Delivery

How to program and deliver bolus infusions.

Bolus Setup and Start

Steps to set up and initiate a bolus dose.

4.5 Special Features Menu

Accessing advanced features like Dose Rate Calculation.

4.5.1 Dose Rate Calculation

Calculating infusion rates based on dose parameters.

Dose Rate Calculator with Drug Library

Using the calculator with a pre-programmed drug library.

4.5.4 Occlusion Limits

Configuring pressure limits for occlusion detection.

4.6 Air Bubble Detection and Reset

How the pump detects and responds to air bubbles.

SECTION 5 ALARMS

5.0 Alarms

Overview of alarm types and system responses.

Responding to an Alarm

Steps to take when an alarm occurs.

SECTION 6 BATTERY OPERATION

6.0 Battery Operation

Overview of the smart battery pack and its monitoring.

6.11 Battery Pack Related Precautions

Specific safety precautions for the battery pack.

SECTION 7 PULSE OXIMETER

7.0 Introduction, Pulse Oximeter, 3860+

Overview of the integrated pulse oximeter.

7.0.1 User Warnings and Precautions

Critical safety warnings for pulse oximeter use.

7.4 Operating the 3860+ Pulse Oximeter

Precautions for operating the pulse oximeter in an MR environment.

Applying the Model 1170 Fiberoptic SpO2 Sensor

Step-by-step guide for applying the SpO2 sensor.

7.6 SpO2 Alarms and Alerts

Information on SpO2 alarms and alerts.

Patient and Equipment-Related Alarms

Alarms requiring immediate patient attention.

7.8 SpO2 Troubleshooting

Common SpO2 problems and their solutions.

SECTION 8 DOSE ERROR REDUCTION SYSTEM(DERS)

8.0 Dose Error Reduction System

Introduction to the DERS option.

8.1 Introduction

Overview of DERS features and benefits.

DERS Installation, Removal, Programming or Editing

Instructions for DERS installation and management.

8.4 DERS RELATED ALERT AND USER PROMPT MESSAGES

Explains DERS alerts and prompts.

ALERT; PROMPT - MESSAGES, TYPE, CAUSE AND RESOLUTION

Detailed table of DERS messages and actions.

8.6 SETTING UP A DERS PRIMARY INFUSION

Step-by-step guide for setting up a primary infusion with DERS.

SETTING UP A DERS PRIMARY INFUSION

Detailed steps for primary DERS infusion setup.

Adjusting a Dose or the VTBI During an Infusion

How to adjust dose or VTBI during a DERS infusion.

SETTING UP A DERS BOLUS

Steps for setting up a bolus dose with DERS.

DUAL CHANNEL DERS INFUSION

Setting up dual channel infusions with DERS.

DUAL CHANNEL BOLUS DELIVERY

Performing dual channel bolus delivery with DERS.

APPENDIX F TROUBLESHOOTING

Pump won’t turn on

Solutions for issues with the pump not powering on.

No Fluid Flow

Troubleshooting steps for lack of fluid flow.

Pump wont start

Solutions for the pump failing to start.

Fluid Leaking from Administration Set

Troubleshooting fluid leaks from the IV set.

Unit wont operate on battery

Solutions for the unit not working on battery power.

Battery operation is too short

Troubleshooting short battery life.

Fluid delivery seems inaccurate

Addressing issues with inaccurate fluid delivery.

Infusion prematurely stopped

Identifying causes for premature infusion stoppage.

Infusion stops

Troubleshooting causes for infusion stoppage.

APPENDIX G 1119 I.V. POLE ASSEMBLIES AND PARTS DESCRIPTIONS

1119 Assembly Instruction Rev. C 010308

APPENDIX I 1145 Dose Error Reduction System

B. To update the current IV Pump Software:

Steps to update the pump software.

D. To add the DERS Library programming card:

Instructions for adding the DERS library card.

IRadimed MRIDIUM 3860+ Specifications

General IconGeneral
BrandIRadimed
ModelMRIDIUM 3860+
CategoryMedical Equipment
LanguageEnglish

Related product manuals