22
Installation
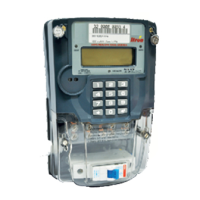
When installing the EM512 TYPE 700 JV1 Meter please remember to always switch off the power supply to
the house/dwelling. The meter is designed to be mounted vertically, directly hooked on a metering board
using a three triangular arrangement points.
The meter is removable from its mounting board only after breaking the terminal cover seals.
Mounting the EM512 TYPE 700 JV1 Meter must be done as follow:
Select suitable space to mount the EM512 TYPE 700 JV1 Meter.
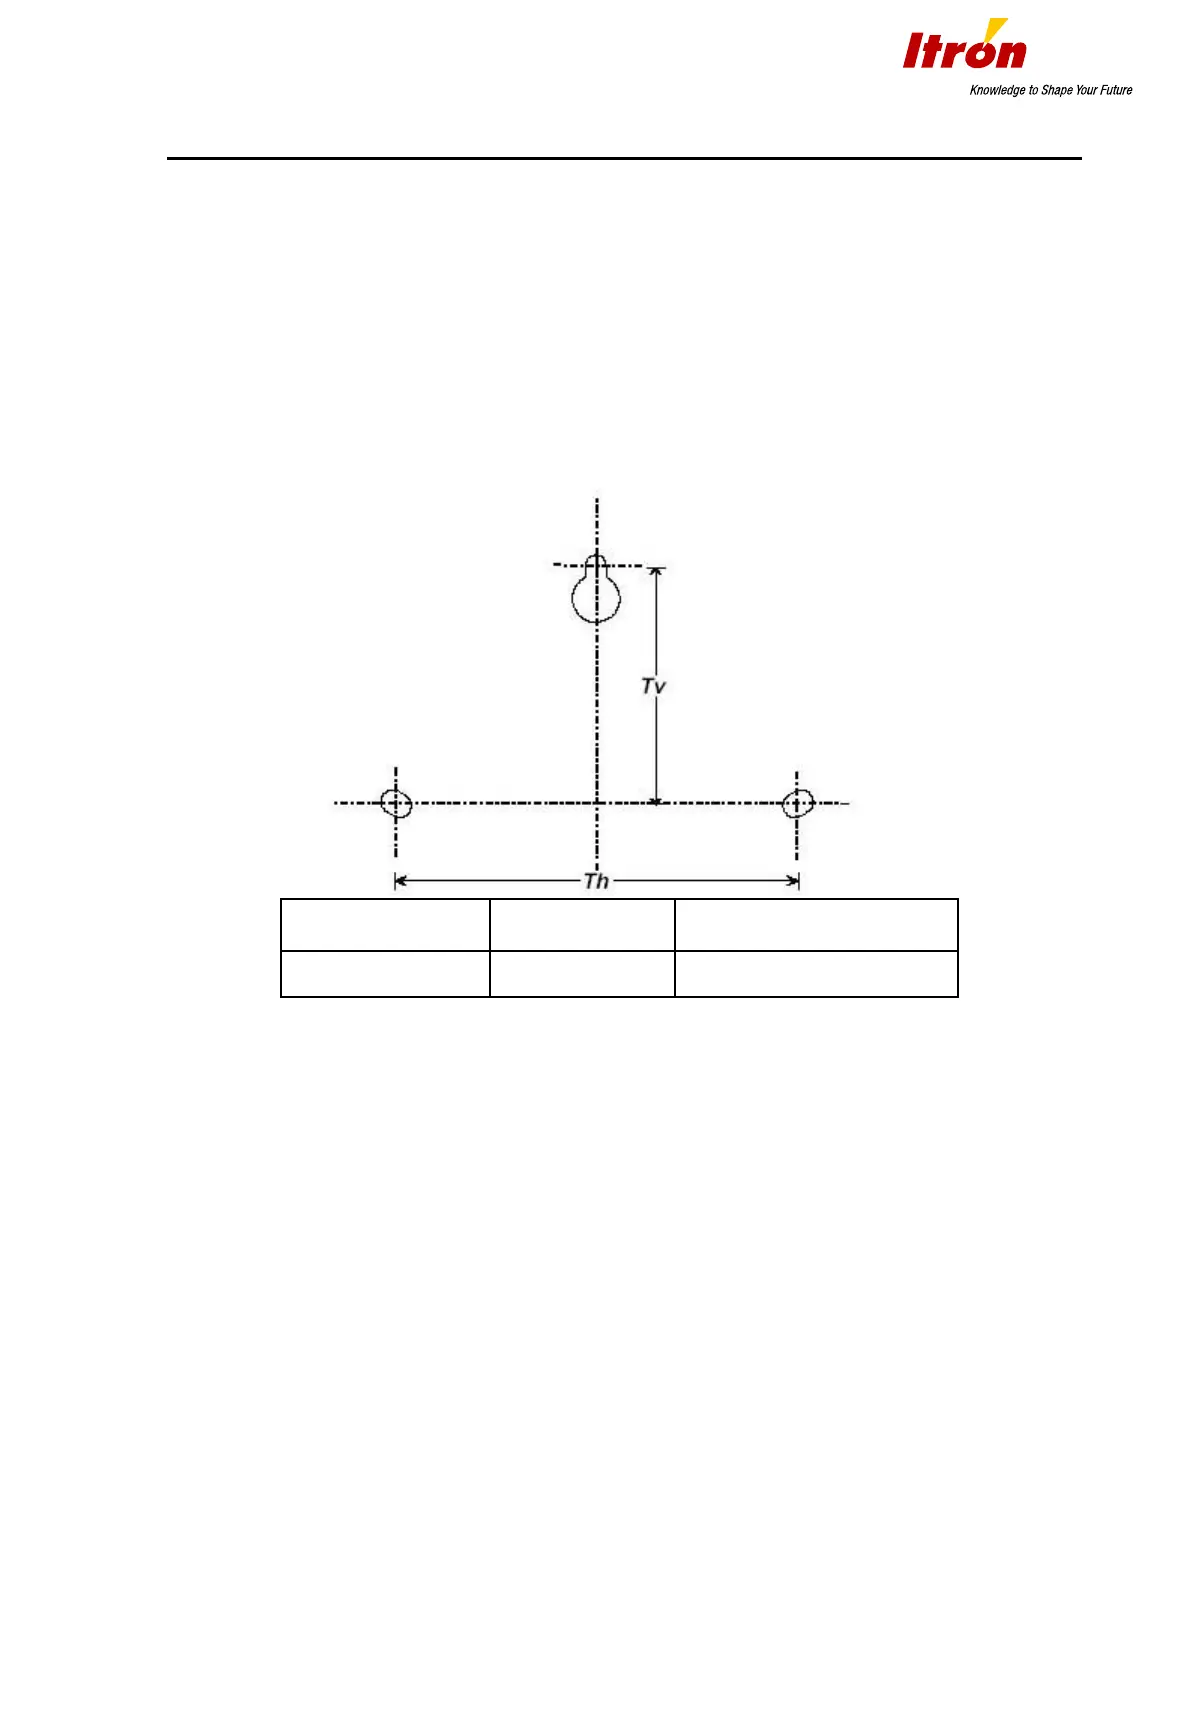
Tape the mounting template on the selected space on the wall. Make sure the arrow indicating the
top is in an upright position. Refer to the dimensions as shown in the diagram below.
Using a 6mm masonry drill bit, drill holes through relevant positions on the template.
Mount EM512 TYPE 700 JV1 meter on the wall.
DO NOT use countersunk screws. If the wall is uneven, rather mount the EM512 TYPE 700 JV1 meter on a
wooden or metal plate. Make sure that the unit is firm and not warped. Do not over tighten screws.
NB! The total length of the meter including the terminal cover = 213.2mm
Connections
Safety Warning: Switch off the network supply before connecting the meter.
Main Connections
The terminals permit the connection of solid or stranded wires (terminal diameter 8mm, 2 X M6 screws per
terminal). For aluminum cables (multi strand), the use of a tin plated copper sheath on each conductor is
compulsory to avoid corrosion and terminal heating.
 Loading...