•
WI
ff
Pr
.
~J
HJUJL
8
l:
't<
~
(r~
jjj(
E\.
Wi
(
;r
iS)
0
• s s
:mi.**
111
, ft! ffl z
WI
iff- ~
tt
ilB
twi
i:J=i
1
1n
ilB
•
• l
iH
JJ
~
JfU
UJ
HJLz
WI
'
WH
~tJL
~
n
:J3
=fir
~
0
• m
1
~
~
*
:i8i
i:J=i
:f'J=Vff
l'f~
:1J(
~ , :tt
111.1
ilB
•
•
iW
TefO
iA
~Ek
i.9:
~
~
N
lE
Tef
f1
.
• i
lHef
fJiA
~
VJl\
:Jru
g,
~
N
lE
Teff1
:ii~
•
•
~
Ek~
~**
7f'
11'11
not
,
iilf
~
:X17f'
~
{~
U
I
L
•
iw
TeflJ
ik!1
:i6
&:
* ~
a9
ttE
~~
11
rtJ
:Jl
N
lE
TeflJ
•
•
WI
7f'
~
t~
8
~J
HJL
rtJ
ffr
J1f1J,
~
2it
1:
~
ilB
Wt
tb1tptt
14
•
·
*•mm<t<~~
m
~iiJc
•~7f'il&mm~~a9*
*
·
~
~
~~•mm~.
fflJE•
•
•~•mm8~Wn*~•**
·
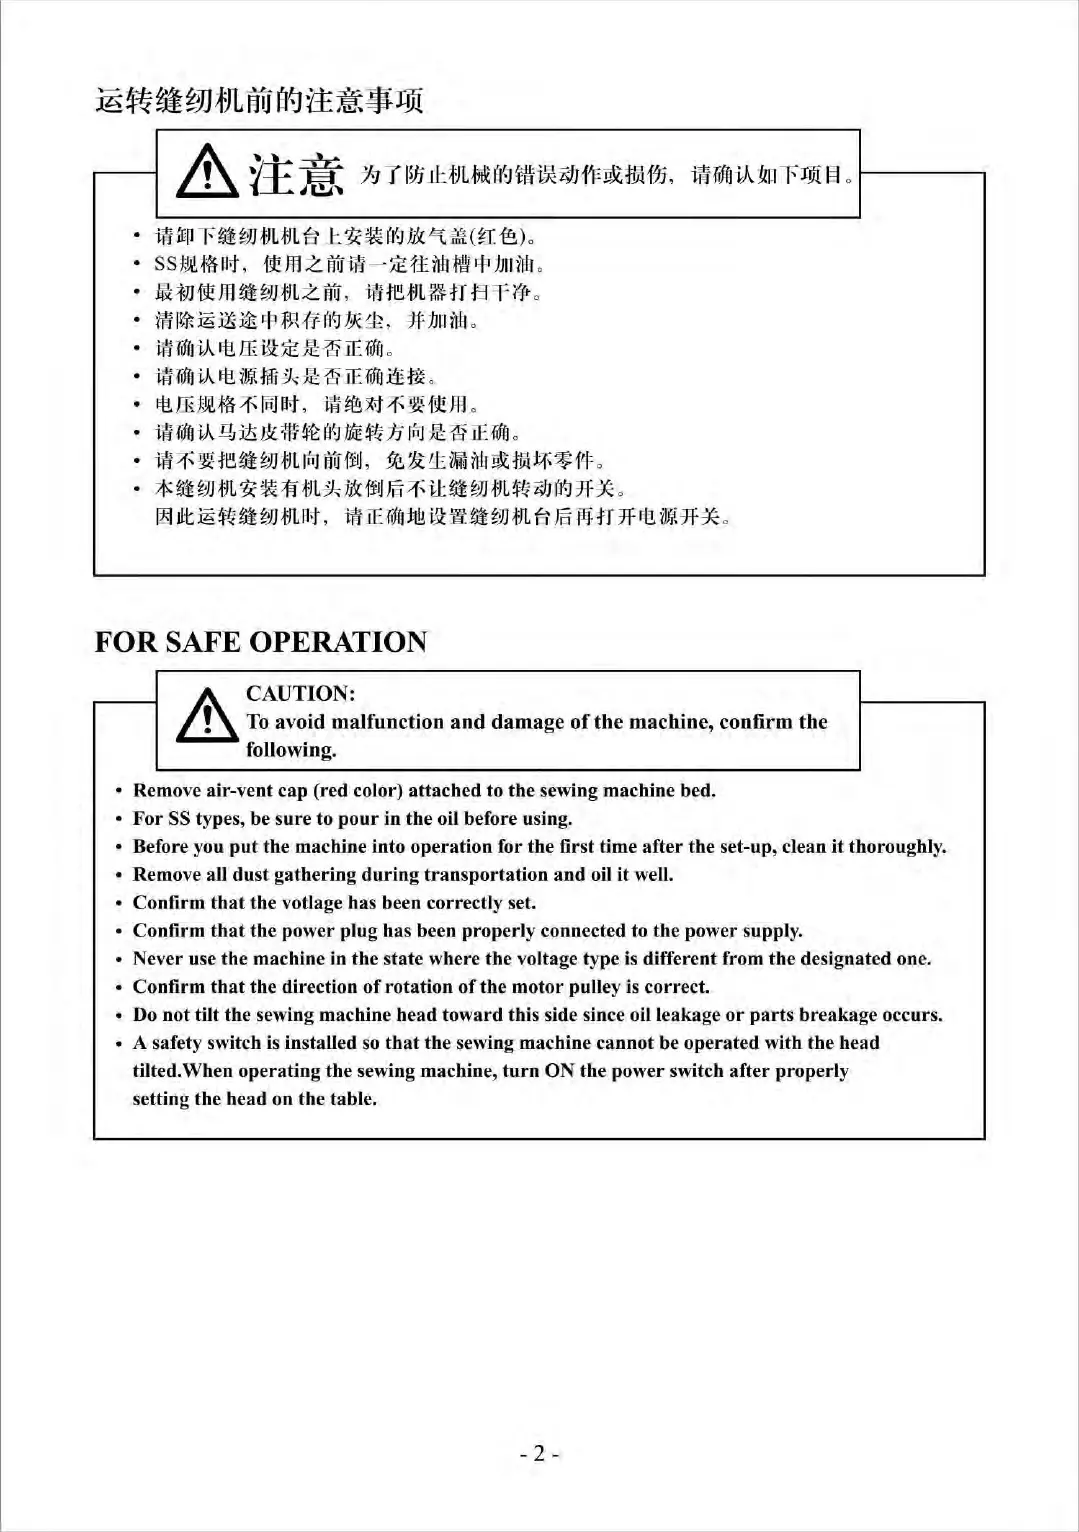
FOR
SAFE OPERATION
A_
CAUTION:
~
To
avoid malfunction
and
damage
of
the
machine, confirm
the
following.
• Remove air-vent cap
(r
ed color) attached to the sewing machine bed.
•
For
SS types, be sure to
pour
in the oil before using.
• Before you
put
the machine into operation for the first time after the set-up, clean
it
thoroughly.
• Remove all
dust
gathering
durin
g transportation
and
oil
it
well.
• Confirm
that
the votlage
ha
s been correctly set.
• Confirm
that
the
power plug has been properly connected to the power supply.
• Never use
the
machine in the state where the voltage type is differe
nt
from the designated one.
• Confirm
that
the
direction
of
rotation
of
the motor pulley is correct.
• Do not tilt the sewing machine head toward this side since oil leakage
or
parts
br
eakage occurs.
• A safety switch
is
installed
so
that
the sewing machine cannot be
operat
ed with the head
tilted.When operating
th
e sewing machine,
turn
ON
the
power switch
aft
er
prop
er
ly
setting the head on the table.
- 2 -
 Loading...