22.
~~~;ff
I WIPER
&
~~
"'
a
'~~
h T
l!JJ
J.1:
g;uu
m
£8
to:
5'Ht?;I;11,
WH~~
it!
ilff.z~
{!}
:i!trrt~H'F
.
WARNING:
A
Turn
OFF
the
power
before
starting
the
work
so
as
to
prevent
accidents caused
by
abrupt
start
of
the
sewing machine.
~~~~~~~~~~~~~~~~~~
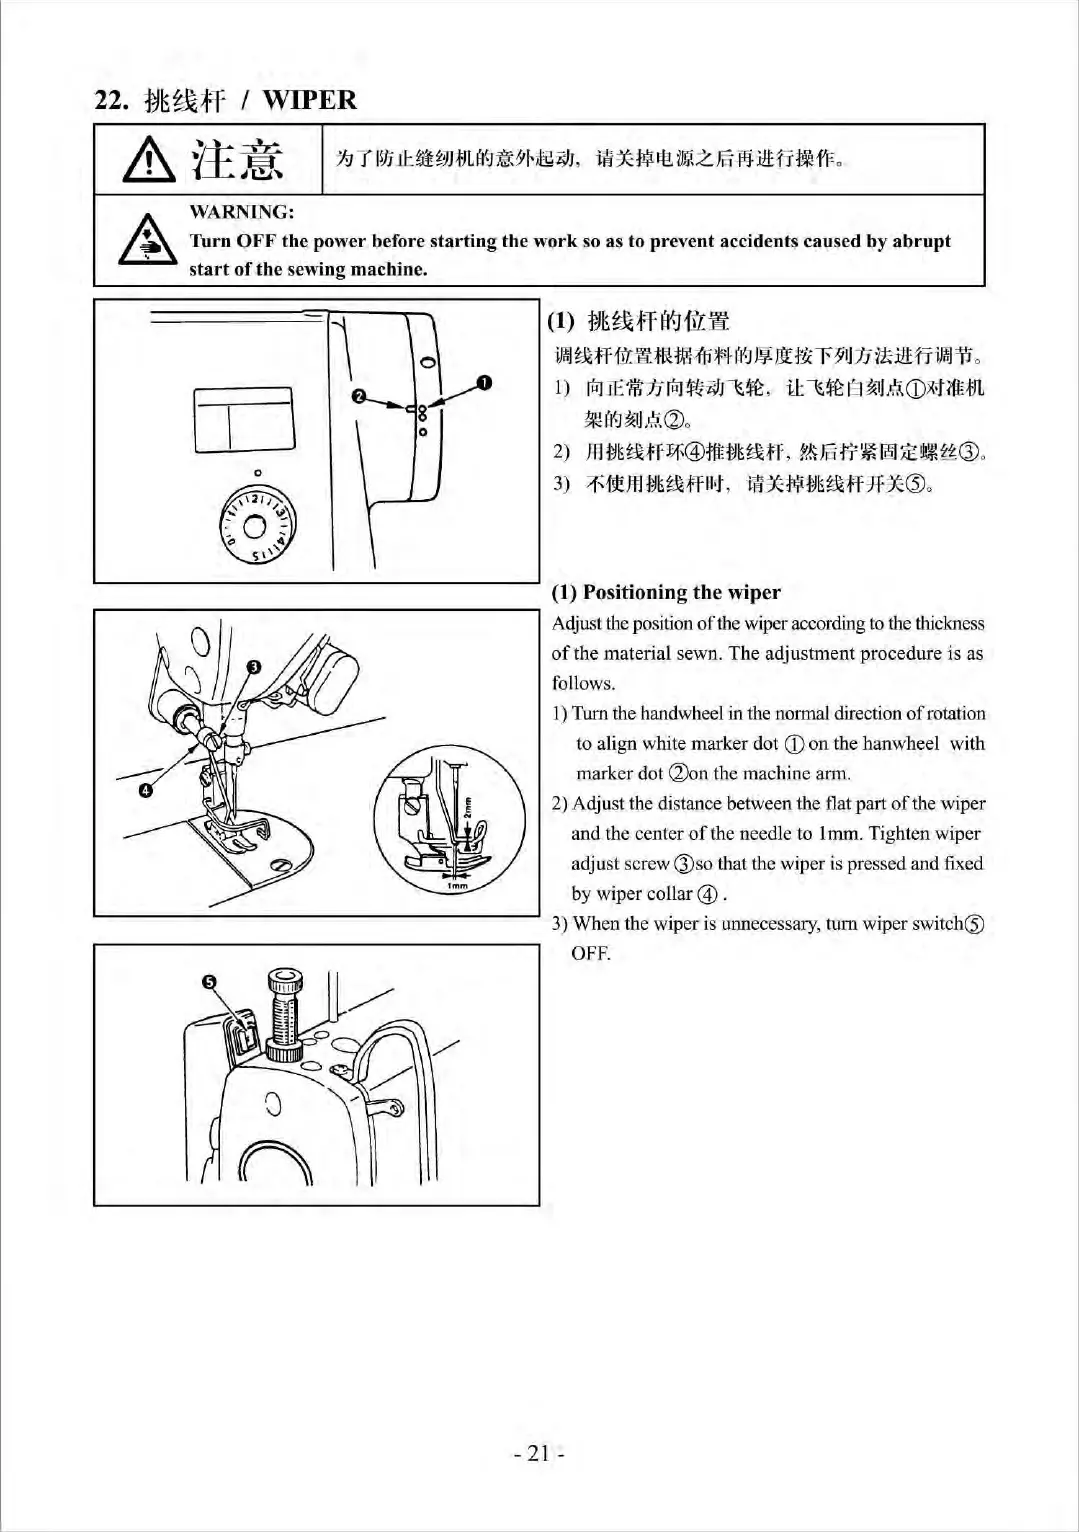
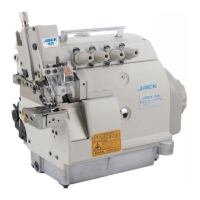
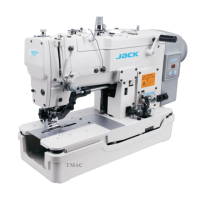
(1)
fjE~~ff
aq{
frJ!:
~ttffmmm•~M£8~~M~~n~:i!trr~~
.
1)
l
fiJJE
',lf;
17
rtJ
~191
~~,
iJ:
~~
8
~1
L~
(i)x•
HftfJL
~£8~U.~<2)
0
2)
mtJ1s
r~fflf-@
tfiJjisttff,
r~~rr~IM~!l!.~~~Q)
.
3)
~~rnmttff~
,
m~~mttff*~~
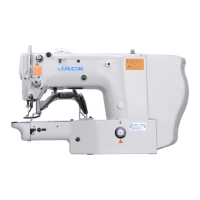
(1) Positioning the wiper
Adjust the position
of
the wiper according to the thickness
of
the material sewn.
The
adjustment procedure is as
follows.
I)
Tum the hand wheel in the normal direction
of
rotation
to align white marker dot
CD
on
the hanwheel with
marker dot
Q)on the machine arm.
2) Adjust the distance between the flat part
of
the wiper
and the center
of
the needle to 1 mm. Tighten wiper
adjust screw
Q)so that the wiper is pressed and fixed
by wiper collar @ .
3) When the wiper is unnecessary,
tum wiper
sw
itch@
OFF.
-
21
-