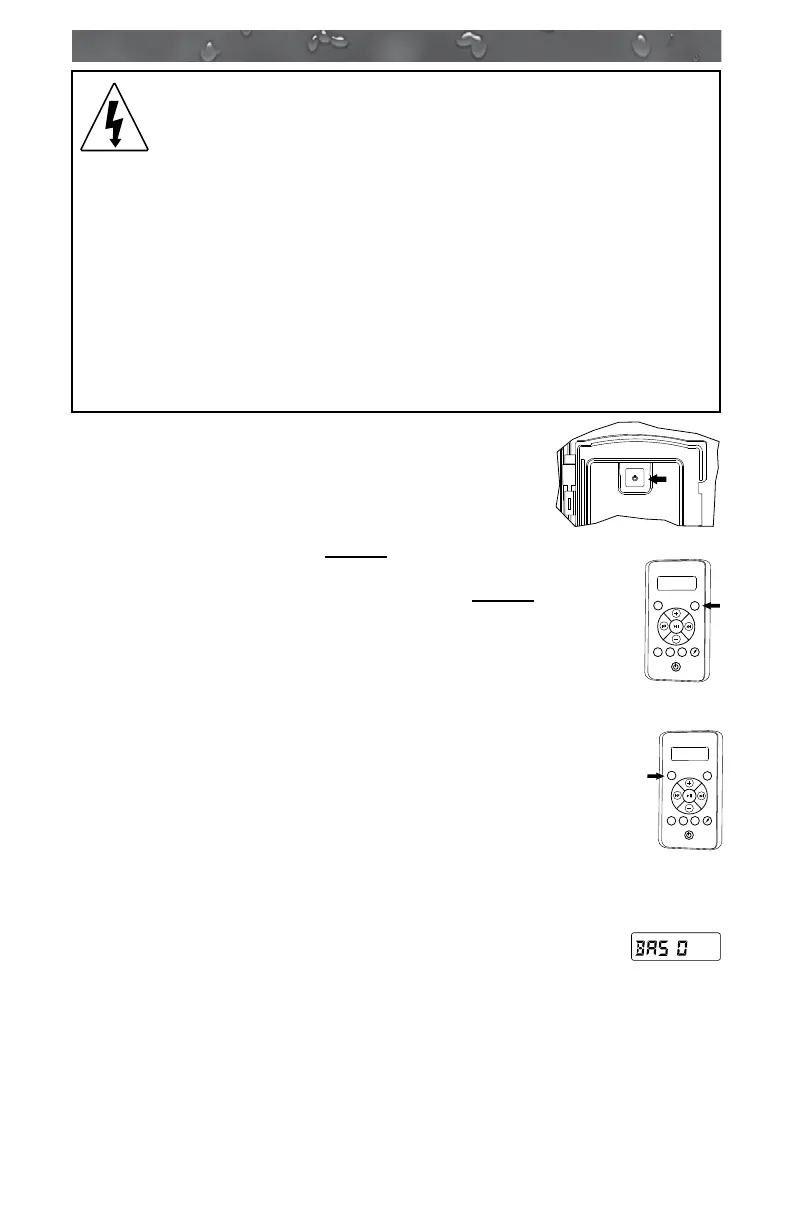
WARNING: RISK OF ELECTRICAL SHOCK HAZARD
EXISTS AND EQUIPMENT DAMAGE! Never install or
remove electrical devices (e.g. Apple device/MP3/USB/AUX/
Bluetooth) while hands are wet or while sitting partially or fully
immersed in the spa!
CAUTION: Never leave electrical devices in the Media Locker
when spa is not is use to prevent damage from outdoor
elements! Never spray Media Locker with a pressurized
water hose for any reason! Damage to the device or spa
stereo system caused by water intrusion is not covered
under the manufacturer’s warranty! Damage to Media Locker
port or electrical devices due to excessive force or improper
alignment during installation or removal from Media Locker is
not covered under warranty.
17.1 Pairing the Remote and Stereo
In order for the remote to operate the stereo, you
need to pair them using the following method:
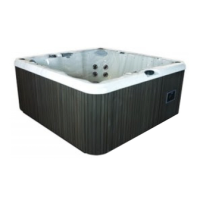
1. Make sure the stereo unit is in “Standby” mode.
LED power light will be red, Figure A.
2. Press any button on the remote to turn it ON. The remote
LCD display will read “No Link.”
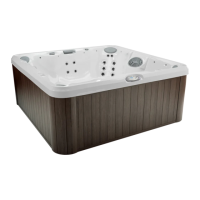
3. Press and hold the “Mode” button on the remote (Figure B).
At the same time, press and hold the power button on the
stereo for 2 seconds (Figure A).
4. The remote LCD display will read “Welcome,” “Load” and
“Radio” if the pairing sequence was successful.
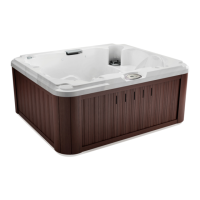
17.2 Audio Settings
The Audio button, Figure C, provides access to many of the
stereo’s settings. By continually pressing the Audio button you
can scroll and adjust the following functions: BAS-TRE-BAL-
FAD-DSP-AREA-LOUD-DX-STEREO (respectively).
Note: You can adjust the settings by pressing the Audio button,
making your adjustments and pressing the Audio button to go
the next feature. If you exit the setting menus continually press
the Audio button until you reach the setting you would like to adjust.
1. Bass Setting: Press the Audio button once to access
the bass setting. The LCD display will change to “BAS
0,” Figure D. Press the Up button to adjust the setting to a
maximum of +5. Press the Down button to adjust the setting down to
-5.
Note: The default setting is “0.” This feature is disabled when a “Digital
Sound Processor” (DSP) setting is active such as “Rock,” “Classic,” or
“Pop.”
Figure A
AUDIO
MODE
REPEAT RANDOMDIR - DIR +
1
2
3
Figure B
AUDIO
MODE
REPEAT RANDOMDIR - DIR +
1
2
3
Figure C
Figure D
53