ADwin Installation, manual version 2.1, December 2005 21
ADwin ISA link interface
ADwin
Installation into the PC– Shut down Windows and the PC, and remove the power supply connec-
tor.
– Open the PC enclosure according to the instruction of the manufacturer.
– Select a slot which has enough room for the board. Remove the PC slot
metal plate, plug in the board and screw the slot metal plate of the board
to the PC enclosure.
– Close the PC, connect it to the power supply and start Windows.
ConnectingWhen using ADwin systems with an ADlink-PC-ISA board, do now connect the
ADlink cable and the power supply cable, and power up your ADwin system.
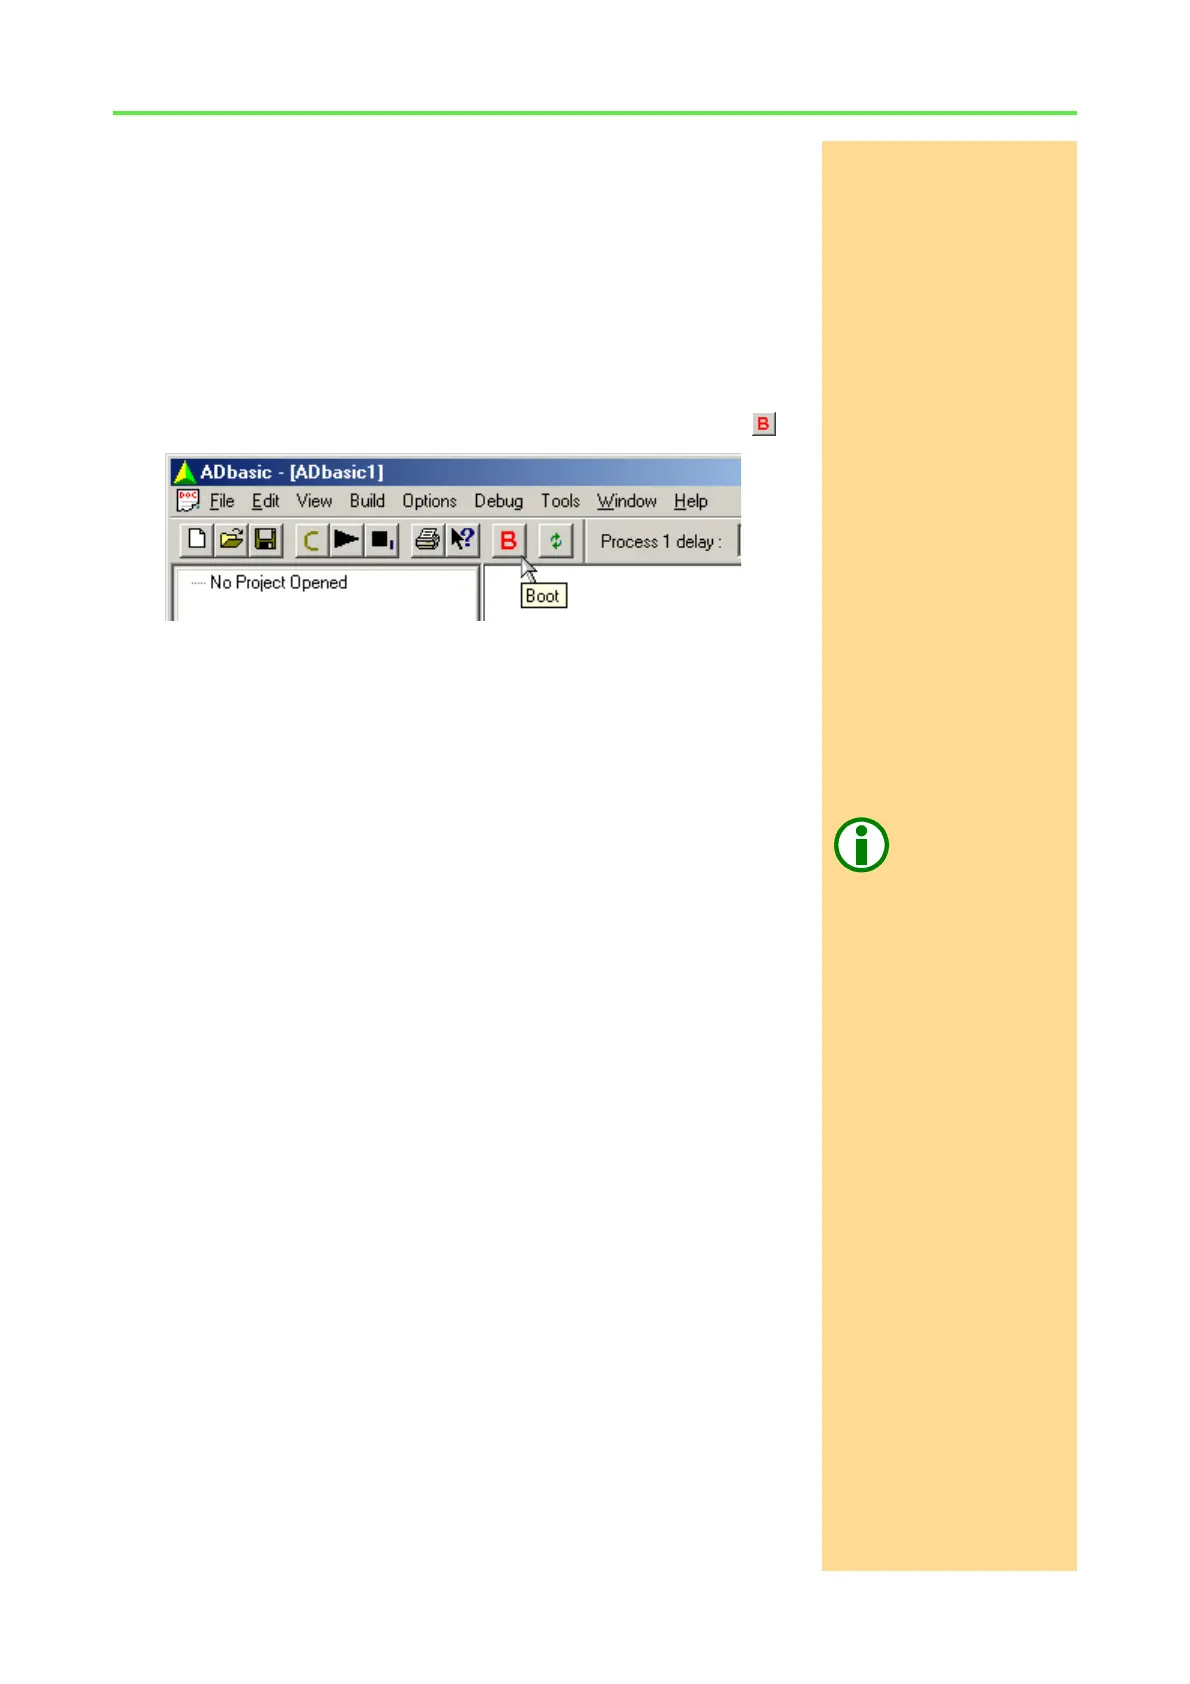
BootingStart ADbasic and boot the ADwin system by clicking on the boot button .
The blinking of the green LED on the ADwin-Gold system or on the CPU mod-
ule of the ADwin-Pro system as well as the display in the status line: "ADwin
is booted" shows that the operating system has been loaded properly and
that ADbasic can access the ADwin system (if not, first check the connections).
Finishing the installationFor the further installation please keep to the order of installation instructions
in chapter 2 of this manual:
– For the details about the initialization of your ADwin system, please see
your hardware manual.
Programming with
ADbasic
– The programming of your ADwin system is described in detail in the
ADbasic manual.
– Start programming with the examples in the ADbasic tutorial.