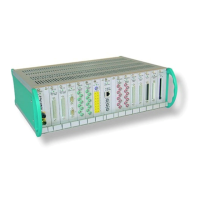
ADwin System with Ethernet Interface
ADwin
60 ADwin Installation, manual version 2.1, December 2005
9.4 Settings in ADbasic
Now connect your ADwin system according to the instructions in your hard-
ware manual.
Checking the settings in
ADbasic
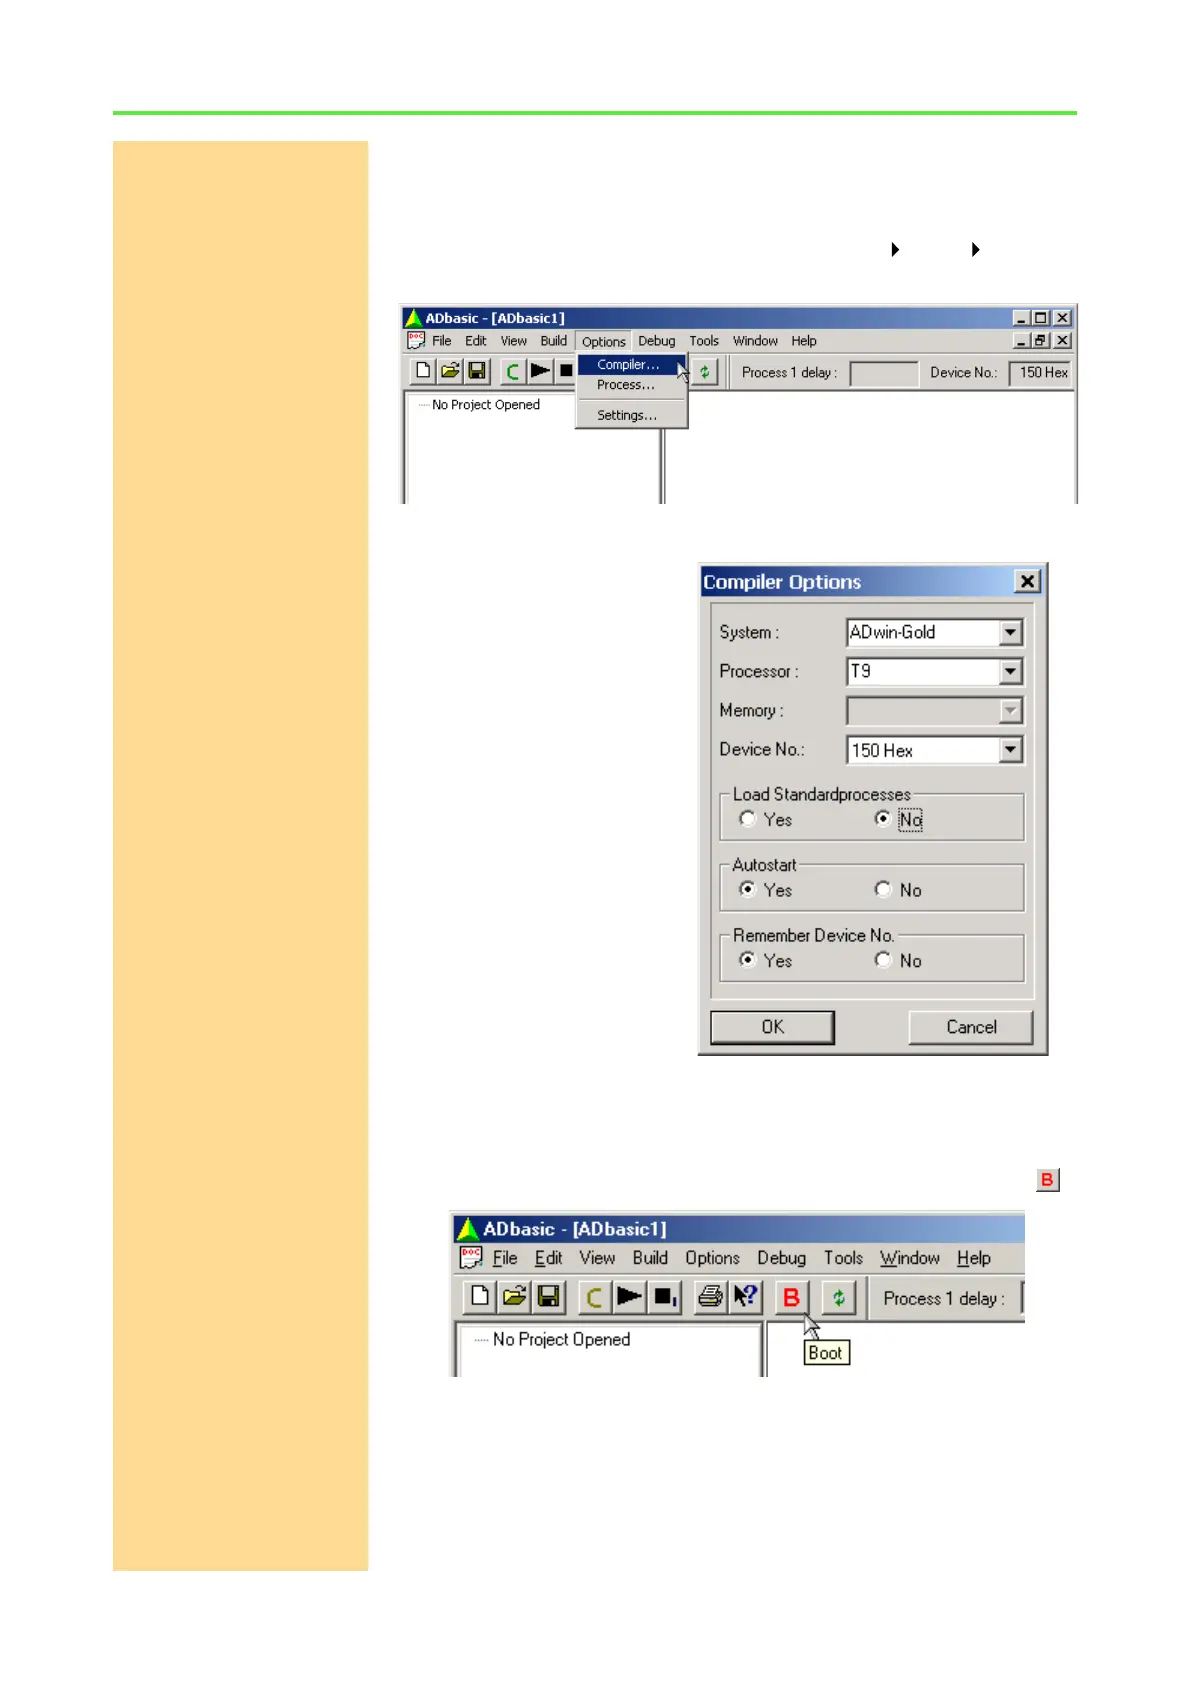
Open ADbasic (in the Windows start menu: Programs ADwin ADbasic)
and check first the settings in the dialog window "Options\Compiler".
Set the options in the window: "Compiler Options" from top to bottom
Device No.
– System: Select the ADwin
system which is used.
– Processor: Select the pro-
cessor type of the ADwin sys-
tem.
– Memory: This option is not rel-
evant here.
– Device No.: Select the
Device No. you have used in
the programm ADconfig.
The setting "None" in the
pull-down list is only neces-
sary in order to compile AD-
basic programs for test
purposes, when no ADwin
system is connected.
– Set the options "Load Stan-
dardprocesses",
"Autostart" and
"Remember Device No." later, when working with ADbasic.
Confirm with "OK" in order to return to ADbasic. The driver installation and the
main settings in ADbasic are now finished.
Booting Start ADbasic and boot the ADwin system by clicking on the boot button .
The blinking of the green LED on the ADwin-Gold system or the CPU module
of the ADwin-Pro system as well as the display in the status line: "ADwin is
booted" shows that the operating system has been loaded properly and that
ADbasic can access the ADwin system (if not, first check the connections).
Finishing the installation For the further installation please keep to the order of installation instructions
in chapter 2 of this manual: