ADwin Installation, manual version 2.1, December 2005 47
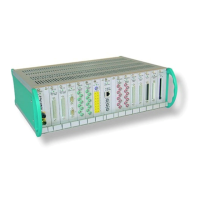
ADwin-Pro module with USB interface
ADwin
If there is a great distance between the ADwin system and the PC, we
recommend that you use an Pro-CPU module with Ethernet interface.
– When you are using a Pro-USB module:
Link cable with two micro connectors (length approx. 0.2 m)
from the Pro-USB module to the Pro-CPU-T9 module.
Follow the installation (in this order):
– Installation of the Pro-USB module
– Installation of the drivers
8.1 Installation of the Pro-USB module
Before connecting the PC to the ADwin-Pro system, read the ADwin-Pro hard-
ware manual, including the chapter "Initialization of the hardware". Configure
your ADwin system according to the information given in the manual.
Do not yet connect any inputs and outputs.
Install the module:
– Select a free plug-in slot near the CPU module
The link cable is kept short intentionally.
Remove the cover plate from an empty plug-in slot or remove the mod-
ule from this slot.
– Plug-in the Pro-USB module and connect the ADlink cable with the
Pro-CPU-T9 module
– Connect the Pro-USB module and the PC with the USB cable.
To ensure USB communication be as failure-free as possible, we recommend
to establish a low-impedance (short, very thick) ground connection between
PC-casing and the ADwin USB-device.
The ground connection may also – contrary to the inept USB cable – equalize
existing differences in potential very well.
8.2 Installation of the drivers
The operating systems Windows 9x, ME, 2000 and XP recognize the new
hardware and start the device manager in order to install the drivers. If the
operating system does not react, restart Windows.
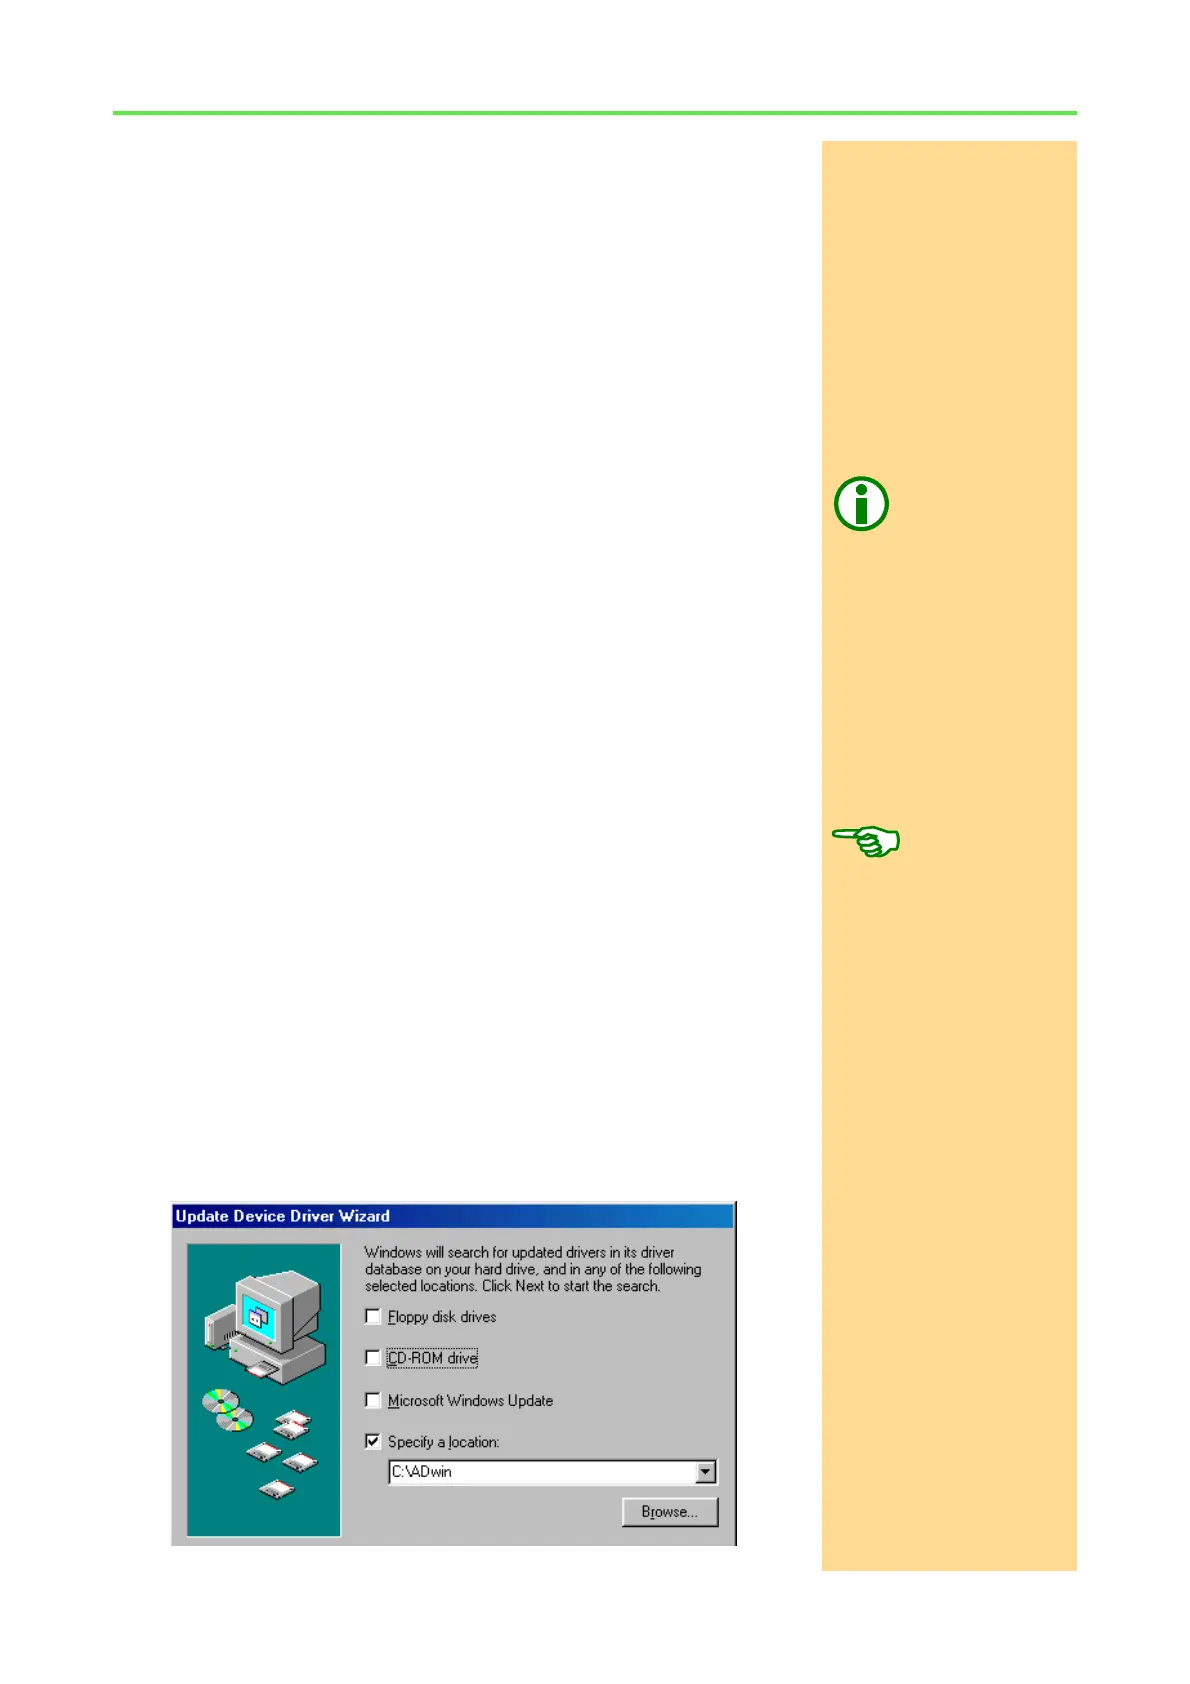
Driver installation from
standard directory
Windows looks for the best driver (default) and asks for a source directory. With
standard installation starting from the ADwin CDROM version 3.00.2300, enter
<C:\ADwin> (else <C:\ADbasic3> with older versions). Confirm your input
with „Next“.